メインコンテンツにスキップ

必要な工具と部品

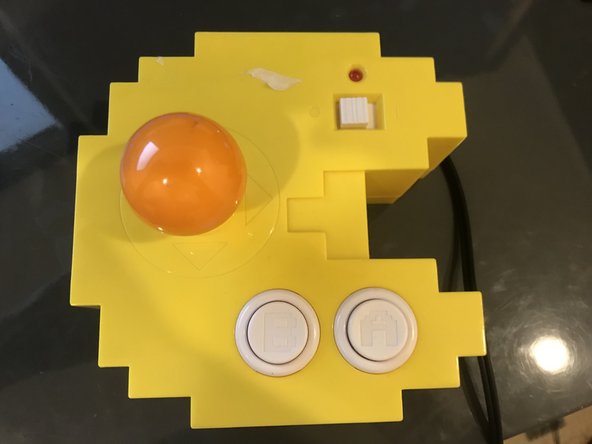
この分解は修理ガイドでは ありません。 お持ちのPac-Man Connect and Playを修理する際は、iFixitの修理ガイドをご利用ください。

  1. Pac-Man Connect and Play Teardown, Pac-Man Connect and Play Teardown: 手順 1、 2の画像 1 Pac-Man Connect and Play Teardown, Pac-Man Connect and Play Teardown: 手順 1、 2の画像 2
    • I start by flipping over the device.

  2. Pac-Man Connect and Play Teardown: 手順 2、 3の画像 1 Pac-Man Connect and Play Teardown: 手順 2、 3の画像 2 Pac-Man Connect and Play Teardown: 手順 2、 3の画像 3
    • I remove 5 Phillips head screws for the case

    • And one more to remove the batteries

  3. Pac-Man Connect and Play Teardown: 手順 3、 2の画像 1 Pac-Man Connect and Play Teardown: 手順 3、 2の画像 2
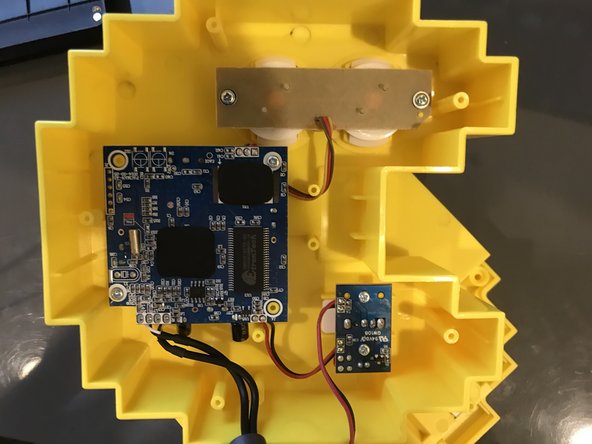
    • Inside, all I see are glorious Phillips Head screws!

    • Finally! Something repairable!

    • Battery Compartment

    • Power Switch and LED board

    • Mainboard/Joystick board

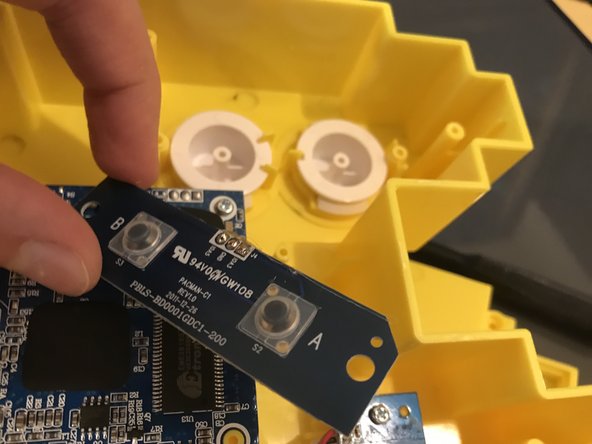
    • A and B button board

  4. Pac-Man Connect and Play Teardown: 手順 4、 2の画像 1 Pac-Man Connect and Play Teardown: 手順 4、 2の画像 2
    • I start with the buttons.

  5. Pac-Man Connect and Play Teardown: 手順 5、 1の画像 1
    • They were very, very easy to get to and remove.

  6. Pac-Man Connect and Play Teardown: 手順 6、 3の画像 1 Pac-Man Connect and Play Teardown: 手順 6、 3の画像 2 Pac-Man Connect and Play Teardown: 手順 6、 3の画像 3
    • Now, for the mainboard.

    • 2 screws get me underneath.

    • But, what's this?

  7. Pac-Man Connect and Play Teardown: 手順 7、 3の画像 1 Pac-Man Connect and Play Teardown: 手順 7、 3の画像 2 Pac-Man Connect and Play Teardown: 手順 7、 3の画像 3
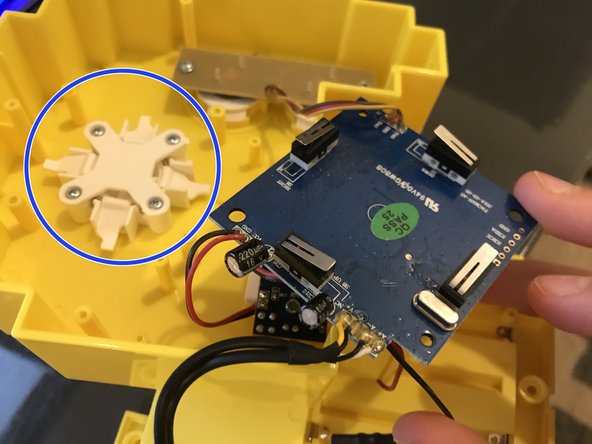
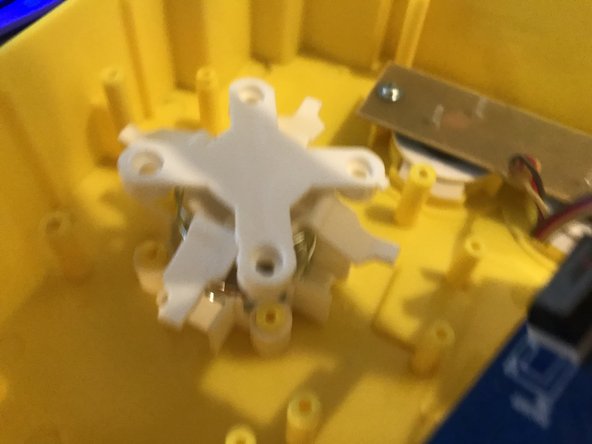
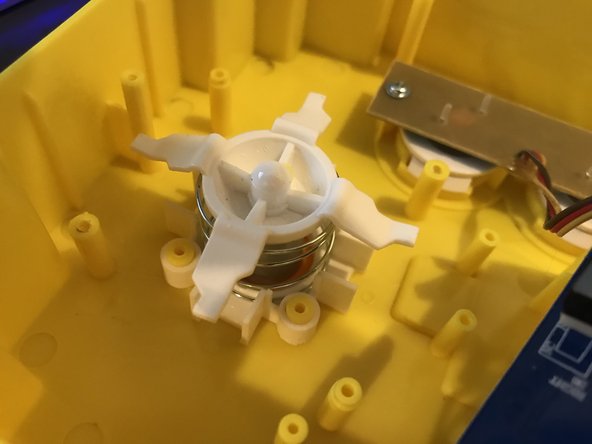
    • Another 4 screws, and POP! it is holding a spring down, for the joystick.

    • There did not appear to be an easy way to get the joystick out, however.

  8. Pac-Man Connect and Play Teardown: 手順 8、 2の画像 1 Pac-Man Connect and Play Teardown: 手順 8、 2の画像 2
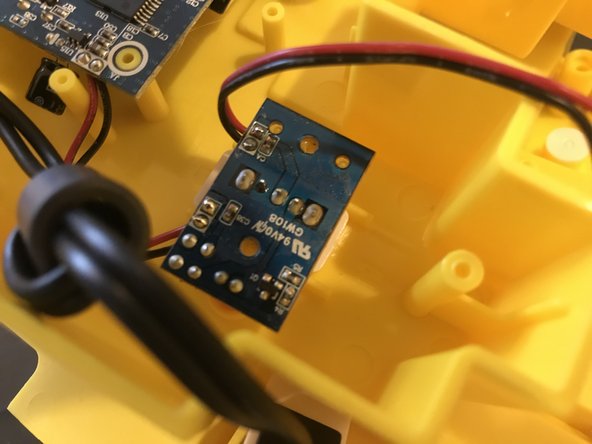
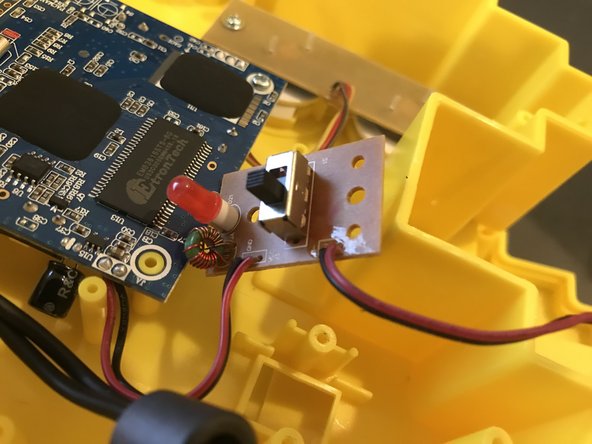
    • Finally, I see a power regulator?

  9. Pac-Man Connect and Play Teardown: 手順 9、 2の画像 1 Pac-Man Connect and Play Teardown: 手順 9、 2の画像 2
    • Nope! It's just the power switch and LED.

  10. Pac-Man Connect and Play Teardown: 手順 10、 1の画像 1
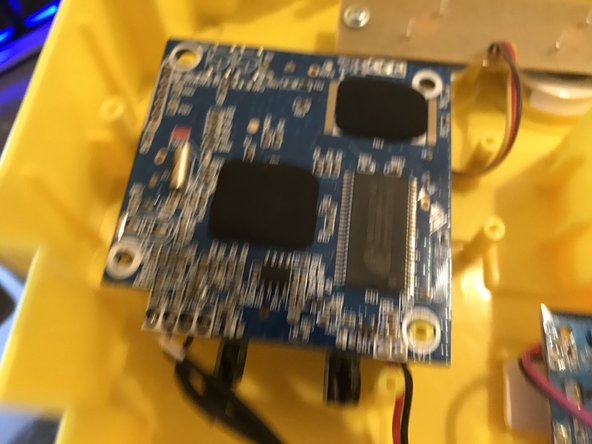
    • Back Main PCB IC Identification:

    • You may need to enlarge it to view the text.

  11. Pac-Man Connect and Play Teardown, Conclusion: 手順 11、 2の画像 1 Pac-Man Connect and Play Teardown, Conclusion: 手順 11、 2の画像 2
    • In conclusion, I LOVE how it's all the J1 Phillips Head screw, throughout the entire device.

    • It's easy to get under every board.

    • There are, unfortunately, no plugs, and so everything is soldered on. This removes the possibility of replacing any electrical internals.

作成者

2人の作成者と共同で作成されました。

9021007

メンバー登録日: 07/13/18

4,599 ポイント

25のガイドは作成済み

2 件のコメント

It should not be too hard to replace stuff as long as you know how to solder. However many chips cannot be replaced as they are either epoxied on or need to be programmed before it would work in the device.

CChin - 返信

Can you help me?

I need repair this game and need the number of part of the integrated circuit number U15 this can find at side of the red an black wire in the principal board. In my board is absolutely Imposible read it is destroyed. Only can read the first number (4) and the last (2L)

PLEASE HELP ME!!

jonatan quintero - 返信

コメントを追加

統計データ:

過去 24時間: 3

過去 7 日: 7

過去 30 日: 32

今までの合計 1,741