はじめに
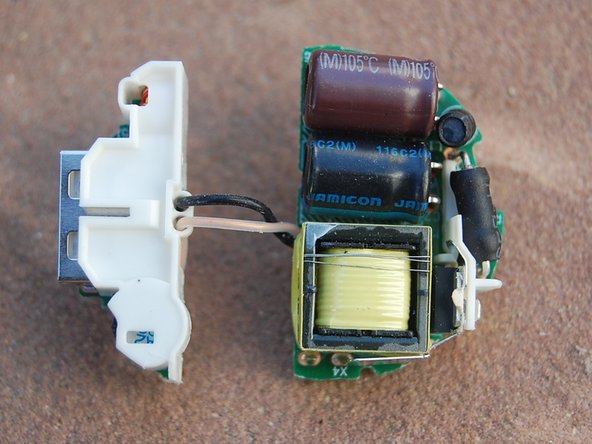
Let's look inside this hockey puck shaped wall adapter. This is an older USB AC wall adapter, not Level VI efficient, and discontinued.
必要な工具と部品
-
-
This power supply is slim and unusually attractive.
-
That white case is 39mm in diameter, and 15mm thick: pretty small for this power level (see heat sinks later).
-
The case is glued together, so you're not going to get into this one cleanly. I sawed a slot in the side, and used a screwdriver to crack the glue.
-
-
-
-
The wall power pins lead to two spring contacts.
-
There's a plastic barrier between the low voltage and high voltage sides (you can't get much better than that!).
-
-
-
Pretty tight layout.
-
Note the heat sink with thermal interface material, and the landing pads for the line voltage springs.
-


