はじめに
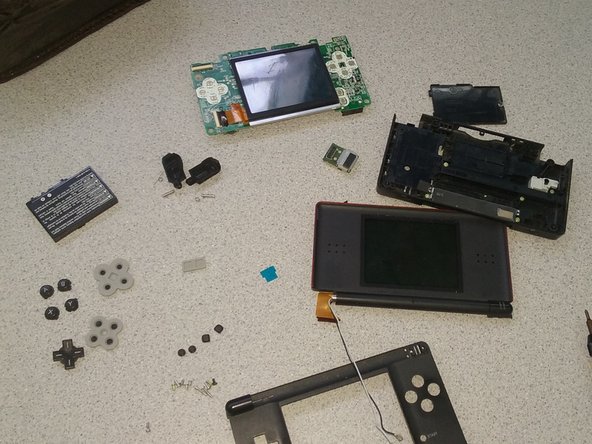
This guide will show you how to tear down a Nintendo DS Lite.
必要な工具と部品
-
-
Your first step would be to unscrew all all screws on the back and take the case off. You take the case off by placing a spudger on the line edges , and then place it inward, forcing it to separate the two parts.
-
-
-
You first remove the gabbles by gently pulling them and do the same for the WI-FI board
-
-
-
-
You take the mother board off by flipping the upside-down and the screen should pop right off.
-
-
-
The DS should look like this and to put the DS back together simply follow steps back wards.
-


