メインコンテンツにスキップ
アーカイブされたガイド
このガイドは将来的な使用のためにのみ保存されてます。ご自身の修理作業には更新バージョンをご利用ください。

必要な工具と部品

ビデオの概要

この分解は修理ガイドでは ありません。 お持ちのNexus 6Pを修理する際は、iFixitの修理ガイドをご利用ください。

  1. Nexus 6P Teardown, Nexus 6P Teardown: 手順 1、 2の画像 1 Nexus 6P Teardown, Nexus 6P Teardown: 手順 1、 2の画像 2
    • Remove SIM card tray.

  2. Nexus 6P Teardown: 手順 2、 3の画像 1 Nexus 6P Teardown: 手順 2、 3の画像 2 Nexus 6P Teardown: 手順 2、 3の画像 3
    • Heat up back glass panel.

    • Use hobby knife to open a gap and cut the fierce sticker underneath rear glass panel.

    • The back glass panel is easily shattered and the adhesive underneath is fierce. So be careful to pry this part.

    • Remove back glass panel carefully.

    A hair dryer works well for this part.

    Tara Zieminek - 返信

  3. Nexus 6P Teardown: 手順 3、 3の画像 1 Nexus 6P Teardown: 手順 3、 3の画像 2 Nexus 6P Teardown: 手順 3、 3の画像 3
    • Heat up bottom plastic panel.

    • Use hobby knife to open a gap and insert guitar picks to cut adhesive underneath.

    A hair dryer works well for this part.

    Tara Zieminek - 返信

  4. Nexus 6P Teardown: 手順 4、 3の画像 1 Nexus 6P Teardown: 手順 4、 3の画像 2 Nexus 6P Teardown: 手順 4、 3の画像 3
    この手順で使用する道具:
    Heavy-Duty Suction Cups (Pair)
    $14.95
    購入する
    • Twist off 6 Phillips screws together.

    • Insert guitar picks and plastic opening tool to separate front assembly from back cover.

    • Attention: These two parts fit tightly.It is very difficult to separate them. You can also try using heavy-duty suction cup to disassemble them.

  5. Nexus 6P Teardown: 手順 5、 3の画像 1 Nexus 6P Teardown: 手順 5、 3の画像 2 Nexus 6P Teardown: 手順 5、 3の画像 3
    • Unscrew one Phillips screw.

    • Remove metal bracket securing flex contactors.

    • Release 3 flex contactors and remove it .

    • This flex is used to connect motherboard and daughterboard.

  6. Nexus 6P Teardown: 手順 6、 3の画像 1 Nexus 6P Teardown: 手順 6、 3の画像 2 Nexus 6P Teardown: 手順 6、 3の画像 3
    この手順で使用する道具:
    Plastic Cards
    $2.99
    購入する
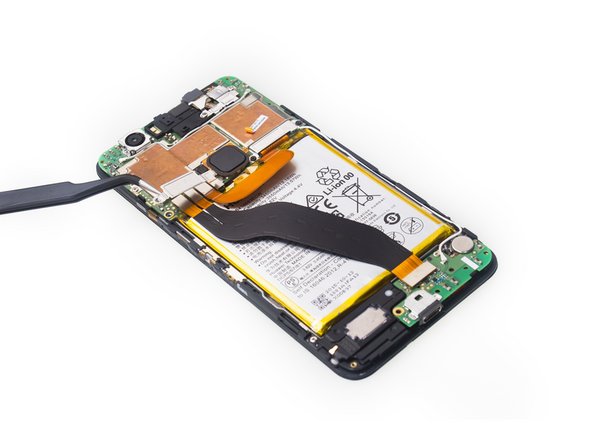
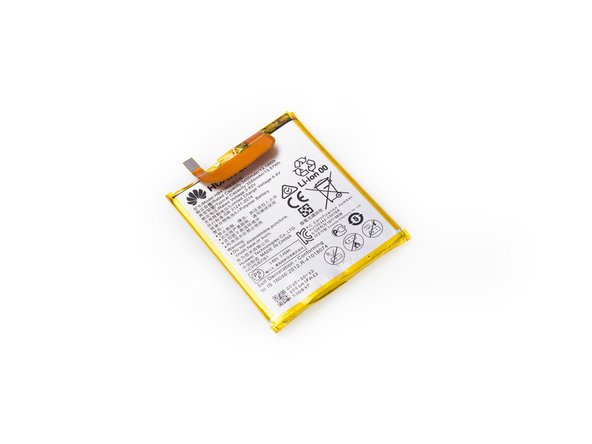
    • Release battery contactor.

    • The battery is fiercely glued in.

    • Use plastic card to cut strong adhesive underneath, then pry up and remove battery.

    Be careful - there are cables underneath the battery that you can easily damage.

    Tara Zieminek - 返信

  7. Nexus 6P Teardown: 手順 7、 2の画像 1 Nexus 6P Teardown: 手順 7、 2の画像 2
    • Here we can see the strong sticker underneath 3450 mAh battery.

  8. Nexus 6P Teardown: 手順 8、 3の画像 1 Nexus 6P Teardown: 手順 8、 3の画像 2 Nexus 6P Teardown: 手順 8、 3の画像 3
    • Disconnect signal cable contactor and twist off one Phillips screw.

    • Remove daughterboard.

  9. Nexus 6P Teardown: 手順 9、 3の画像 1 Nexus 6P Teardown: 手順 9、 3の画像 2 Nexus 6P Teardown: 手順 9、 3の画像 3
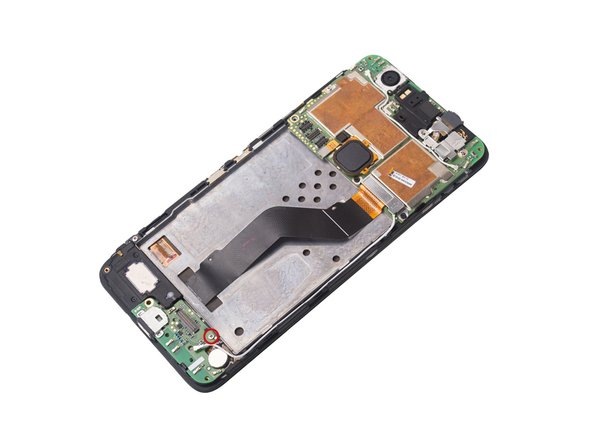
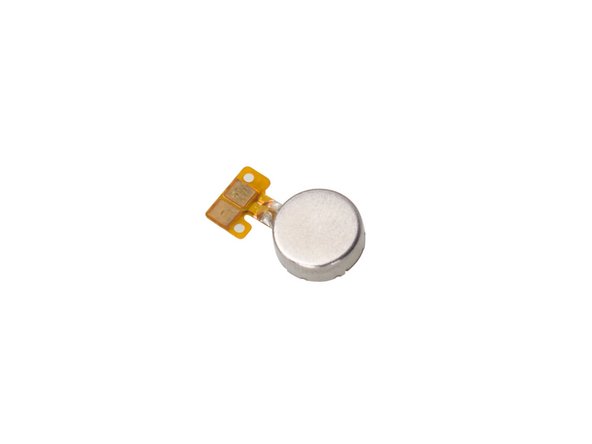
    • Cut adhesive underneath vibration motor, then remove vibrator.

  10. Nexus 6P Teardown: 手順 10、 3の画像 1 Nexus 6P Teardown: 手順 10、 3の画像 2 Nexus 6P Teardown: 手順 10、 3の画像 3
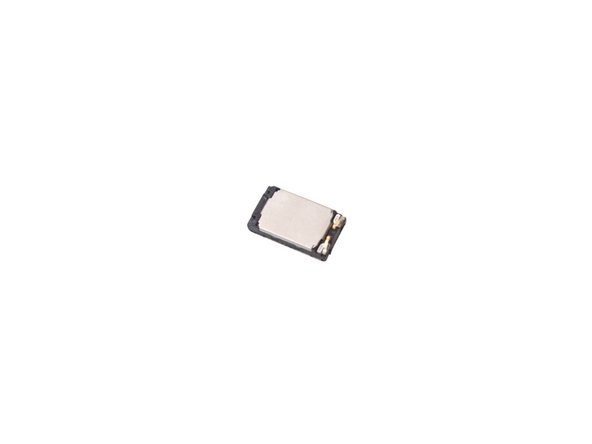
    • Twist off one Phillips screw and remove loudspeaker.

  11. Nexus 6P Teardown: 手順 11、 2の画像 1 Nexus 6P Teardown: 手順 11、 2の画像 2
    • Twist off 2 Phillips screws.

    • Remove metal bracket securing front camera contactor and audio jack contactor,

  12. Nexus 6P Teardown: 手順 12、 3の画像 1 Nexus 6P Teardown: 手順 12、 3の画像 2 Nexus 6P Teardown: 手順 12、 3の画像 3
    • Remove front camera.

  13. Nexus 6P Teardown: 手順 13、 2の画像 1 Nexus 6P Teardown: 手順 13、 2の画像 2
    • Remove audio jack.

  14. Nexus 6P Teardown: 手順 14、 3の画像 1 Nexus 6P Teardown: 手順 14、 3の画像 2 Nexus 6P Teardown: 手順 14、 3の画像 3
    • Twist off 3 Phillips screws.

    • Take away metal bracket securing LCD flex contactor.

    • Release LCD flex connector.

  15. Nexus 6P Teardown: 手順 15、 2の画像 1 Nexus 6P Teardown: 手順 15、 2の画像 2
    • Remove signal cable.

  16. Nexus 6P Teardown: 手順 16、 2の画像 1 Nexus 6P Teardown: 手順 16、 2の画像 2
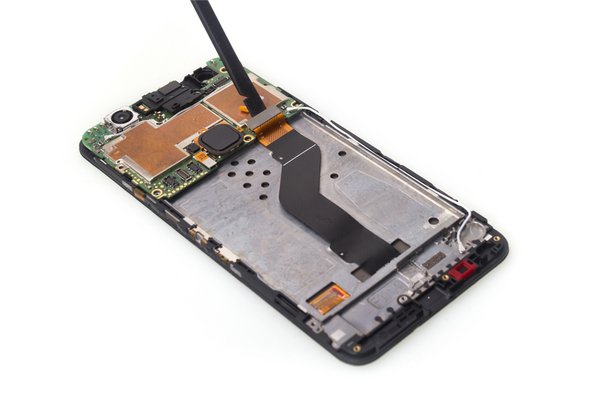
    • Pry up and remove motherboard.

  17. Nexus 6P Teardown: 手順 17、 3の画像 1 Nexus 6P Teardown: 手順 17、 3の画像 2 Nexus 6P Teardown: 手順 17、 3の画像 3
    • Remove fingerprint scanner.

  18. Nexus 6P Teardown: 手順 18、 3の画像 1 Nexus 6P Teardown: 手順 18、 3の画像 2 Nexus 6P Teardown: 手順 18、 3の画像 3
    • Remove rear camera.

  19. Nexus 6P Teardown: 手順 19、 2の画像 1 Nexus 6P Teardown: 手順 19、 2の画像 2
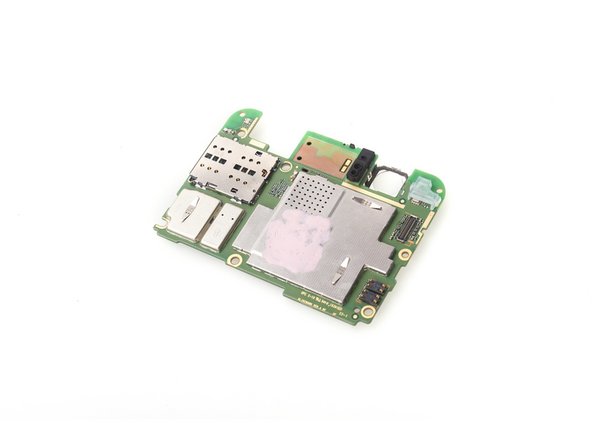
    • Here is the motherboard.

  20. Nexus 6P Teardown: 手順 20、 2の画像 1 Nexus 6P Teardown: 手順 20、 2の画像 2
    • Remove earpiece.

  21. Nexus 6P Teardown: 手順 21、 3の画像 1 Nexus 6P Teardown: 手順 21、 3の画像 2 Nexus 6P Teardown: 手順 21、 3の画像 3
    • The sticker underneath LCD with digitizer is a little bit strong, so use heat gun to soften it for a few minutes.

    • With the help of suction cup, plastic opening tool and guitar picks, remove LCD assembly carefully.

  22. Nexus 6P Teardown: 手順 22、 1の画像 1
    • Done.

作成者

3人の作成者と共同で作成されました。

Witrigs

メンバー登録日: 11/24/15

69,451 ポイント

378のガイドは作成済み

9 件のコメント

good jod !buddy

Kaye - 返信

Does the Nexus 6P have two antennas? I've noticed there's a two sim card slots?

sam34866 - 返信

Its single sim slot sorry

Noorulla Shariff -

Ya its haveing to sim slot but there is only 1 antina

Noorulla Shariff - 返信

There is a thin lining of plastic around the screen. Does removing it deteriorate the structural integrity of the screen or is it simply cosmetic?

Sorry if this is the wrong place to ask.

Eric Jensen - 返信

Yes, much like the iPhones. If the plastic becomes lose, the screen will be loose, as it acts as a spacer,

Adam99 -

The first time I replaced a Nexus 6P battery, everything worked fine.

The second time, the “Signal Cable” in step 15 was damaged and now the screen appears to be damaged (it still vibrates in response to touch events but is not displaying anything). Is it possible to replace this without replacing the screen?

Tara Zieminek - 返信

After replacing the digitizer and the battery, my proximity sensor stopped working. Can you show with a diagram where this part is? I am assuming that it’s the black plastic piece attached to the motherboard on step 19 right next to the camera. Why would it stop functioning? Could it be that something has gotten in its way?

Marcel Ferreira - 返信

What if you just want to replace the broken glass??

justine mendoza - 返信

コメントを追加

統計データ:

過去 24時間: 1

過去 7 日: 1

過去 30 日: 5

今までの合計 19,513