メインコンテンツにスキップ

Nextbook Ares 8" Tablet Teardown

必要な工具と部品

  1. Nextbook Ares 8" Tablet Teardown, Remove back cover: 手順 1、 1の画像 1
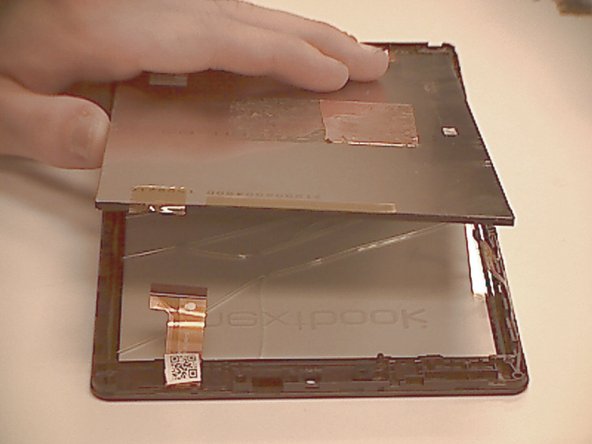
    • Wedge between the frame and back cover with an isesamo and separate all of the retaining clips

  2. Nextbook Ares 8" Tablet Teardown, Disconnect battery: 手順 2、 2の画像 1 Nextbook Ares 8" Tablet Teardown, Disconnect battery: 手順 2、 2の画像 2
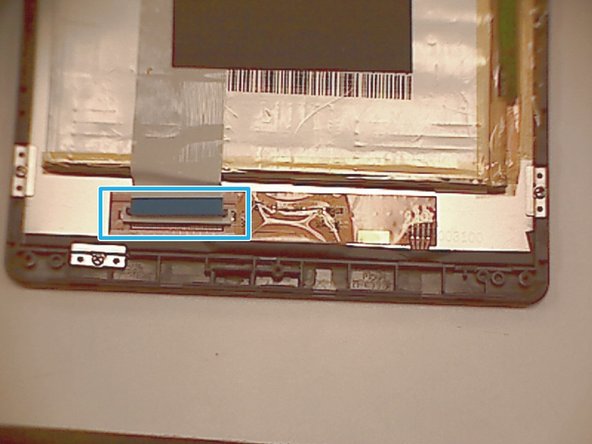
    • The connector slides out towards the outside of the device, and mine was pretty sticky so be careful.

  3. Nextbook Ares 8" Tablet Teardown, Disconnect screen assembly: 手順 3、 3の画像 1 Nextbook Ares 8" Tablet Teardown, Disconnect screen assembly: 手順 3、 3の画像 2 Nextbook Ares 8" Tablet Teardown, Disconnect screen assembly: 手順 3、 3の画像 3
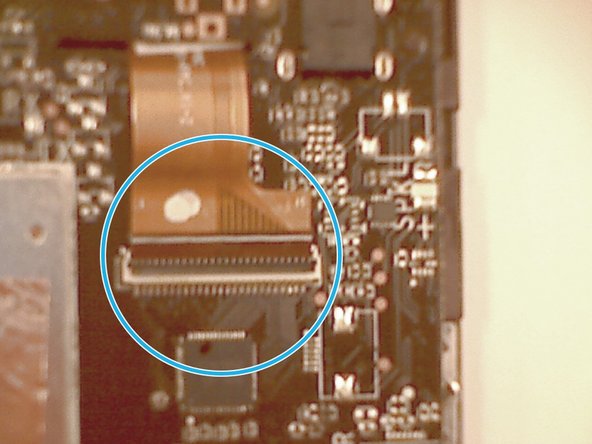
    • Disconnect the LCD ribbon cable from the top and bottom of the battery. It is unnecessary to peel it off of the battery.

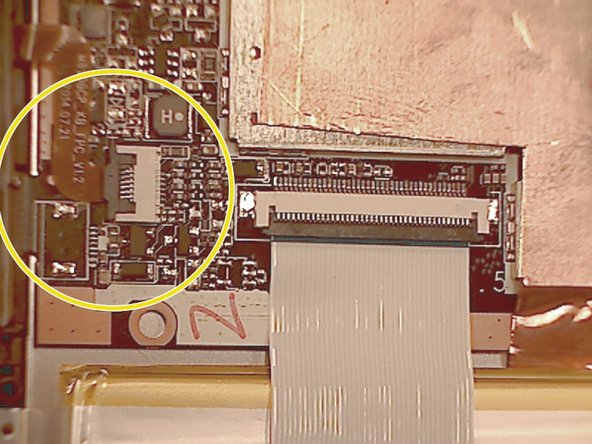
    • Disconnect the digi cable from the top right of the back of the device.

  4. Nextbook Ares 8" Tablet Teardown, Disconnect periphery flexes: 手順 4、 2の画像 1 Nextbook Ares 8" Tablet Teardown, Disconnect periphery flexes: 手順 4、 2の画像 2
    • Disconnect the camera flex

    • Disconnect the power/volume/home flex

  5. Nextbook Ares 8" Tablet Teardown, Remove the speaker assembly: 手順 5、 1の画像 1
    • Remove the 5 speaker assembly screws and pry off the assembly

    • At this point you can also lightly pull the battery away from the back of the LCD. There isn't much adhesive holding it in place.

  6. Nextbook Ares 8" Tablet Teardown, Remove the motherboard: 手順 6、 2の画像 1 Nextbook Ares 8" Tablet Teardown, Remove the motherboard: 手順 6、 2の画像 2
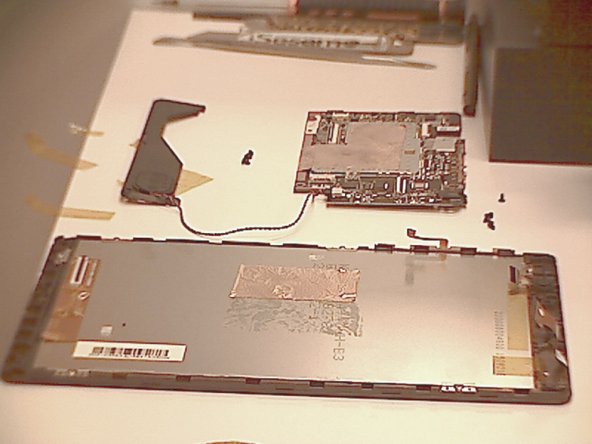
    • Remove the 5 motherboard screws and gently separate it from the back of the lcd.

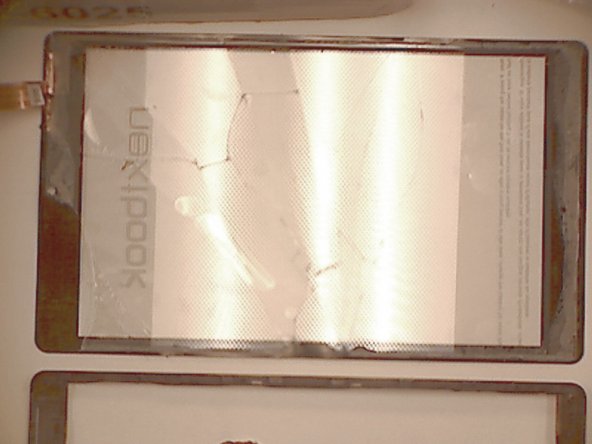
    • At this point, the only thing left should be the display assembly

  7. Nextbook Ares 8" Tablet Teardown, Remove the LCD: 手順 7、 2の画像 1 Nextbook Ares 8" Tablet Teardown, Remove the LCD: 手順 7、 2の画像 2
    • Remove the 6 LCD screws and brackets

    • Gently separate the LCD from the frame

  8. Nextbook Ares 8" Tablet Teardown, Separate the glass from the frame: 手順 8、 3の画像 1 Nextbook Ares 8" Tablet Teardown, Separate the glass from the frame: 手順 8、 3の画像 2 Nextbook Ares 8" Tablet Teardown, Separate the glass from the frame: 手順 8、 3の画像 3
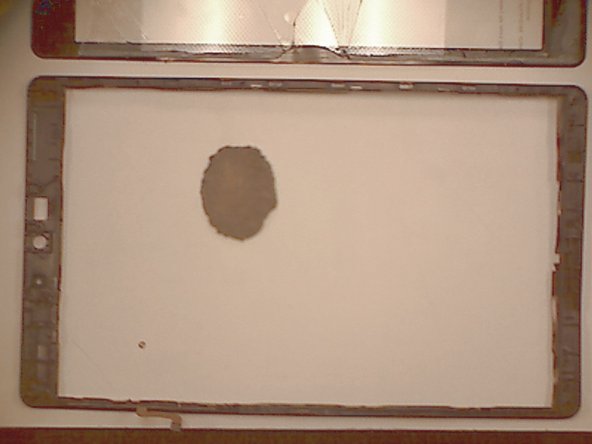
    • Use a heat gun or hot plate to separate the digitzer and glass from the frame

    • Before heating the frame its a good idea to remove the camera from the frame so it's not damaged.

  9. Nextbook Ares 8" Tablet Teardown, Complete!: 手順 9、 1の画像 1
    • Insert wisdom here.

終わりに

To reassemble your device, follow these instructions in reverse order.

13 の人々がこのガイドを完成させました。

作成者

1人の作成者と共同作成されました。

Auburn Store

メンバー登録日: 01/17/16

493 ポイント

1ガイドが承認済み

8 件のコメント

The screen is crack the screen is on when I hit the home button it won't work

Hilda Silva - 返信

I replaced screen and now screen won't light up

ruger32016 - 返信

How can u get the whole tablet fixed when the screen came off and everything is not their in its place any more???

Cupcake - 返信

my touch screen does’nt respond can it be replace and where could i get one and what is the price. Im from mauritius thk

Alphonse Tonio - 返信

My touch screen does’nt respond is this can be change and where can i get one and what the price i’m from Mauritius

Alphonse Tonio - 返信

コメントを追加

統計データ:

過去 24時間: 2

過去 7 日: 10

過去 30 日: 23

今までの合計 6,960