メインコンテンツにスキップ

必要な工具と部品

この分解は修理ガイドでは ありません。 お持ちのModal MD-WORCSS6を修理する際は、iFixitの修理ガイドをご利用ください。

  1. Modal MD-WORCSS6 Teardown Guide, Modal MD-WORCSS6 Teardown Guide: 手順 1、 2の画像 1 Modal MD-WORCSS6 Teardown Guide, Modal MD-WORCSS6 Teardown Guide: 手順 1、 2の画像 2
    • Put on Electrostatic Discharge (ESD) bracelet. Hold the device with the transparent plastic casing on the top.

    • Using the jimmy tool, carefully pry off the black plastic ring.

    • Remove the spring assembly from inside the transparent plastic tube.

  2. Modal MD-WORCSS6 Teardown Guide: 手順 2、 2の画像 1 Modal MD-WORCSS6 Teardown Guide: 手順 2、 2の画像 2
    • Using a Phillips #1 screwdriver, unscrew each of the four 12.7 mm screws inside and at the bottom of the plastic tube.

    • Take the plastic tube off of the metal casing.

  3. Modal MD-WORCSS6 Teardown Guide: 手順 3、 2の画像 1 Modal MD-WORCSS6 Teardown Guide: 手順 3、 2の画像 2
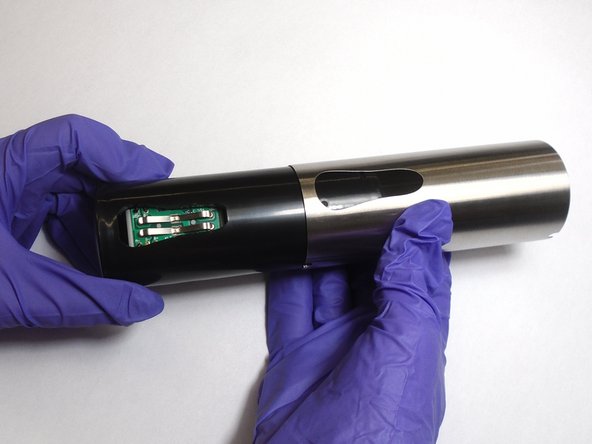
    • Place the jimmy tool blade between the button assembly and the metal casing. Gently pry off the button assembly; it should pop out.

    • With the button assembly removed, slide off the metal casing.

  4. Modal MD-WORCSS6 Teardown Guide: 手順 4、 3の画像 1 Modal MD-WORCSS6 Teardown Guide: 手順 4、 3の画像 2 Modal MD-WORCSS6 Teardown Guide: 手順 4、 3の画像 3
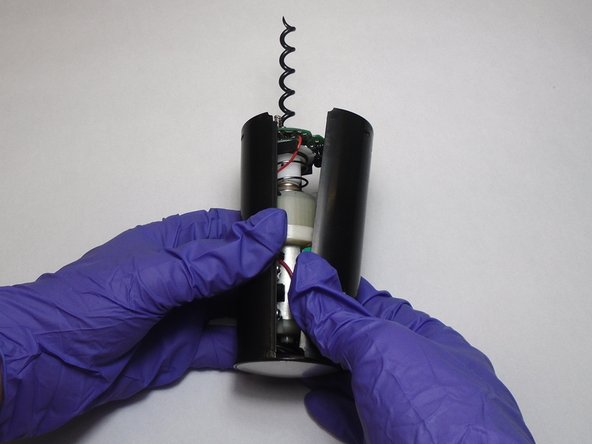
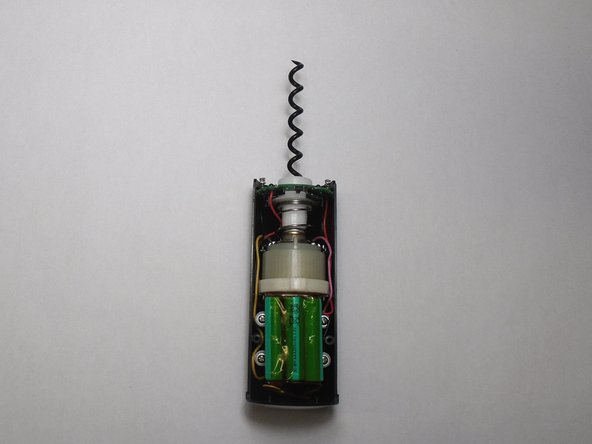
    • Unscrew the two 6.4 mm screws in the black plastic body using the Phillips #1 screwdriver.

    • Separate the two halves of the plastic body. Keep the half containing the motor facing up.

  5. Modal MD-WORCSS6 Teardown Guide: 手順 5、 3の画像 1 Modal MD-WORCSS6 Teardown Guide: 手順 5、 3の画像 2 Modal MD-WORCSS6 Teardown Guide: 手順 5、 3の画像 3
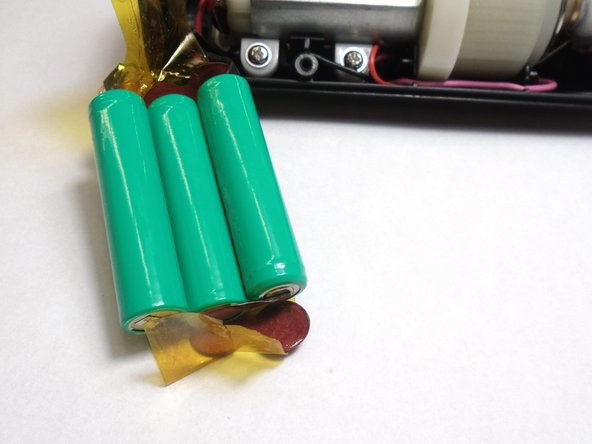
    • Carefully peel the tape off far enough to remove the 3 batteries.

作成者

3人の作成者と共同で作成されました。

Luke Timmerman

メンバー登録日: 10/02/19

298 ポイント

2のガイドは作成済み

0 件のコメント

コメントを追加

統計データ:

過去 24時間: 0

過去 7 日: 1

過去 30 日: 6

今までの合計 299