はじめに
Benodigdheden:
- Schroevendraaier
- Wedge (plat stuk plastic ofzo)
You will need:
1. screwdriver
2. Plastic pry tool
必要な工具と部品
-
-
De MSI Prestige pe70/60 laptop.
-
Draai de laptop om zodat de onderkant zichtbaar word.
-
English: De MSI Prestige pe70/60 laptop.
-
English: Turn the laptop over so the bottom becomes visible.
-
-
-
verwijder de schroeven. LET OP! op foto 1 zie je nog net een schroevendraaier staan. Verwijder deze schroef als eerste. Als deze verwijderd is kun je het DVD station er zo uitschuiven.
-
Verwijder nu de rest van de schroeven.
-
LET OP! er zit een sticker rechtsboven op de laptop. WARANTY VOID IF TAMPERED. hier bevind zich een schroef onder.
-
English: remove the screws. In picture 1 you can just need a screwdriver. Remove this screw first. If this is removed can the DVD drive so extend.
-
English: Remove the rest of the screws.
-
English: There is a sticker on the upper right of the laptop that acts as a warranty seal.
-
-
-
-
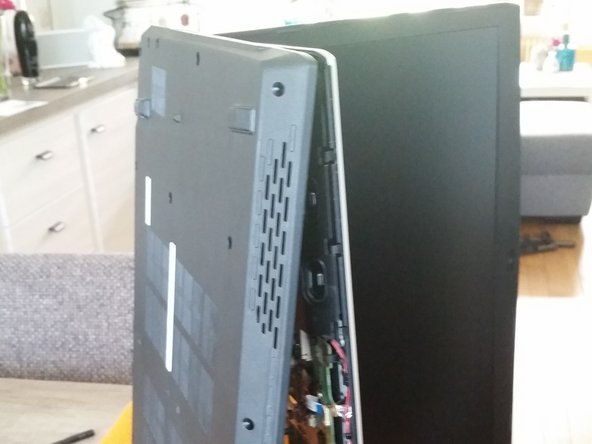
Verwijder nu de bodemplaat.
-
Begin aan de kant waar je de dvdbrander hebt verwijderd.
-
Is de zijkant los, begin je met de voorkant. Dan de achterkant.
-
De kant waar de audiojacks zitten komt als laatste! NIET aan deze kant beginnen.
-
English: Remove the bottom plate.
-
English: Start at the side of the laptop where the DVD drive is.
-
English: With the right side of the laptop loose, start to work from the left and back to remove the bottom cover.
-
-
-
Als het goed is, als je 3 kanten (voor, achter en de dvd kant) los hebt, klikt de rechterkant vanzelf los. (NIET FORCEREN!) het blijft plastic.
-
English: If the bottom was removed correctly, you should be able to slide the back of the laptop off from the back. Do not force it.
-
-
-
Hier zien we het moederboard.
-
sata m.2 ssd (toshiba)
-
Intel wifi
-
Hynix so3l 8gb geheugen
-
Toshiba 1tb hdd
-
English: At this point, you see the main components on the laptop. These include:
-
M.2 SSD made by Toshiba, NGFF Intel WiFi, 8GB SK Hynix DDR3L, 1TB Toshiba hard drive
-