メインコンテンツにスキップ

必要な工具と部品

この分解は修理ガイドでは ありません。 お持ちのLG Y90を修理する際は、iFixitの修理ガイドをご利用ください。

  1. LG Y90 Teardown, LG Y90 Teardown: 手順 1、 1の画像 1
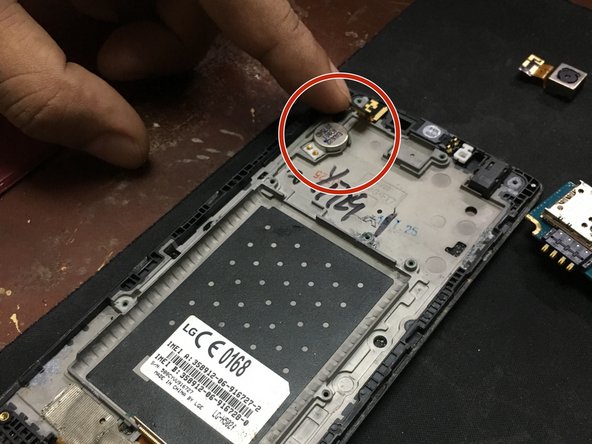
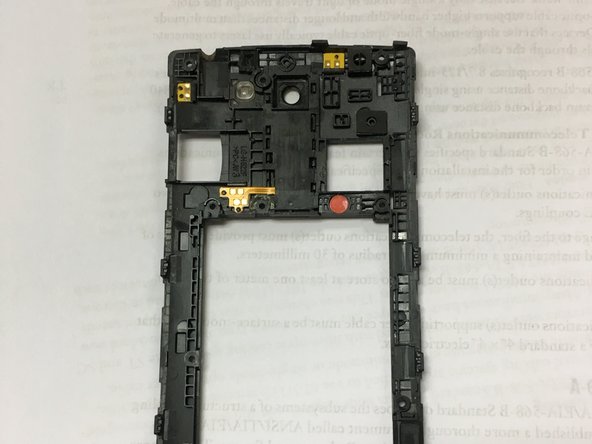
    • After we open the back cover of the unit

    • this shows the mid frame and main board of the unit.

  2. LG Y90 Teardown: 手順 2、 1の画像 1
    • Remove the back camera from the main board

  3. LG Y90 Teardown: 手順 3、 2の画像 1 LG Y90 Teardown: 手順 3、 2の画像 2
    • Gently remove the front camera connection from the main board.

  4. LG Y90 Teardown: 手順 4、 1の画像 1
    • Remove the LCD connection from the main board.

  5. LG Y90 Teardown: 手順 5、 1の画像 1
    • In this step, i used a cut of vinyl card for prying the main board.

    • Make sure that you pry it gently

  6. LG Y90 Teardown: 手順 6、 1の画像 1
    • This is the main board of LG Y90 supposed to look like.

  7. LG Y90 Teardown: 手順 7、 2の画像 1 LG Y90 Teardown: 手順 7、 2の画像 2
    • Remove the vibrator of the unit, you can use a pry or any soft flat and non-conducting material.

  8. LG Y90 Teardown: 手順 8、 2の画像 1 LG Y90 Teardown: 手順 8、 2の画像 2
    • Remove the front camera with your own pry gently.

    • The front camera should look like this.

  9. LG Y90 Teardown: 手順 9、 2の画像 1 LG Y90 Teardown: 手順 9、 2の画像 2
    • Remove the ear piece.

  10. LG Y90 Teardown: 手順 10、 2の画像 1 LG Y90 Teardown: 手順 10、 2の画像 2
    • Remove the audio jack.

  11. LG Y90 Teardown: 手順 11、 1の画像 1
    • This are the placement of the components that you remove.

  12. LG Y90 Teardown: 手順 12、 2の画像 1 LG Y90 Teardown: 手順 12、 2の画像 2
    • The mid board.

  13. LG Y90 Teardown: 手順 13、 1の画像 1
    • Lastly, the back panel.

作成者

2人の作成者と共同で作成されました。

Kriztofferson Mosqueda

メンバー登録日: 07/15/18

217 ポイント

1ガイドが承認済み

0 件のコメント

コメントを追加

統計データ:

過去 24時間: 0

過去 7 日: 0

過去 30 日: 1

今までの合計 489