分解
この分解は修理ガイドでは ありません。 お持ちのLG Xpression C395を修理する際は、iFixitの修理ガイドをご利用ください。
Remove the back plate and battery
Remove the 7 Philips screws on the mid frame and un-clip it from the body
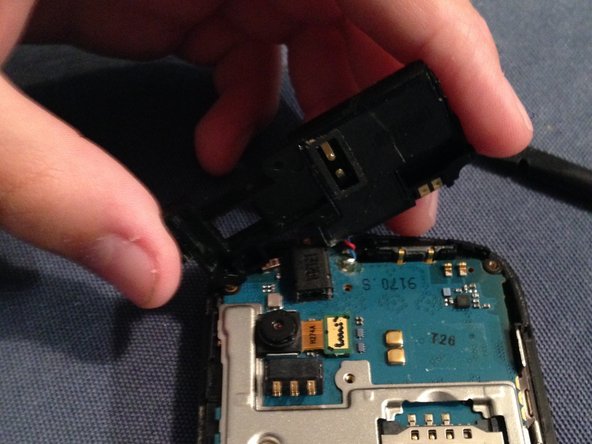
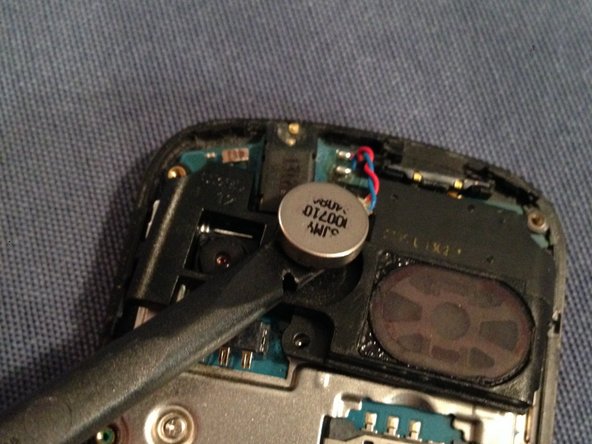
Take out the volume rocker daughter board, the black speaker plastic and the vibrate motor.
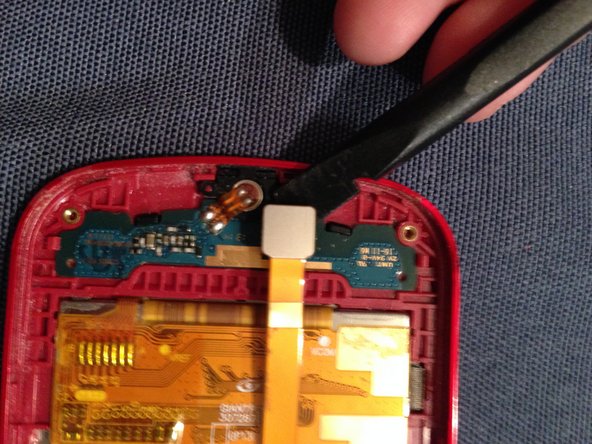
Remove the 2 Phillips screws and remove the motherboard
Remember there is a Ribbon cable under the motherboard
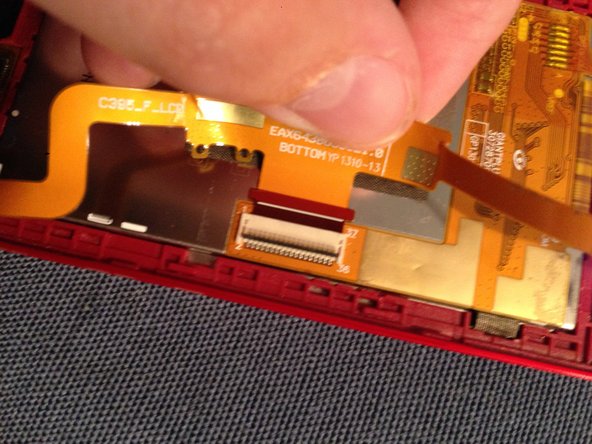
Remove the screen Ribbon cable and the keyboard
Remove the 4 Phillips screws holding in the keyboard plastic
Remove 4 more Phillips screws and remove the back of the screen
Remove the bottom button, earpiece and screen ribbon cable
After all of this you can remove the screen and conclude this teardown
1人の作成者と共同作成されました。
メンバー登録日: 08/28/19
169 ポイント
1ガイドが承認済み
バッジ: 0
Business
1 メンバー
1のガイドは作成済み
サイズを選択し、以下のコードをコピーして、このガイドを小さなウィジェットとしてサイト/フォーラムに埋め込みます。
過去 24時間: 0
過去 7 日: 2
過去 30 日: 5
今までの合計 686