必要な工具と部品
-
-
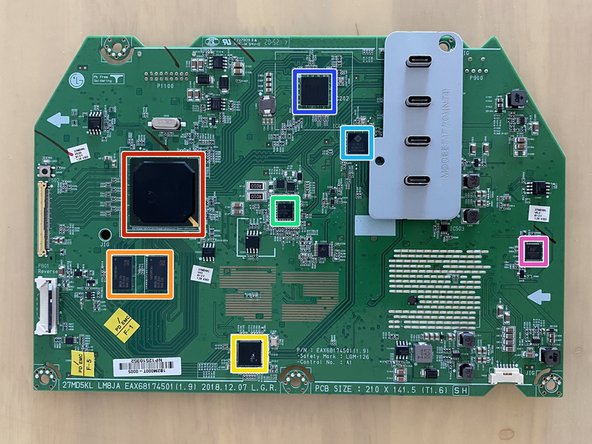
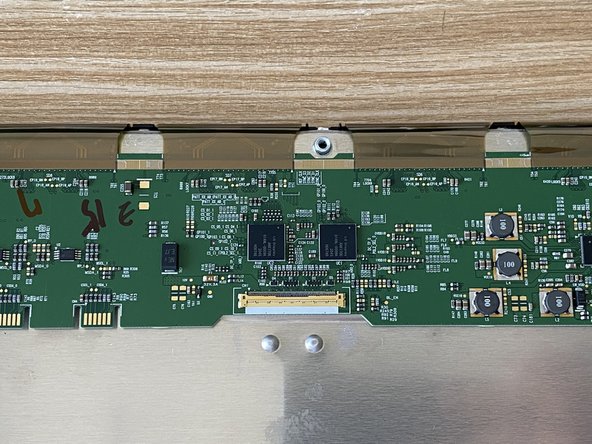
Chip ID for the logic board
-
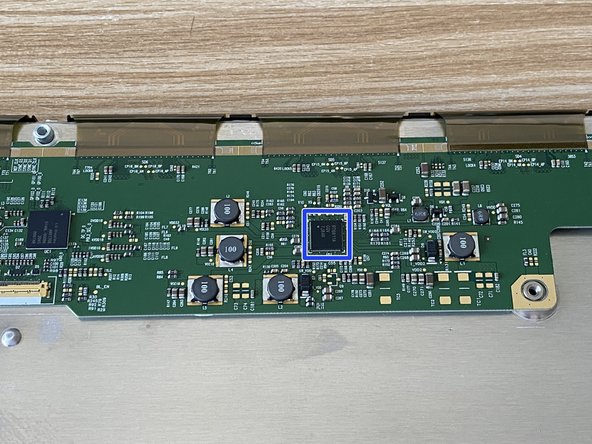
Realtek RTD2799 Monitor Controller
-
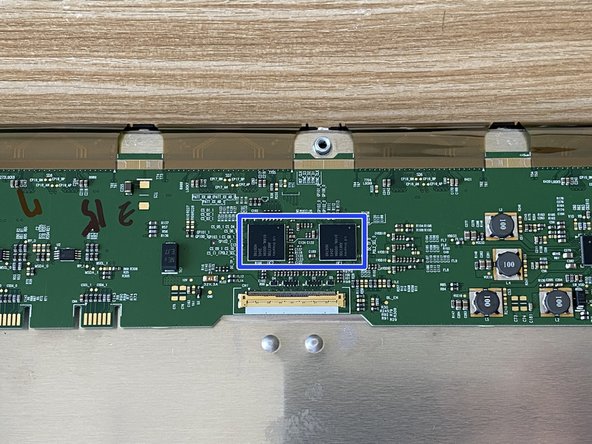
Samsung DDR3 RAM
-
Texas Instruments TUSB8041 Four-Port Super-Speed USB 3.0 Hubs
-
Texas Instruments TPS65983B USB Type-C and Power Delivery (PD) 3.0 Controller
-
Genesys Logic GL3523 USB 3.1 Gen 1 Hub Controller
-
Intel JHL7440 Thunderbolt 3 Controller (Titan Ridge)
-
NTP7515D Audio Amp
-
-


6 件のコメント
Hey, do you know if the outer (glossy) panel is removable (changeable) or permanently laminated to the screen?
Piotr Klim - 返信
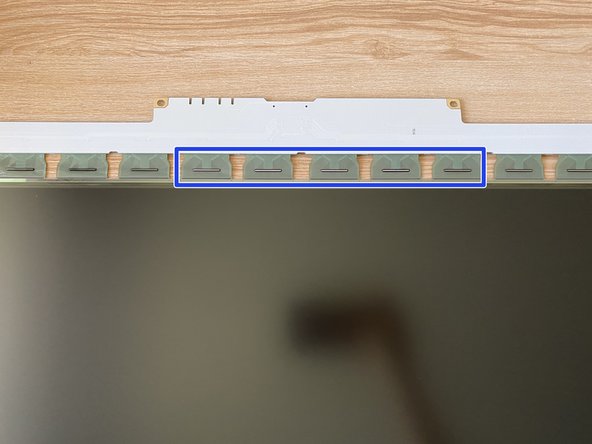
It is a fully laminated display module.
Excellent, thanks for this! Is it possible to replace the built in camera with a more modern one? Any thoughts in this?
I think it is impossible since the camera module is highly integrated to the main board, there are also some special pins to route the audio signals from the camera module to the audio chip on the main board.
Hi Andy,
Thanks for the tear down, With the bezel is it just clipped on and just requires the use of a spudger to get it off?