I have tried to include as much detail as possible in this teardown. I have even inspected the chips on the mainboard! Thanks for looking, and I hope you find this useful.
この分解は修理ガイドでは ありません 。 お持ちのLG GW300を修理する際は、iFixitの修理ガイド をご利用ください。
Get a thin opening tool and slide it around the bezel of the device.
Make sure you put it in the correct place, behind the silver bezel of the front of the phone!
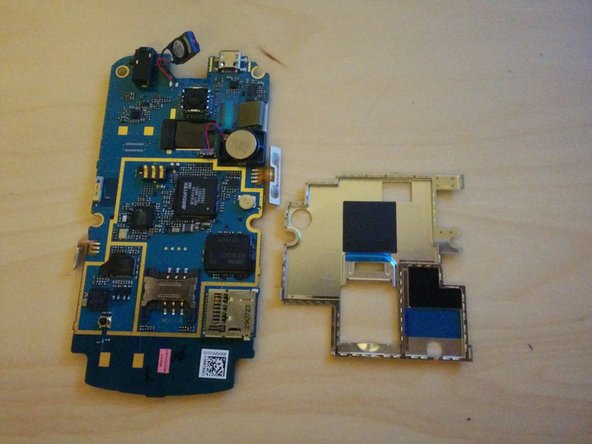
The front and back of the device should separate.
Two buttons should come off after you have removed the back.
This is the rear speaker.
Both of these buttons need to be pried from the front casing to allow the mainboard to come away from the front housing.
These buttons are soldered to the mainboard so make sure you don't break them!
The front speaker also has to be pried from the front housing.
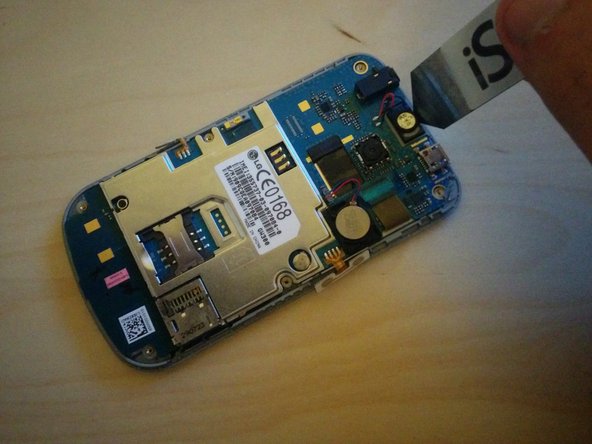
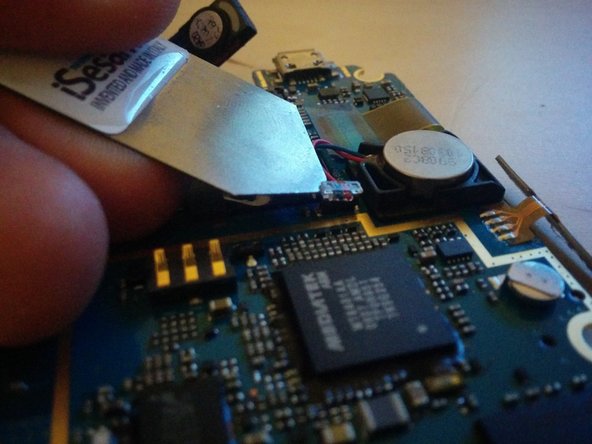
The LCD ribbon cable and connector are under a plastic sheet that has to be removed.
The ribbon cable can then be take out of the connector
The ribbon connector is very fragile, so be careful when lifting the lever.
このガイドを埋め込む
サイズを選択し、以下のコードをコピーして、このガイドを小さなウィジェットとしてサイト/フォーラムに埋め込みます。
1つの手順
全ガイド
小サイズ - 600px
中サイズ - 800px
大サイズ - 1200px
プレビュー