分解
この分解は修理ガイドでは ありません。 お持ちのJBL SoundBoost Speakerを修理する際は、iFixitの修理ガイドをご利用ください。
Peel the sticker from the back
Unscrew the 8 screws from the back
Extract the PCB from case
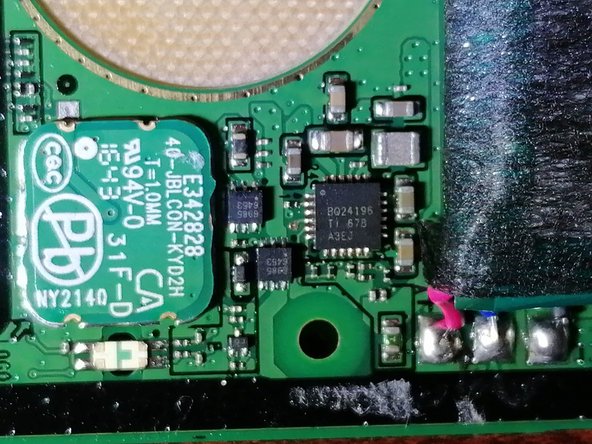
BQ24196 - battery charger
TFA9890A - speaker driver
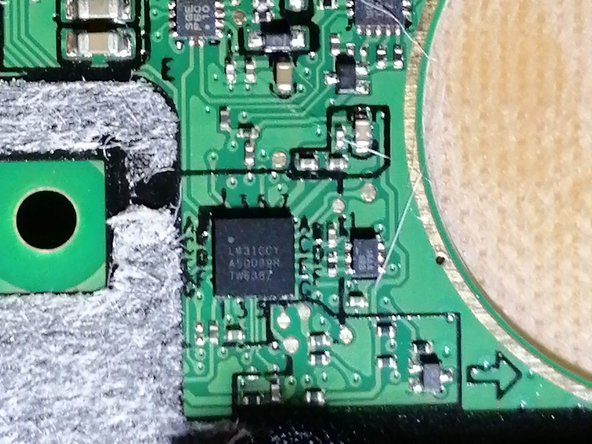
STM32L431xx - ARM Cortex M4 (L431CCY mark on chip)
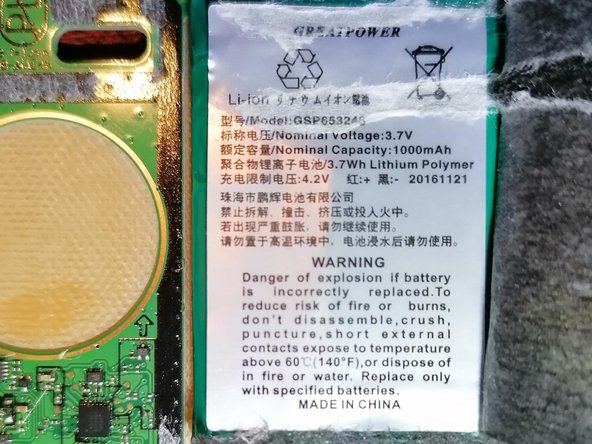
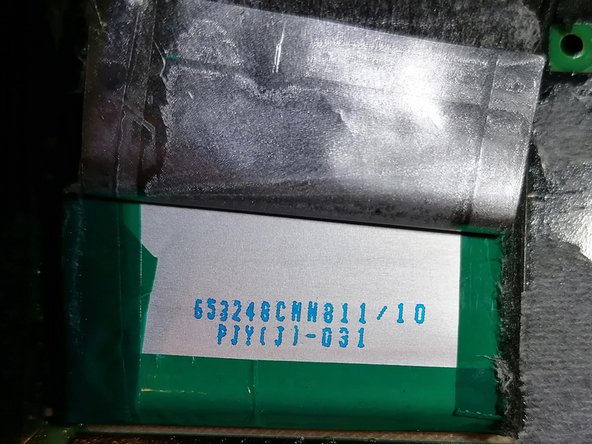
3.7V 1000mAh battery
The PCB has exposed test pads for: I2S, JTAG, UART, Amp output, Power button and some pads named TM#
1人の作成者と共同作成されました。
メンバー登録日: 02/02/20
133 ポイント
1ガイドが承認済み
バッジ: 0
а распиновка той площадки имеется ? чтобы вывести 3.5 джека например
Dima Dmytro - 2022年10月29日 返信
サイズを選択し、以下のコードをコピーして、このガイドを小さなウィジェットとしてサイト/フォーラムに埋め込みます。
過去 24時間: 4
過去 7 日: 11
過去 30 日: 26
今までの合計 2,169