メインコンテンツにスキップ

必要な工具と部品

この分解は修理ガイドでは ありません。 お持ちのHyundai H-150を修理する際は、iFixitの修理ガイドをご利用ください。

  1. Hyundai H-150 Teardown, Hyundai H-150 Teardown: 手順 1、 3の画像 1 Hyundai H-150 Teardown, Hyundai H-150 Teardown: 手順 1、 3の画像 2 Hyundai H-150 Teardown, Hyundai H-150 Teardown: 手順 1、 3の画像 3
    • We'll start with a preview of the phone. Front, back and side view are shown here.

  2. Hyundai H-150 Teardown: 手順 2、 3の画像 1 Hyundai H-150 Teardown: 手順 2、 3の画像 2 Hyundai H-150 Teardown: 手順 2、 3の画像 3
    • The battery is removed easily. Just pull down the part from the back and the battery goes out.

  3. Hyundai H-150 Teardown: 手順 3、 3の画像 1 Hyundai H-150 Teardown: 手順 3、 3の画像 2 Hyundai H-150 Teardown: 手順 3、 3の画像 3
    • After the battery is out, we're presented with a plastic cover with all the phone's information (Model No., Serial No etc)

    • Notice the 4 Philips screw-heads in each of the four corners. Those need to go off.

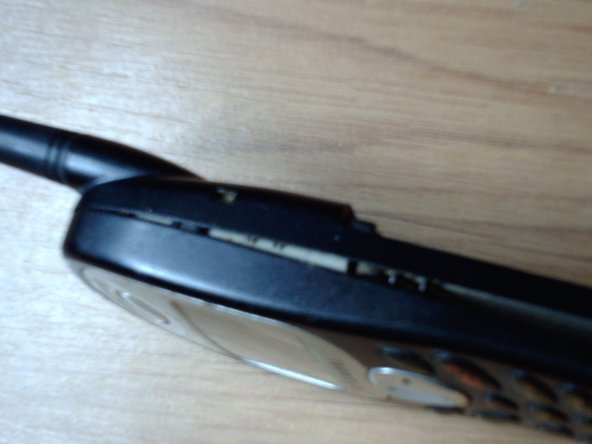
    • After unscrewing, you might notice that the cover doesn't easily go off. Four clips are holding the back cover onto the front cover.

    • Use a Spudger and unclip the sides of the cover. It shouldn't put up much resistance

  4. Hyundai H-150 Teardown: 手順 4、 3の画像 1 Hyundai H-150 Teardown: 手順 4、 3の画像 2 Hyundai H-150 Teardown: 手順 4、 3の画像 3
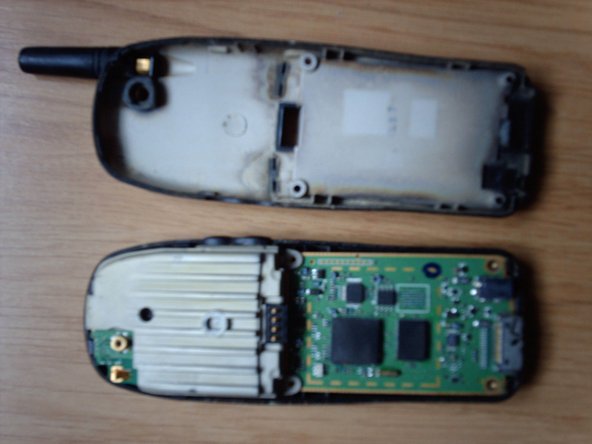
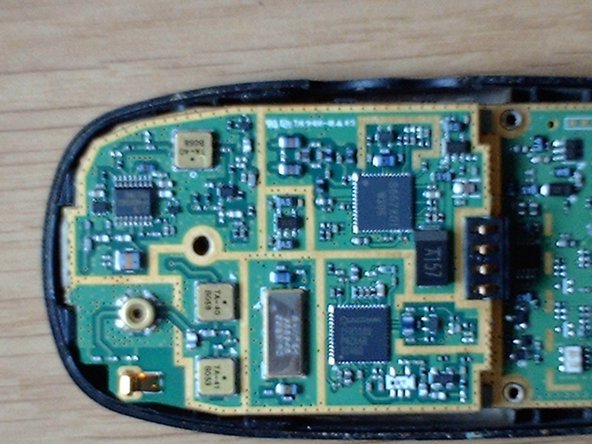
    • Once the back cover is off, one can see the motherboard and a strange metal part on the top of the phone. This serves as an antenna booster, but also to protect the board.

  5. Hyundai H-150 Teardown: 手順 5、 3の画像 1 Hyundai H-150 Teardown: 手順 5、 3の画像 2 Hyundai H-150 Teardown: 手順 5、 3の画像 3
    • See that hole in the shield? That Has a screw in it. And yes, it needs to leave.

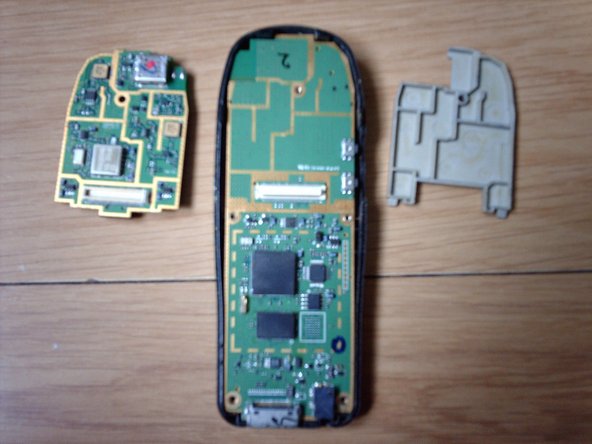
    • After removing the screw from the shield, it can be lifted from the board easily, revealing another board beneath it.

  6. Hyundai H-150 Teardown: 手順 6、 3の画像 1 Hyundai H-150 Teardown: 手順 6、 3の画像 2 Hyundai H-150 Teardown: 手順 6、 3の画像 3
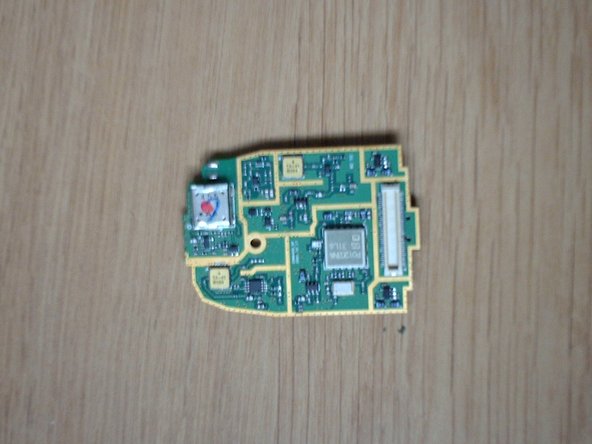
    • It seems that this secondary board is held onto the main board by a board connector.

    • Pull the board gently and you'll notice it comes out rather fast.

  7. Hyundai H-150 Teardown: 手順 7、 3の画像 1 Hyundai H-150 Teardown: 手順 7、 3の画像 2 Hyundai H-150 Teardown: 手順 7、 3の画像 3
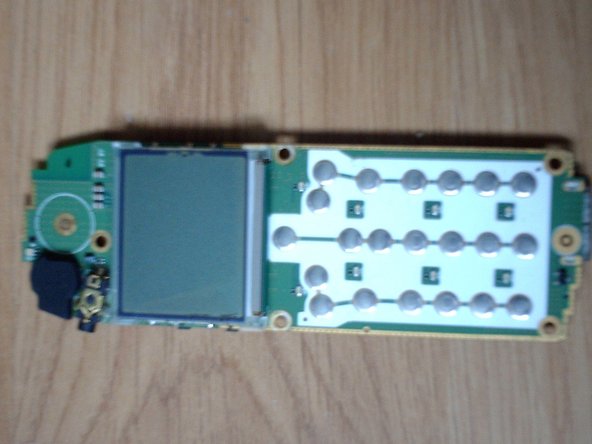
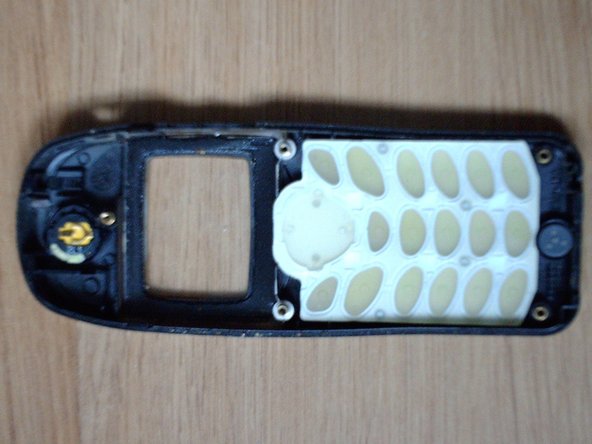
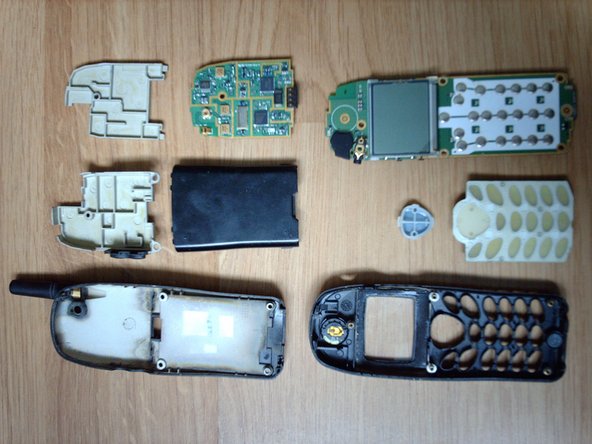
    • By this stage, the board simply comes out of the front body, exposing the keyboard and its associated membrane.

    • On the board we encounter the ringer(upper left), the headphone/handsfree input(under the ringer) and the LCD (which is sadly sticked on the board, as is the keypad membrane)

    • On the case we encounter the microphone (lowest part of the phone case), the loudspeaker (the highest part of the phone case)

  8. Hyundai H-150 Teardown: 手順 8、 2の画像 1 Hyundai H-150 Teardown: 手順 8、 2の画像 2
    • That concludes the teardown for now.

作成者

1人の作成者と共同作成されました。

Nicolay

メンバー登録日: 04/08/13

371 ポイント

3のガイドは作成済み

0 件のコメント

コメントを追加

統計データ:

過去 24時間: 0

過去 7 日: 2

過去 30 日: 5

今までの合計 819