メインコンテンツにスキップ

必要な工具と部品

この分解は修理ガイドでは ありません。 お持ちのHyppe Max Air 5000を修理する際は、iFixitの修理ガイドをご利用ください。

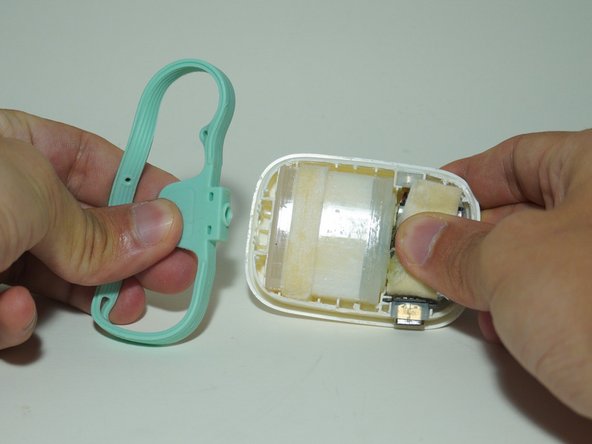
  1. Hyppe Max Air 5000 Teardown, Bumper Removal: 手順 1、 3の画像 1 Hyppe Max Air 5000 Teardown, Bumper Removal: 手順 1、 3の画像 2 Hyppe Max Air 5000 Teardown, Bumper Removal: 手順 1、 3の画像 3
    • Remove rubber bumper

  2. Hyppe Max Air 5000 Teardown, Shell Removal: 手順 2、 1の画像 1
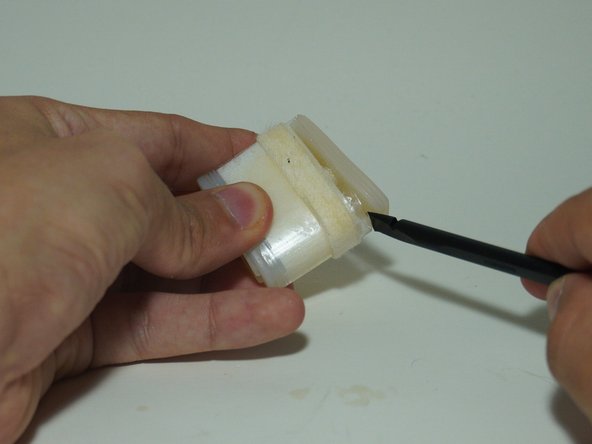
    • The plastic shell is ultrasonically welded shut

    • This is due to the disposable nature of the device

    • I don't have images of the removal process but I used a razor to lightly go along the seam and then spit it apart with a spudger

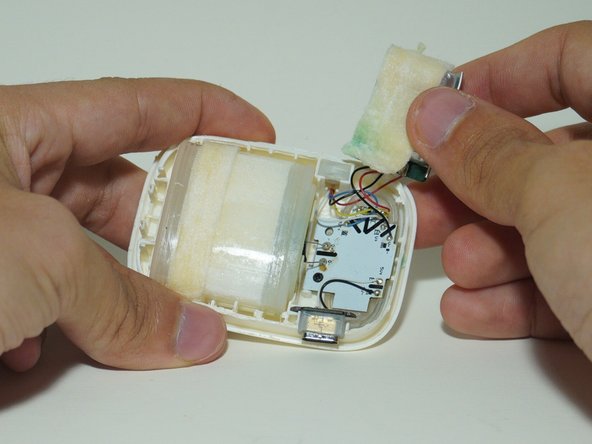
  3. Hyppe Max Air 5000 Teardown, Mouthpiece Removal: 手順 3、 2の画像 1 Hyppe Max Air 5000 Teardown, Mouthpiece Removal: 手順 3、 2の画像 2
    • Lift upwards

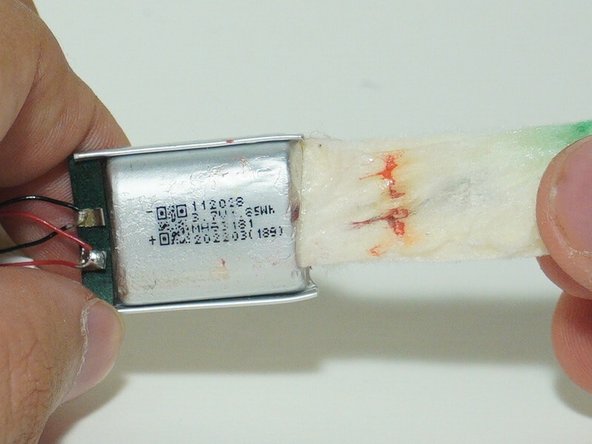
  4. Hyppe Max Air 5000 Teardown, Battery Removal: 手順 4、 3の画像 1 Hyppe Max Air 5000 Teardown, Battery Removal: 手順 4、 3の画像 2 Hyppe Max Air 5000 Teardown, Battery Removal: 手順 4、 3の画像 3
    • Lift up the battery

    • 3.7V 1.85Wh

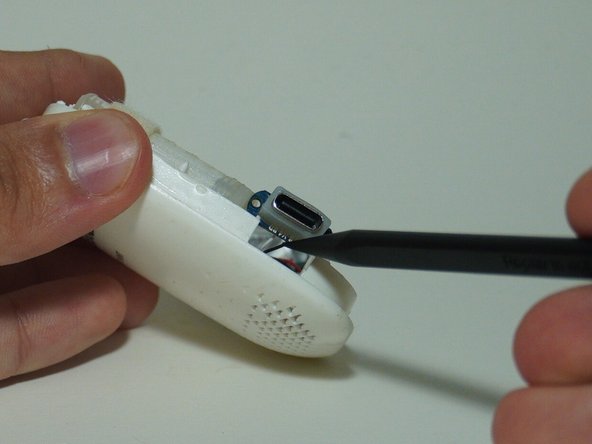
  5. Hyppe Max Air 5000 Teardown, Charge Port Removal: 手順 5、 2の画像 1 Hyppe Max Air 5000 Teardown, Charge Port Removal: 手順 5、 2の画像 2
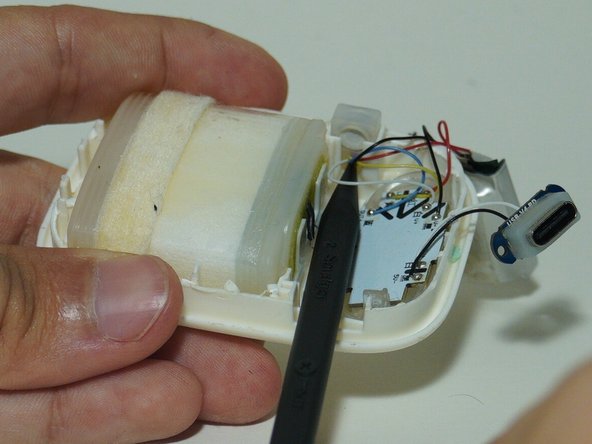
    • Use the point part of the spudger to get under the port and pry it up

  6. Hyppe Max Air 5000 Teardown, Motherboard screw: 手順 6、 2の画像 1 Hyppe Max Air 5000 Teardown, Motherboard screw: 手順 6、 2の画像 2
    • Remove the PH00 screw

  7. Hyppe Max Air 5000 Teardown, Airflow sensor: 手順 7、 3の画像 1 Hyppe Max Air 5000 Teardown, Airflow sensor: 手順 7、 3の画像 2 Hyppe Max Air 5000 Teardown, Airflow sensor: 手順 7、 3の画像 3
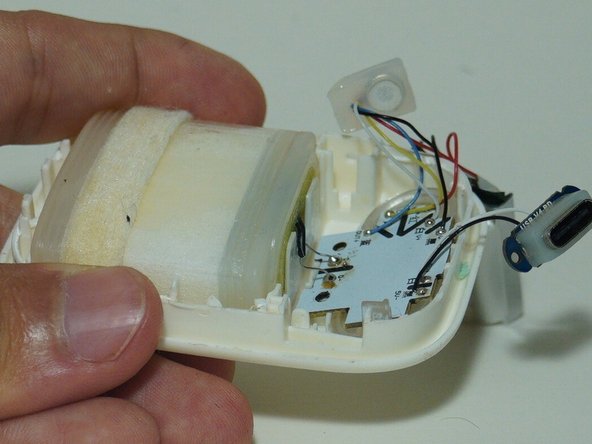
    • Use the ponty end of the spudger to lift up the airflow sensor

  8. Hyppe Max Air 5000 Teardown, Electronics Removal: 手順 8、 2の画像 1 Hyppe Max Air 5000 Teardown, Electronics Removal: 手順 8、 2の画像 2
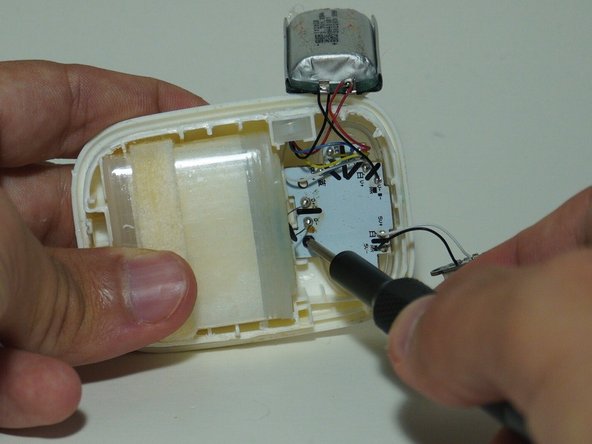
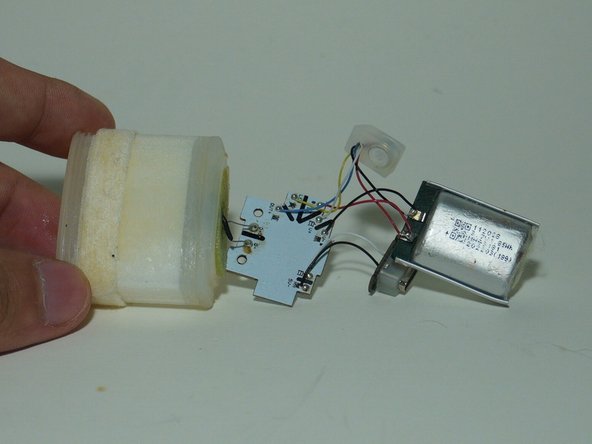
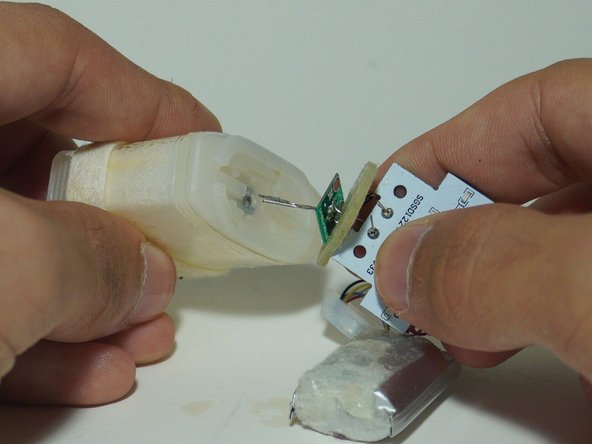
    • Use flat end of spudger to pry out chamber

    • Everything should now be come out of the plastic housing

  9. Hyppe Max Air 5000 Teardown, PCB Closeup: 手順 9、 2の画像 1 Hyppe Max Air 5000 Teardown, PCB Closeup: 手順 9、 2の画像 2
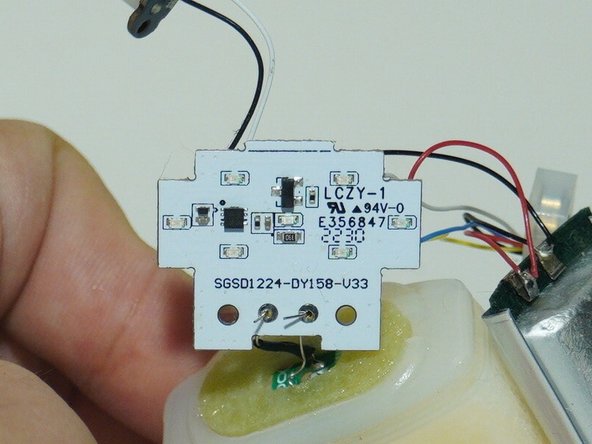
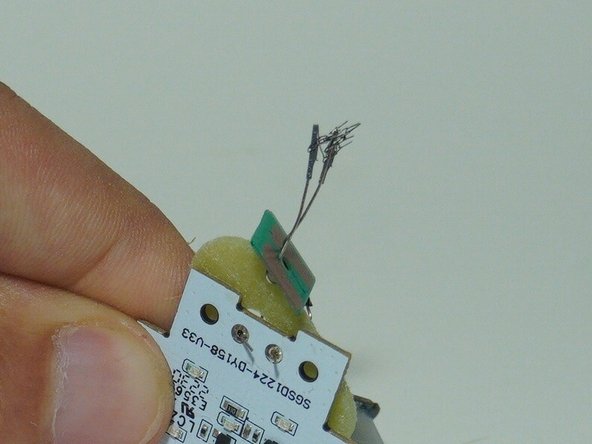
    • Some close up images of the PCB

  10. Hyppe Max Air 5000 Teardown, Heater Removal: 手順 10、 3の画像 1 Hyppe Max Air 5000 Teardown, Heater Removal: 手順 10、 3の画像 2 Hyppe Max Air 5000 Teardown, Heater Removal: 手順 10、 3の画像 3
    • Pull on the heater and it should just pop out

    • It's interesting to see that the heater geometry is just a mesh

  11. Hyppe Max Air 5000 Teardown, Chamber Lid Removal: 手順 11、 2の画像 1 Hyppe Max Air 5000 Teardown, Chamber Lid Removal: 手順 11、 2の画像 2
    • Use the spudger to pop off the rubber lid of the chamber

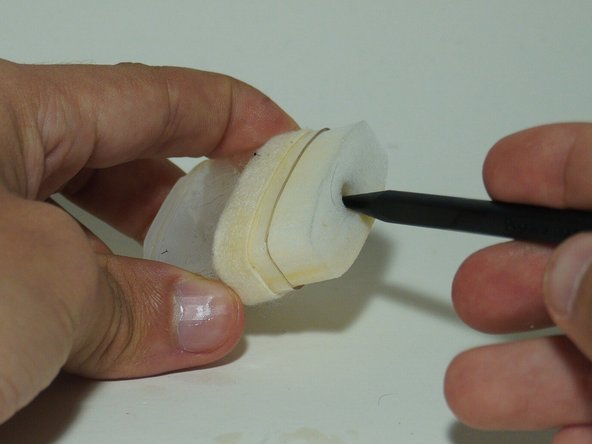
  12. Hyppe Max Air 5000 Teardown, Wicking Material: 手順 12、 2の画像 1 Hyppe Max Air 5000 Teardown, Wicking Material: 手順 12、 2の画像 2
    • Pull out the foam-like material

  13. Hyppe Max Air 5000 Teardown, Metal Core: 手順 13、 3の画像 1 Hyppe Max Air 5000 Teardown, Metal Core: 手順 13、 3の画像 2 Hyppe Max Air 5000 Teardown, Metal Core: 手順 13、 3の画像 3
    • Use spudger to push out core

    • The heating element sits inside the sleeve. There is some wicking material on the inside to bring the nicotine liquid close to the heating mesh.

作成者

1人の作成者と共同作成されました。

ShellingRook27

メンバー登録日: 08/21/19

1,790 ポイント

7のガイドは作成済み

チーム

Repair For You Repair For You人のメンバー

Business

1 メンバー

11のガイドは作成済み

0 件のコメント

コメントを追加

統計データ:

過去 24時間: 0

過去 7 日: 14

過去 30 日: 106

今までの合計 1,791