はじめに
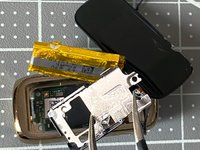
This is a teardown of the Fitbit Luxe to have a better understanding of the components within. The teardown was part of a design sprint for Memiro, research focused on self tracking and quantified self technology from IIT Institute of Design, Chicago.
必要な工具と部品
-
-
Use a heat gun, hair dryer, or heating pad to heat the back cover
-
Wedge a spudger or other opening tool in the seem between the housing and back cover
-
Pry open the back cover evenly around the edge of the seem until back cover can be removed
-
-
この手順で使用する道具:Tweezers$4.99
-
Similar to the previous step, apply heat to the screen
-
Use a spudger, opening tool, or guitar pick to separate the screen from the housing
-
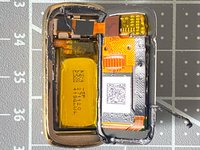
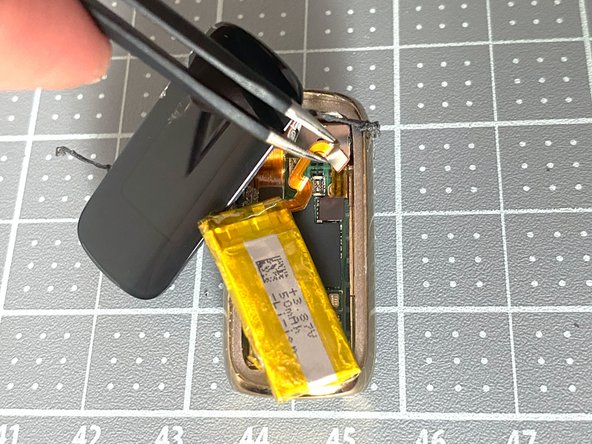
Use tweezers to lift the battery from the housing
-
Use a Torx screwdriver to remove the center screw
-
-
-
-
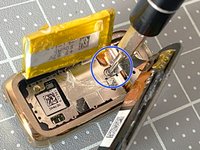
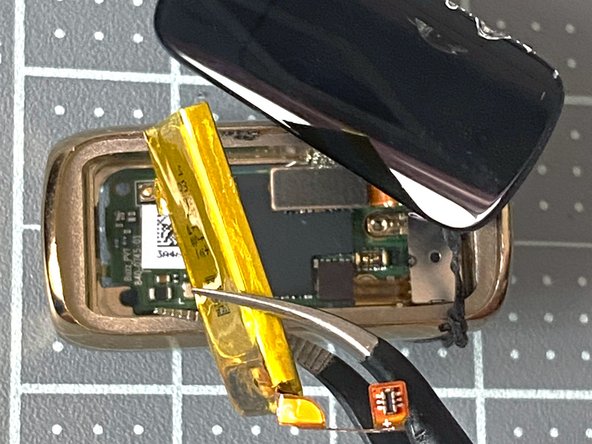
Using tweezers, gently remove the battery's connector from the PCB
-
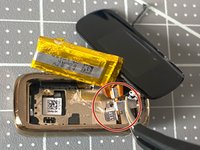
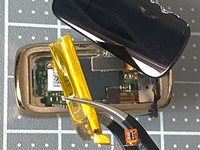
Lift the battery out of the assembly
-
-
-
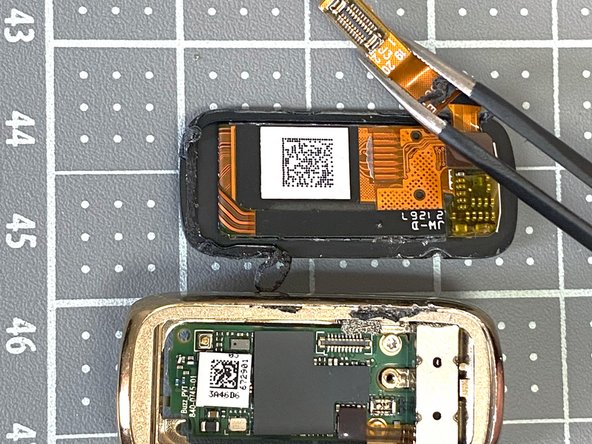
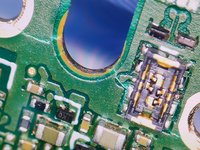
Locate the screen's connector on the PCB
-
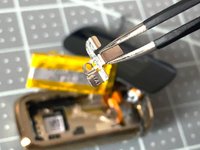
Using tweezers, gently remove the connector from the PCB
-
-
-
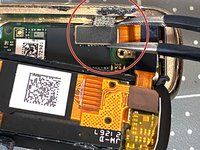
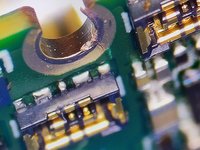
Use tweezers to lift the haptic module connector from the PCB
-
Remove the haptic module
-
-
-
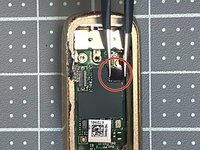
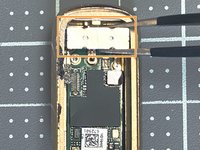
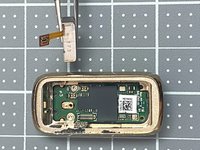
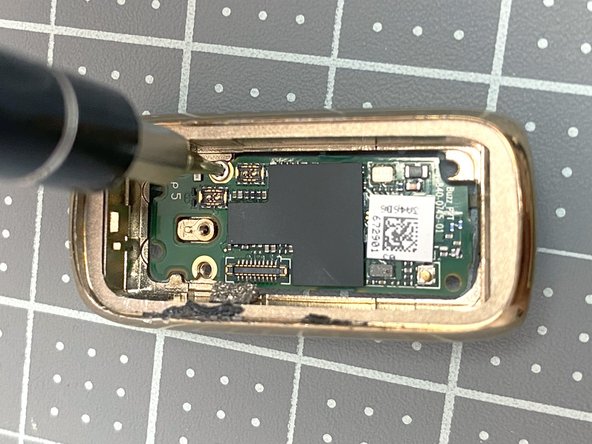
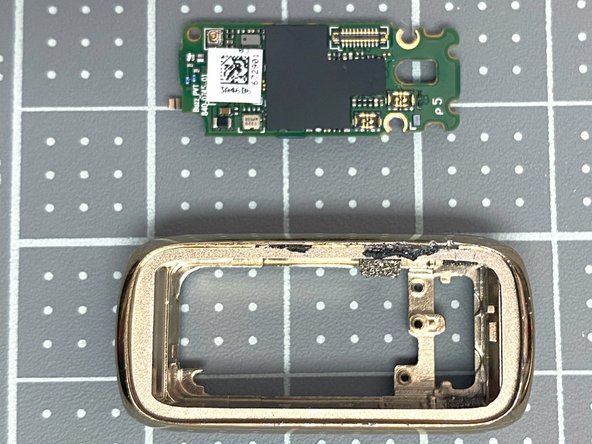
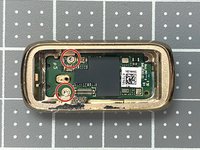
Use a Torx screwdriver to remove the two screws on the PCB
-
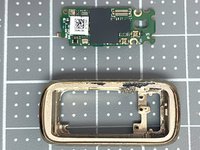
Use tweezers to remove the PCB from the housing
-
-
-
Look for cracks, and board bents, especially near to the mounting holes (near the haptic feedback unit). My wifes luxe first stopped measuring, later started shutting down itself. When opened it I've found the battery very expanded, which have pressed the board outside and have cracked it, possibly tearing traces in the internal layers.
-


6 件のコメント
What chip or module would the firmware be on? I am trying to modify my Fitbit's operating system for more apps, and possibly Google Wear OS.
anybody know where i can buy parts for the fitbit luxe in EU ? looking for the Battery,
Do you have any tips on getting the screen off? I tried using my blow dryer for five minutes but it’s still in the casing
@calvinonofrei I believe it is Ambiq Apollo4 - an ARM Cortex M4 chip with 16 MB of RAM, which I am afraid woult not be a fit for any Wear OS
@rhinounease0o You need very thin metal plate to pry it off, because the gap between the screen and the frame is very tiny. Only hot air wasn't enough im my case. I have soaked it with IPA several times within an hour. this somehow softened the glue allowing me to slide the screen to one of the long sides and get the prying tool on the other long side. Otherwise the tool (0.15mm thick) was no go on either side of the screen. After you get it between the glass and the frame you can use a hair drier to heat it up and gently lift it.