メインコンテンツにスキップ

必要な工具と部品

この分解は修理ガイドでは ありません。 お持ちのEnvision EN7410を修理する際は、iFixitの修理ガイドをご利用ください。

  1. Envision EN7410 Teardown, Removing the stand: 手順 1、 2の画像 1 Envision EN7410 Teardown, Removing the stand: 手順 1、 2の画像 2
    • Place the monitor on its screen side down

    • Remove the four screws holding the stand onto the monitor

  2. Envision EN7410 Teardown, Remove backing: 手順 2、 3の画像 1 Envision EN7410 Teardown, Remove backing: 手順 2、 3の画像 2 Envision EN7410 Teardown, Remove backing: 手順 2、 3の画像 3
    • To remove the backing, remove the two screws holding the case in place.

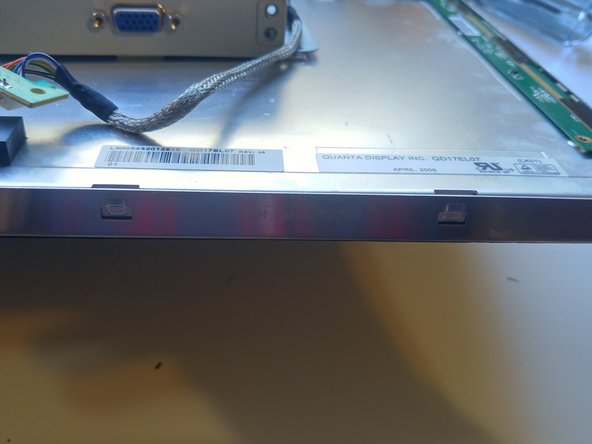
    • The monitor is held in place with clips. Lightly bend the backing backwards to separate the frame from the screen

  3. Envision EN7410 Teardown, Remove lower circuit board screws: 手順 3、 2の画像 1 Envision EN7410 Teardown, Remove lower circuit board screws: 手順 3、 2の画像 2
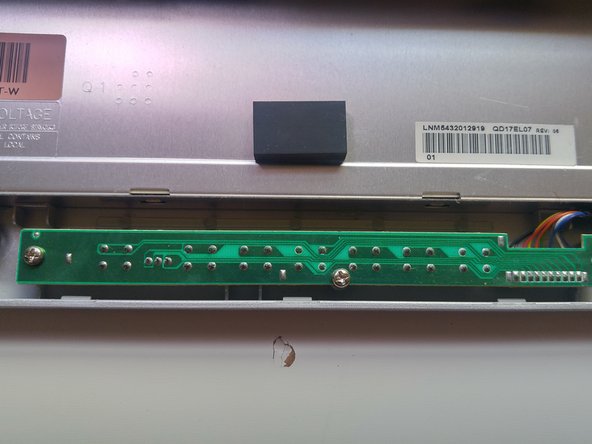
    • We must first remove the circuits connected to the buttons used to calibrate the monitor

    • Remove this section by unscrewing the three screws holding it in place

    • Remember that this section is connected by wires, and should be handled carefully

  4. Envision EN7410 Teardown, Disconnect  cable from top circuit board: 手順 4、 2の画像 1 Envision EN7410 Teardown, Disconnect  cable from top circuit board: 手順 4、 2の画像 2
    • Hold right below the cables and pull the cable apart from the top circuit board

  5. Envision EN7410 Teardown, Remove side screws: 手順 5、 1の画像 1
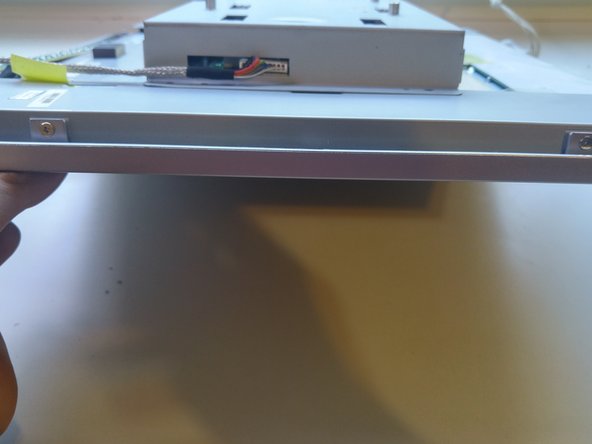
    • There are four screws on each side of the monitor that you must remove to disassemble the rest of the monitor

    • These screws are relatively tiny, so make sure that they are stored securely

  6. Envision EN7410 Teardown, Removing Circuit board casing: 手順 6、 2の画像 1 Envision EN7410 Teardown, Removing Circuit board casing: 手順 6、 2の画像 2
    • Remove the backing of the circuit board by unscrewing the four screws holding it in place

    • Make sure Step 3 was completed in full because it is connected to this part

  7. Envision EN7410 Teardown, Remove side panels and tape: 手順 7、 3の画像 1 Envision EN7410 Teardown, Remove side panels and tape: 手順 7、 3の画像 2 Envision EN7410 Teardown, Remove side panels and tape: 手順 7、 3の画像 3
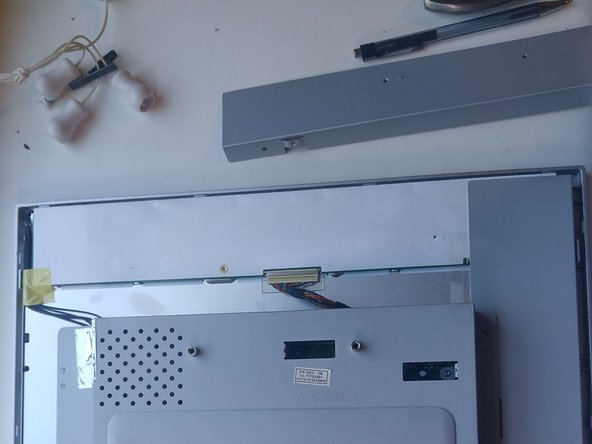
    • Remove these panels after the past steps have been completed in full

    • Remove the tape covering any of the screws or wires we will remove in future steps

  8. Envision EN7410 Teardown, Remove screws to upper circuit board: 手順 8、 1の画像 1
    • Remove the three screws on the circuit board

    • Use the mini Philip's head

  9. Envision EN7410 Teardown, Remove screws from side circuit board: 手順 9、 1の画像 1
    • Remove the two smaller screws on the side circuit board

    • Remember to use the mini Philip's head

  10. Envision EN7410 Teardown, Removing metal frame: 手順 10、 3の画像 1 Envision EN7410 Teardown, Removing metal frame: 手順 10、 3の画像 2 Envision EN7410 Teardown, Removing metal frame: 手順 10、 3の画像 3
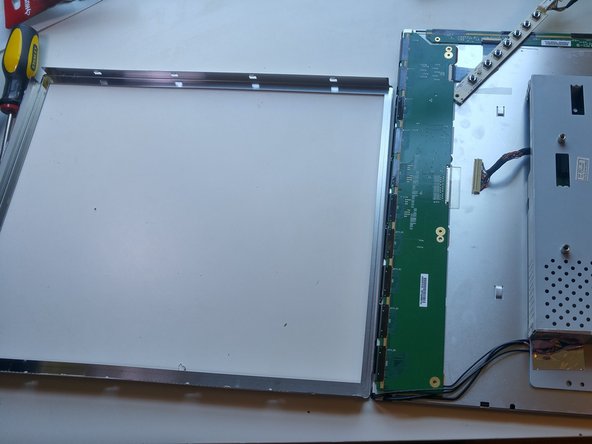
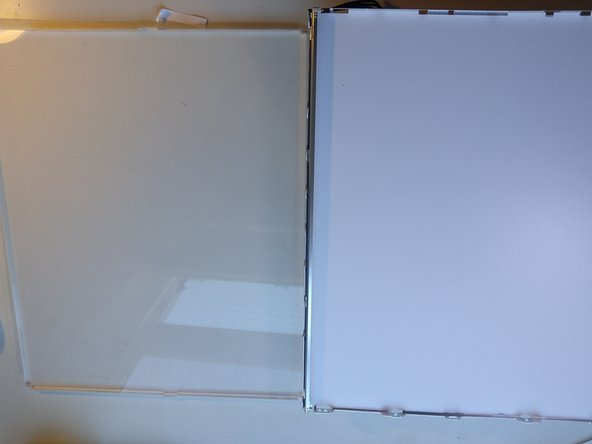
    • Pop away the metal frame surrounding the LCD monitor

    • This is similar to removing the other frame in step 2

  11. Envision EN7410 Teardown, Removing the black LCD screen: 手順 11、 3の画像 1 Envision EN7410 Teardown, Removing the black LCD screen: 手順 11、 3の画像 2 Envision EN7410 Teardown, Removing the black LCD screen: 手順 11、 3の画像 3
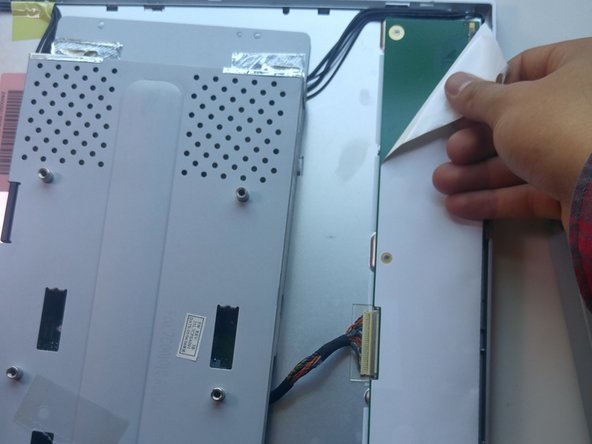
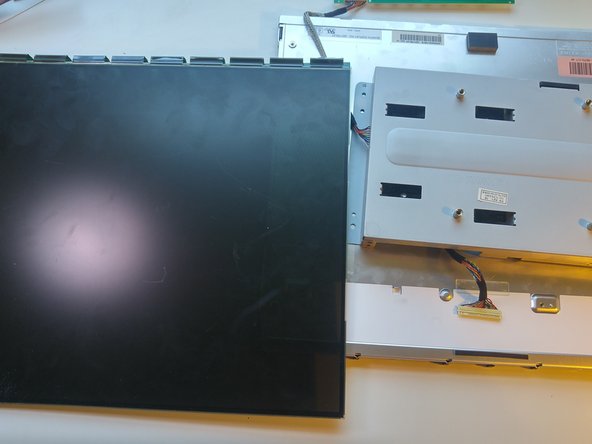
    • Raise the green circuit boards up

    • Holding the screen vertically, slide the black screen off

  12. Envision EN7410 Teardown, Removing the LCD Glass Panel: 手順 12、 3の画像 1 Envision EN7410 Teardown, Removing the LCD Glass Panel: 手順 12、 3の画像 2 Envision EN7410 Teardown, Removing the LCD Glass Panel: 手順 12、 3の画像 3
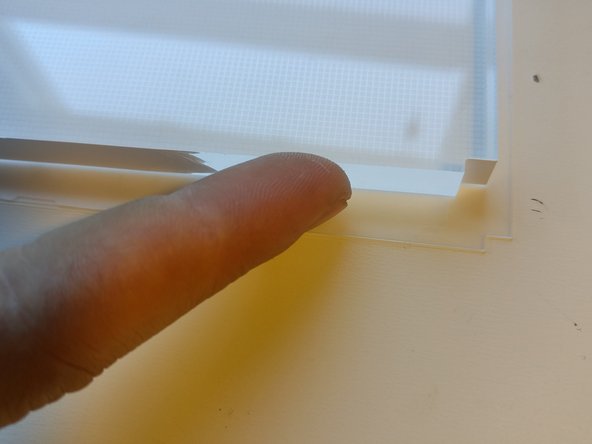
    • Remove the plastic filter sheets covering the LCD glass panel

    • Place your fingers on the sides of the glass panel and lift it upwards to remove it

  13. Envision EN7410 Teardown, Remove the inner black frame: 手順 13、 2の画像 1 Envision EN7410 Teardown, Remove the inner black frame: 手順 13、 2の画像 2
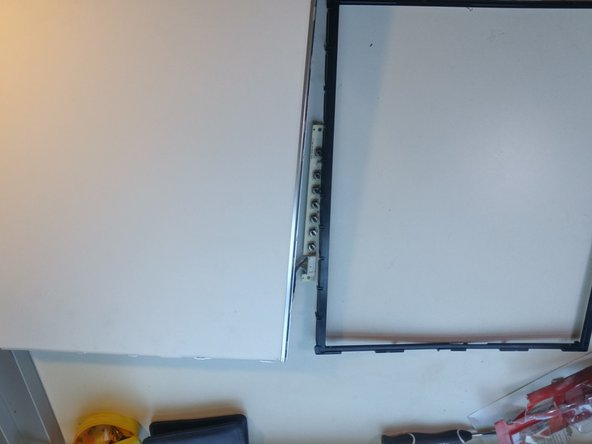
    • Place the monitor white side up

    • Just like the previous frames, pop the plastic black frame apart from the rest of the monitor

  14. Envision EN7410 Teardown, Removing electronics from monitor: 手順 14、 2の画像 1 Envision EN7410 Teardown, Removing electronics from monitor: 手順 14、 2の画像 2
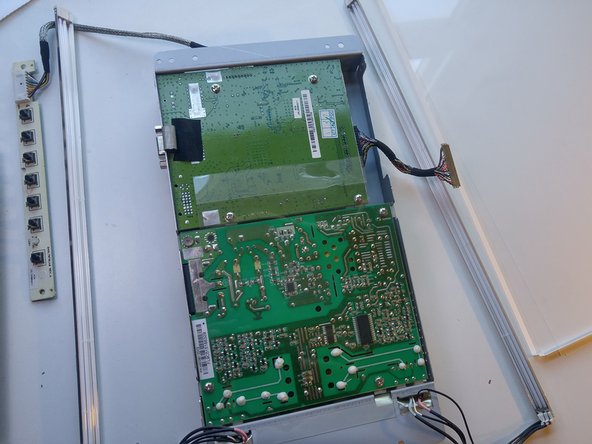
    • gently lift the two metal bars connected to the circuit board.

    • This will separate the two components apart

    • You have successfully completed a teardown of the Envision EN7410 monitor

作成者

1人の作成者と共同作成されました。

Anthony Fontes

メンバー登録日: 06/15/16

111 ポイント

1ガイドが承認済み

0 件のコメント

コメントを追加

統計データ:

過去 24時間: 0

過去 7 日: 1

過去 30 日: 8

今までの合計 988