メインコンテンツにスキップ

必要な工具と部品

この分解は修理ガイドでは ありません。 お持ちのDualshock 2を修理する際は、iFixitの修理ガイドをご利用ください。

  1. Dualshock 2 Teardown, Removing the Screws: 手順 1、 1の画像 1
    • On the back of the controller there is screw holes

    • Using a Philip Screw driver remove the screws

  2. Dualshock 2 Teardown, Separating the controller pieces: 手順 2、 3の画像 1 Dualshock 2 Teardown, Separating the controller pieces: 手順 2、 3の画像 2 Dualshock 2 Teardown, Separating the controller pieces: 手順 2、 3の画像 3
    • Using a pry tool separate the two controller pieces

  3. Dualshock 2 Teardown, All the buttons: 手順 3、 3の画像 1 Dualshock 2 Teardown, All the buttons: 手順 3、 3の画像 2 Dualshock 2 Teardown, All the buttons: 手順 3、 3の画像 3
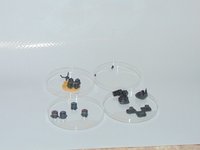
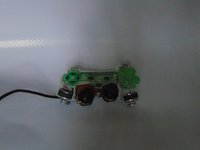
    • First remove the buttons

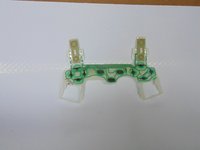
    • Most of my buttons fell off. Then left up on the sensor and set it aside.

  4. Dualshock 2 Teardown, DualShock support: 手順 4、 2の画像 1 Dualshock 2 Teardown, DualShock support: 手順 4、 2の画像 2
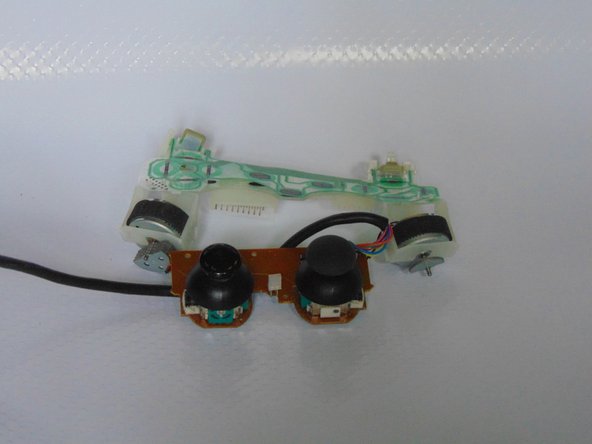
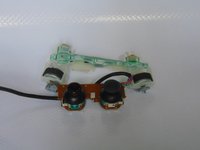
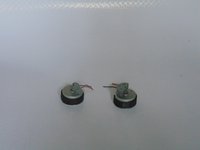
    • When I lifted the controller out of the chassis one of the dual shock motors fell off it soldering. I removed the other one.

  5. Dualshock 2 Teardown: 手順 5、 1の画像 1
    • What you are left with

作成者

2人の作成者と共同で作成されました。

zachary

メンバー登録日: 01/10/15

792 ポイント

2のガイドは作成済み

0 件のコメント

コメントを追加

統計データ:

過去 24時間: 3

過去 7 日: 10

過去 30 日: 79

今までの合計 9,796