分解
I am tearing down the ps3 controller.
この分解は修理ガイドでは ありません。 お持ちのDualShock 3を修理する際は、iFixitの修理ガイドをご利用ください。
PS3 controller
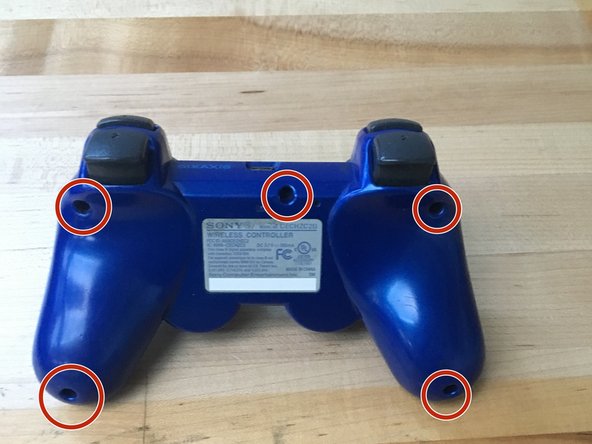
First take the screws of with a screw driver.
They are 5 screws.
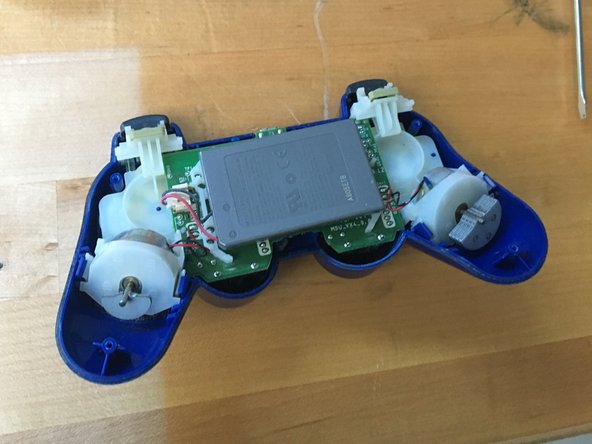
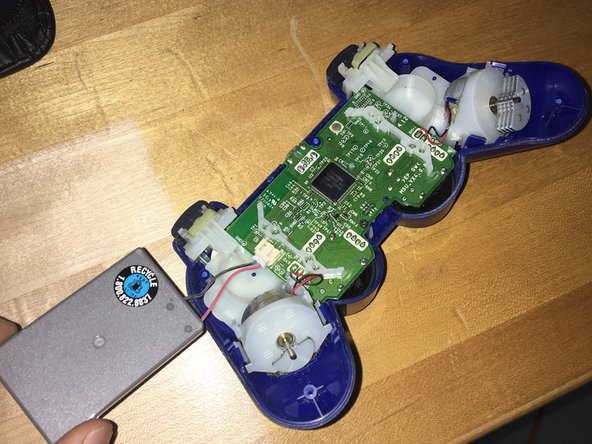
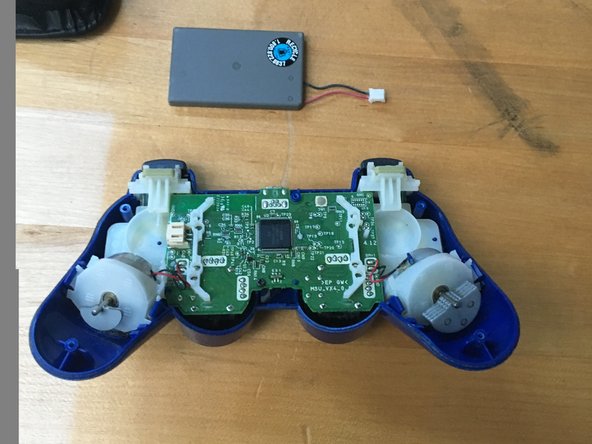
When your in you can take the battery out easily with your hands.
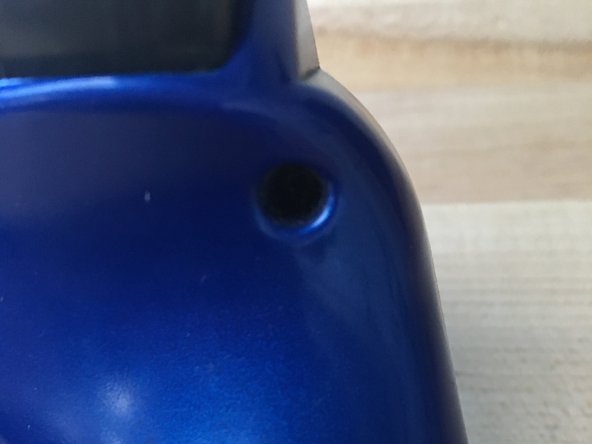
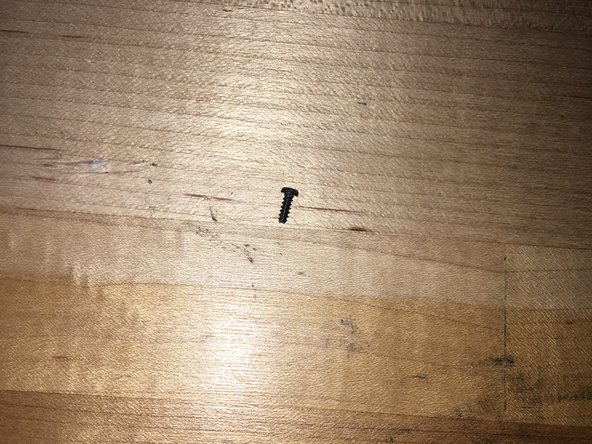
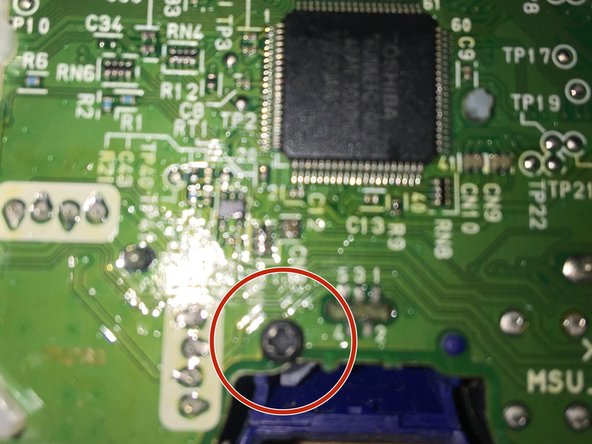
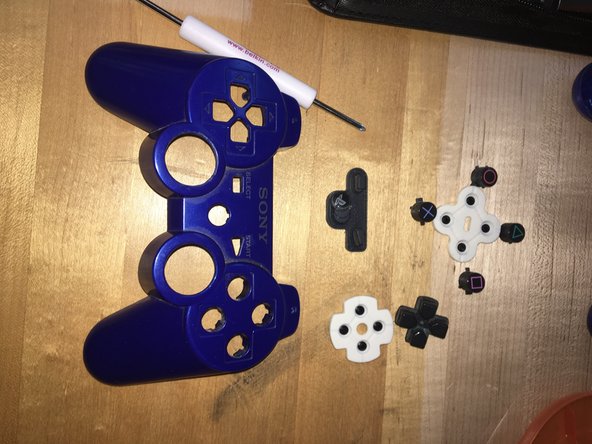
Take this screw out before you try to take out your buttons.
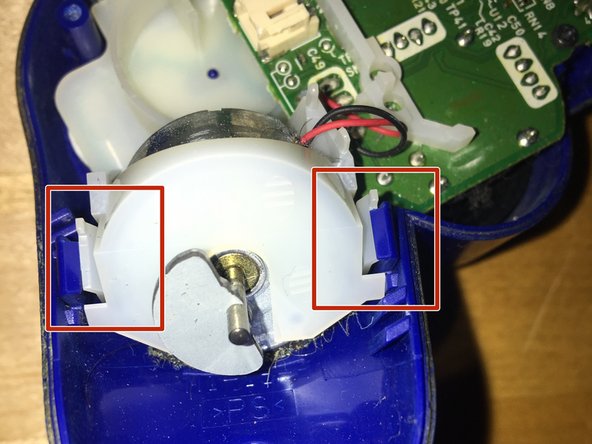
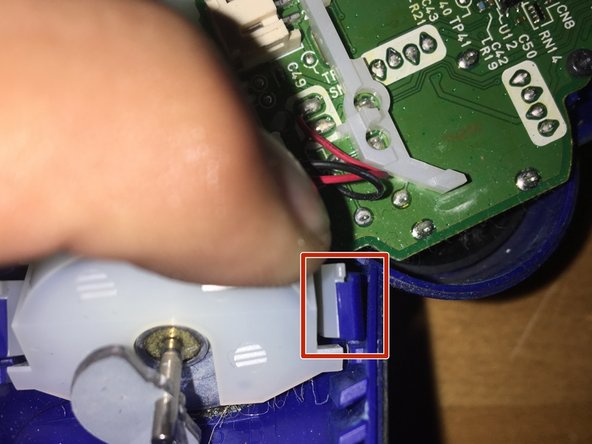
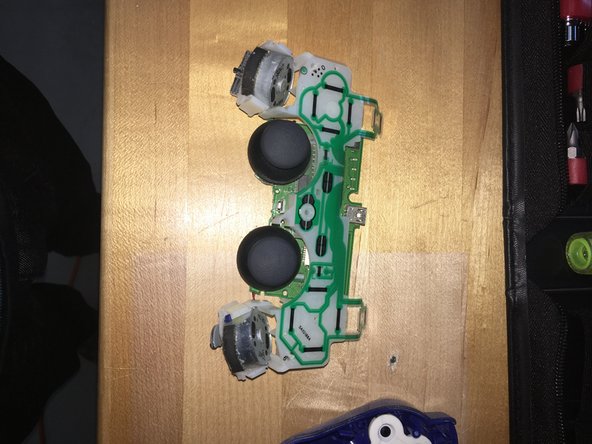
In order to take off the mother board you have to move those two white things away from the blue.
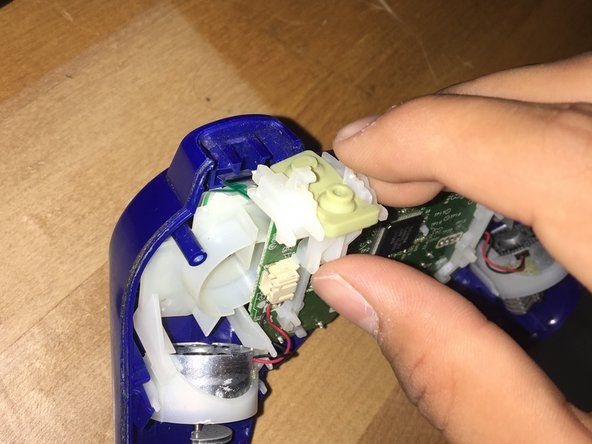
It is really easy to take the buttons off you just slide it off easily.
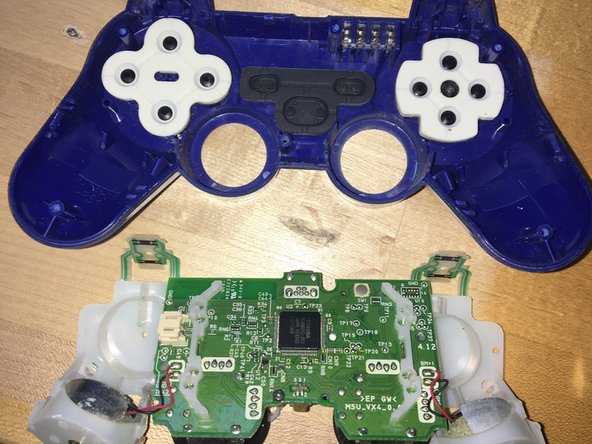
This is how it looks when your done with the ps3 controller,
1人の作成者と共同作成されました。
メンバー登録日: 10/24/16
258 ポイント
1ガイドが承認済み
バッジ: 0
サイズを選択し、以下のコードをコピーして、このガイドを小さなウィジェットとしてサイト/フォーラムに埋め込みます。
過去 24時間: 0
過去 7 日: 0
過去 30 日: 0
今までの合計 1,881