メインコンテンツにスキップ

必要な工具と部品

この分解は修理ガイドでは ありません。 お持ちのDrayTek Vigor 2820を修理する際は、iFixitの修理ガイドをご利用ください。

  1. DrayTek Vigor 2820 Teardown, remove the front plate: 手順 1、 2の画像 1 DrayTek Vigor 2820 Teardown, remove the front plate: 手順 1、 2の画像 2
    • The front plate is attached to the bottom with 3 clips.

    • Using a flathead screwdriver, pry open the first clip.

    • Use a flat object to hold the first clip open.

    • Use the flathead to open the remaining clips.

  2. DrayTek Vigor 2820 Teardown, disassemble case: 手順 2、 2の画像 1 DrayTek Vigor 2820 Teardown, disassemble case: 手順 2、 2の画像 2
    この手順で使用する道具:
    Flathead 3/32" or 2.5 mm Screwdriver
    $5.49
    購入する
    • With the 2.5mm flathead, remove the rubber feet.

    • Unscrew the 4 screws holding the top and bottom parts of the case together.

  3. DrayTek Vigor 2820 Teardown, remove the ADSL module: 手順 3、 3の画像 1 DrayTek Vigor 2820 Teardown, remove the ADSL module: 手順 3、 3の画像 2 DrayTek Vigor 2820 Teardown, remove the ADSL module: 手順 3、 3の画像 3
    • Unscrew the screws attaching the ADSL module to the mainboard.

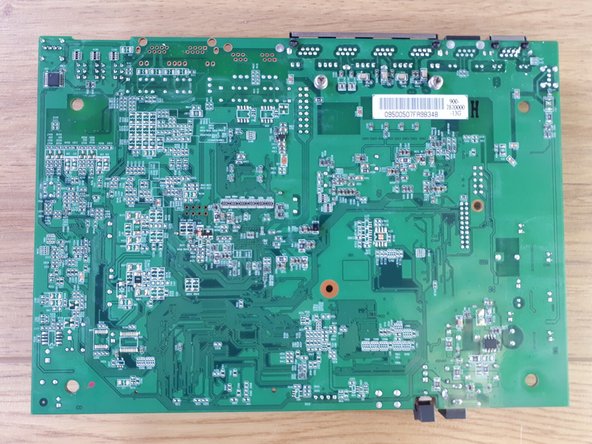
    • The mainboard:

    • Nanya Technology NT5DS16M16CS-5T 256Mb DDR SDRAM

    • Infineon Technologies PSB 6972 HL V1.2 Ethernet Switch Controller

    • Delta Electronics LFE8731

    • Delta Electronics LFE9208A

作成者

3人の作成者と共同で作成されました。

knipwim

メンバー登録日: 09/01/18

8,527 ポイント

31のガイドは作成済み

0 件のコメント

コメントを追加

統計データ:

過去 24時間: 2

過去 7 日: 5

過去 30 日: 25

今までの合計 1,302