メインコンテンツにスキップ

この分解は進行中です。 – 最新版を見るには定期的に再読み込みします。

必要な工具と部品

  1. Dell Quietkey SK-8000 Keyboard Teardown, Remove Back Plastic Body: 手順 1、 2の画像 1 Dell Quietkey SK-8000 Keyboard Teardown, Remove Back Plastic Body: 手順 1、 2の画像 2
    • Flip the keyboard over to expose 8 screws.

    • Use a Phillips screwdriver to unscrew and remove each screw.

  2. Dell Quietkey SK-8000 Keyboard Teardown: 手順 2、 2の画像 1 Dell Quietkey SK-8000 Keyboard Teardown: 手順 2、 2の画像 2
    • Lift the keyboard upward from the bottom.

    • Do not pull too hard when lifting the base. Be careful not to destroy the wires connecting to the base of the keyboard.

    • Use a Phillips screwdriver to remove the remaining ten screws on the aluminum plate.

  3. Dell Quietkey SK-8000 Keyboard Teardown, Completion: 手順 3、 3の画像 1 Dell Quietkey SK-8000 Keyboard Teardown, Completion: 手順 3、 3の画像 2 Dell Quietkey SK-8000 Keyboard Teardown, Completion: 手順 3、 3の画像 3
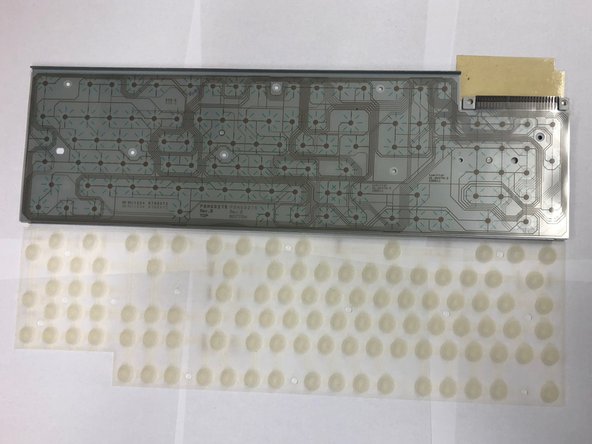
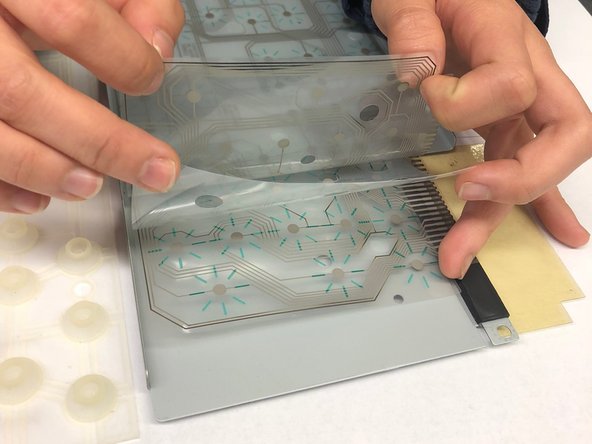
    • Carefully lift each part out. Each part should lift out very easily after the screws are removed.

  4. Dell Quietkey SK-8000 Keyboard Teardown, Siltek Chip Reveal: 手順 4、 1の画像 1
    • The keyboard controller is seen to be a Siltek R4462.

作成者

1人の作成者と共同作成されました。

Ion

メンバー登録日: 09/29/15

479 ポイント

3のガイドは作成済み

チーム

Cal Poly, Team 10-5, Green Fall 2015 Cal Poly, Team 10-5, Green Fall 2015人のメンバー

CPSU-GREEN-F15S10G5

3 メンバー

4のガイドは作成済み

0 件のコメント

コメントを追加

統計データ:

過去 24時間: 2

過去 7 日: 5

過去 30 日: 16

今までの合計 989