メインコンテンツにスキップ

Dell Inspiron N4050 Teardown

  1. Dell Inspiron N4050 Teardown, Removing the battery part 1: 手順 1、 3の画像 1 Dell Inspiron N4050 Teardown, Removing the battery part 1: 手順 1、 3の画像 2 Dell Inspiron N4050 Teardown, Removing the battery part 1: 手順 1、 3の画像 3
    • Check your laptop model

    • Turn it over to work on the bottom of the laptop

    • Open the first latch for the battery

  2. Dell Inspiron N4050 Teardown, Remove the battery part 2: 手順 2、 3の画像 1 Dell Inspiron N4050 Teardown, Remove the battery part 2: 手順 2、 3の画像 2 Dell Inspiron N4050 Teardown, Remove the battery part 2: 手順 2、 3の画像 3
    • Open the second latch in the direction that the arrow is pointing. This requires more effort than the first one.

    • The battery will come out a little. Finish removing it gently.

  3. Dell Inspiron N4050 Teardown, Remove the bottom screws: 手順 3、 2の画像 1 Dell Inspiron N4050 Teardown, Remove the bottom screws: 手順 3、 2の画像 2
    • Remove the 8 screws.

    • Use a Phillips 0 screwdriver.

  4. Dell Inspiron N4050 Teardown, Removing the keyboard part 1: 手順 4、 3の画像 1 Dell Inspiron N4050 Teardown, Removing the keyboard part 1: 手順 4、 3の画像 2 Dell Inspiron N4050 Teardown, Removing the keyboard part 1: 手順 4、 3の画像 3
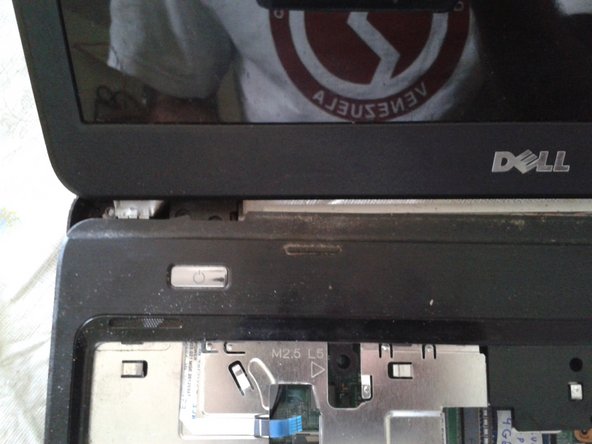
    • Turn the laptop with the keyboard facing up.

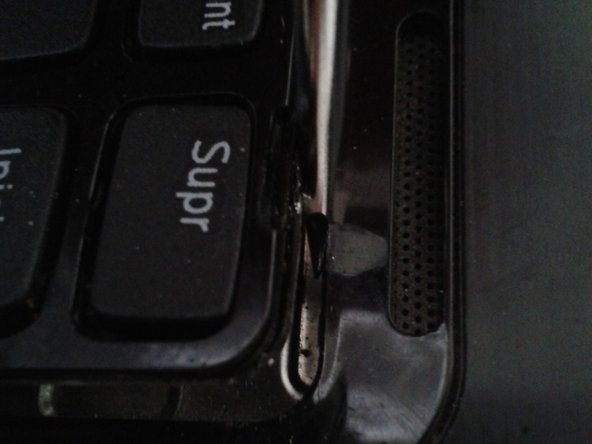
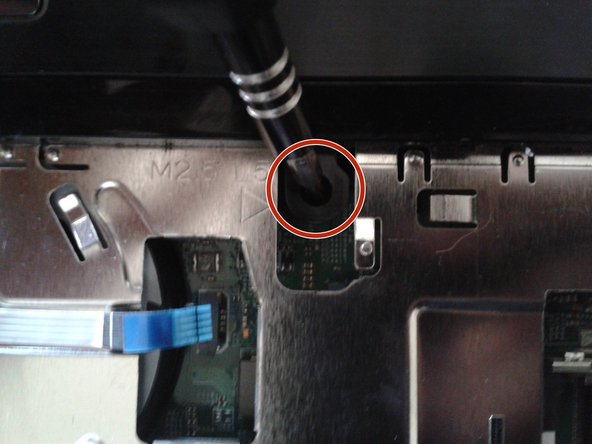
    • Use a flat-blade screwdriver to separate the keyboard from the computer case.

    • Tilt the keyboard as shown in the image. Do not remove it completely because it is connected to a cable.

  5. Dell Inspiron N4050 Teardown, Remove the cable that connects the keyboard to the motherboard: 手順 5、 2の画像 1 Dell Inspiron N4050 Teardown, Remove the cable that connects the keyboard to the motherboard: 手順 5、 2の画像 2
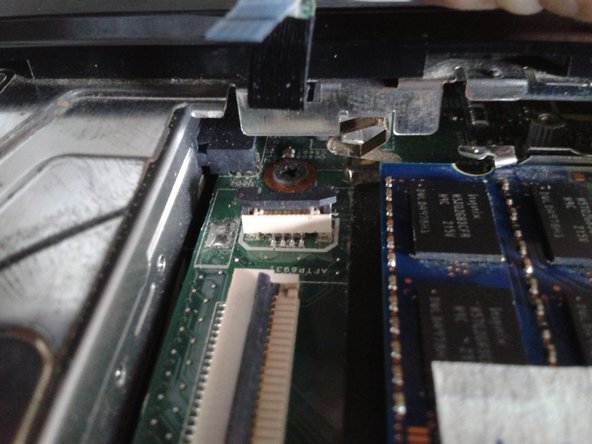
    • Remove the clip that holds the cable to the motherboard.
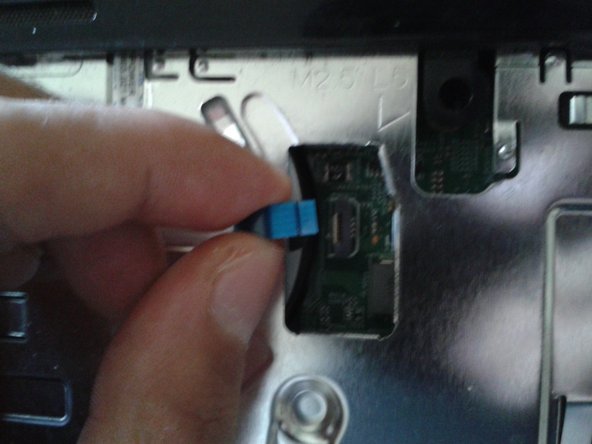
    • Remove the cable.

  6. Dell Inspiron N4050 Teardown, Remove the RAM: 手順 6、 2の画像 1 Dell Inspiron N4050 Teardown, Remove the RAM: 手順 6、 2の画像 2
    • Remove the memory cards by moving the retaining clips in the direction that the arrows are pointing.

  7. Dell Inspiron N4050 Teardown, Remove the screws: 手順 7、 3の画像 1 Dell Inspiron N4050 Teardown, Remove the screws: 手順 7、 3の画像 2 Dell Inspiron N4050 Teardown, Remove the screws: 手順 7、 3の画像 3
    • Remove the 3 screws.

  8. Dell Inspiron N4050 Teardown, Remove the small cables: 手順 8、 3の画像 1 Dell Inspiron N4050 Teardown, Remove the small cables: 手順 8、 3の画像 2 Dell Inspiron N4050 Teardown, Remove the small cables: 手順 8、 3の画像 3
    • Remove the 2 small cables.

  9. Dell Inspiron N4050 Teardown: 手順 9、 2の画像 1 Dell Inspiron N4050 Teardown: 手順 9、 2の画像 2
    • Use a plastic tool to separate the top of the laptop.

  10. Dell Inspiron N4050 Teardown, Internal parts of the laptop: 手順 10、 1の画像 1
    • CPU

    • DDR3 RAM memory, 2 slots avaiable

    • SATA hard disc

    • Heatsink

    • DVD unit

    • Wireless network card

    • Battery for the internal clock

終わりに

To reassemble your device, follow these instructions in reverse order.

4 の人々がこのガイドを完成させました。

以下の翻訳者の皆さんにお礼を申し上げます:

es en

100%

これらの翻訳者の方々は世界を修理する私たちのサポートをしてくれています。 あなたも貢献してみませんか?
翻訳を始める ›

作成者

1人の作成者と共同作成されました。

Marcos Mora

メンバー登録日: 12/17/17

3,561 ポイント

11のガイドは作成済み

コメント 1 件

thanks, very clear and useful

Zerumz - 返信

コメントを追加

統計データ:

過去 24時間: 5

過去 7 日: 20

過去 30 日: 70

今までの合計 8,160