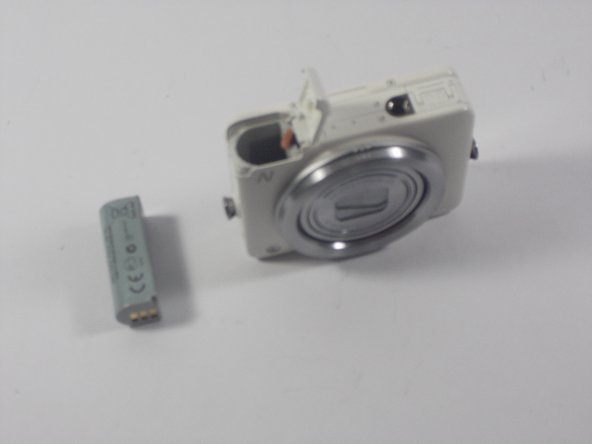
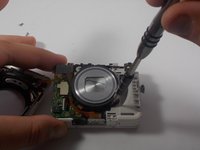
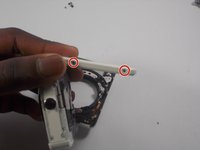
メインコンテンツにスキップ

必要な工具と部品

この分解は修理ガイドでは ありません。 お持ちのCanon PowerShot Nを修理する際は、iFixitの修理ガイドをご利用ください。

  1. Canon PowerShot N Teardown, Canon PowerShot N Teardown: 手順 1、 1の画像 1
    • Locate battery housing cover.

  2. Canon PowerShot N Teardown: 手順 2、 1の画像 1
    • Place finger on the textured portion of battery housing cover and slide cover in the direction indicated.

  3. Canon PowerShot N Teardown: 手順 3、 1の画像 1
    • Find beige tab and push it away from the battery.

  4. Canon PowerShot N Teardown: 手順 4、 2の画像 1 Canon PowerShot N Teardown: 手順 4、 2の画像 2
    • Remove battery from battery slot with fingers.

  5. Canon PowerShot N Teardown: 手順 5、 1の画像 1
    • Using a PH000 size screwdriver, unscrew four screws beneath screen.

  6. Canon PowerShot N Teardown: 手順 6、 1の画像 1
    • Remove 2 screws on the bottom of the camera.

  7. Canon PowerShot N Teardown: 手順 7、 1の画像 1
    • Remove 2 screws from the side of the camera with the on and off buttons.

  8. Canon PowerShot N Teardown: 手順 8、 1の画像 1
    • Remove the back plate.

  9. Canon PowerShot N Teardown: 手順 9、 1の画像 1
    • Locate 2 screws on “on/off” side of the camera and unscrew them.

  10. Canon PowerShot N Teardown: 手順 10、 1の画像 1
    • Locate 2 screws on the other side of the camera and remove them.

  11. Canon PowerShot N Teardown: 手順 11、 1の画像 1
    • Remove one screw from the bottom of the camera.

  12. Canon PowerShot N Teardown: 手順 12、 1の画像 1
    • Remove front plate from motherboard so that one ribbon cable is exposed.

  13. Canon PowerShot N Teardown: 手順 13、 1の画像 1
    • Locate the second ribbon cable.

  14. Canon PowerShot N Teardown: 手順 14、 2の画像 1 Canon PowerShot N Teardown: 手順 14、 2の画像 2
    • Using plastic spudger, push tab to release the ribbon cable.

  15. Canon PowerShot N Teardown: 手順 15、 1の画像 1
    • Locate screw under released ribbon cable and remove it.

  16. Canon PowerShot N Teardown: 手順 16、 3の画像 1 Canon PowerShot N Teardown: 手順 16、 3の画像 2 Canon PowerShot N Teardown: 手順 16、 3の画像 3
    • With the camera lens facing you, remove 4 screws around the lens.

  17. Canon PowerShot N Teardown: 手順 17、 1の画像 1
    • Flip over and remove 1 screw from side with playback/phone options .

  18. Canon PowerShot N Teardown: 手順 18、 3の画像 1 Canon PowerShot N Teardown: 手順 18、 3の画像 2 Canon PowerShot N Teardown: 手順 18、 3の画像 3
    • Unscrew 2 screws from top, bottom, and both sides of screen.

    • Pull off white cap which edges the screen.

  19. Canon PowerShot N Teardown: 手順 20、 2の画像 1 Canon PowerShot N Teardown: 手順 20、 2の画像 2
    • Remove white metal plate behind screen (tip: try not to bend).

  20. Canon PowerShot N Teardown: 手順 21、 2の画像 1 Canon PowerShot N Teardown: 手順 21、 2の画像 2
    • Push out LCD screen.

作成者

4人の作成者と共同で作成されました。

Jack Graver

メンバー登録日: 03/04/16

313 ポイント

1ガイドが承認済み

チーム

UMass Dartmouth, Team 6-5, Bhusal Spring 2016 UMass Dartmouth, Team 6-5, Bhusal Spring 2016人のメンバー

UMASSD-BHUSAL-S16S6G5

3 メンバー

1のガイドは作成済み

0 件のコメント

コメントを追加

統計データ:

過去 24時間: 0

過去 7 日: 3

過去 30 日: 13

今までの合計 1,289