この分解は進行中です。 – 最新版を見るには定期的に再読み込みします。
分解
The Assembled Product, unplugged from wall
Turn Smart Strip upside down and locate four screw holes in corners
Unscrew four corner screws with #0 Phillips Screwdriver
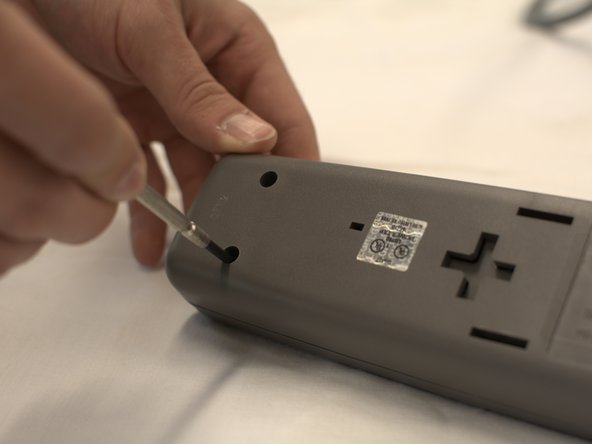
Locate four latch slots in case
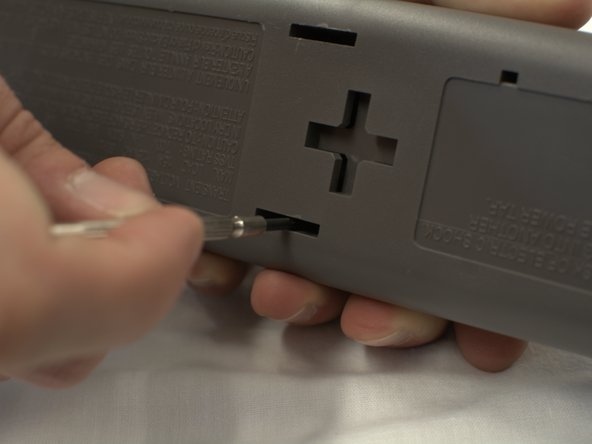
Use 2.4mm Slotted Screwdriver, put tip into center of slot, with tip on outer edge of slot, and press inward
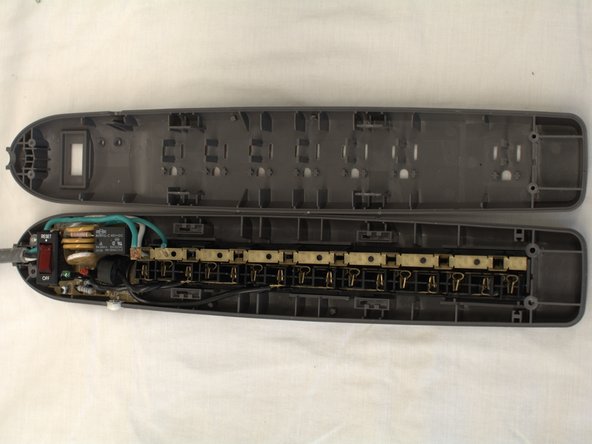
Take two halves of case apart with your hands
Lift Ground Copper Strip upward off of power plugs by hand
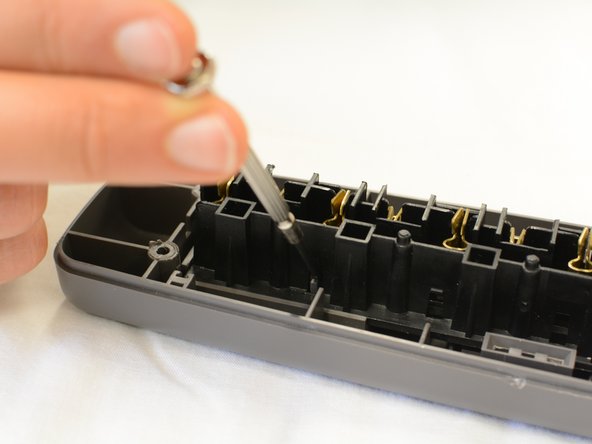
Locate latch securing power plugs to bottom of case
Using slotted 2.4mm screwdriver, pry latch away from power plugs to loosen power plugs
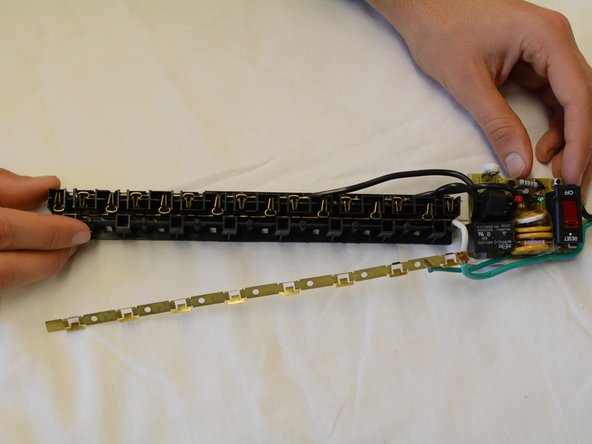
Lift power plugs out of bottom of case along with circuit assembly
3人の作成者と共同で作成されました。
メンバー登録日: 11/14/13
194 ポイント
1ガイドが承認済み
バッジ: 0
This is great! Thanks so much!
nils smith - 2013年11月14日 返信
that awesome and i like how it fix
Joseph donkor - 2017年11月6日 返信
サイズを選択し、以下のコードをコピーして、このガイドを小さなウィジェットとしてサイト/フォーラムに埋め込みます。
過去 24時間: 0
過去 7 日: 0
過去 30 日: 3
今までの合計 1,515