はじめに
This guide will show how to disassemble the Steam Advantage Iron.
必要な工具と部品
-
-
Note that the base of the iron is detached from the upper portion where the dials and handle are location.
-
-
-
First remove all the large screws that detach the silver hot plate from the plastic piece attached to it. Lift the white plastic piece to reveal the inner workings of the iron (see last photo attached)
-
-
-
-
This iron was particularly dusty, clear the dust away with a toothbrush or other small brush. The result is shown in the photo; a clean, dust free iron.
-
-
-
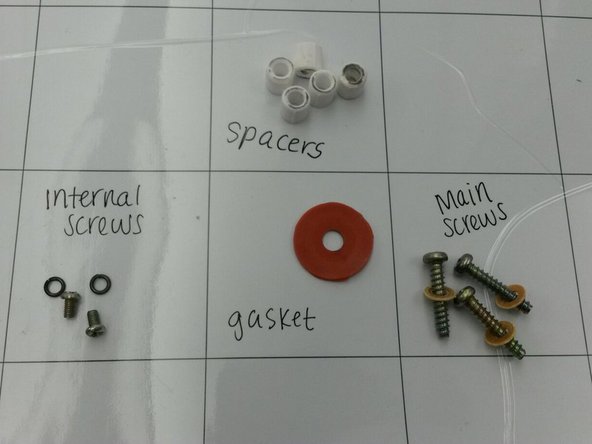
Remove the smaller screws located near the square(back) end of the iron releasing cords and wires. Also remove little orange rubber gaskets, and white plastic spacers, taking note where everything was. At this point, your iron should be completely disassembled, and should look like the last photo attached.
-
-
-
Beginning with the spacers and gaskets, replace these parts where they belong. Then re-install the small internal screws, taking care to reattach the wires and cords with them. Close the white plastic plate onto the metal hot plate and re-attach the larger main screws. Place black dial receptacle into orange slot (as pictured).
-


チーム

Texas A&M, Team 1-1, Garza Fall 2014 Texas A&M, Team 1-1, Garza Fall 2014人のメンバー
TAMCC-GARZA-F14S1G1
1 メンバー
1のガイドは作成済み