メインコンテンツにスキップ

この分解は進行中です。 – 最新版を見るには定期的に再読み込みします。

必要な工具と部品

  1. Alesis Palmtrack V3.1 Teardown, Alesis Palmtrack V3.1 Teardown: 手順 1、 1の画像 1
    • Open the back battery cover

  2. Alesis Palmtrack V3.1 Teardown: 手順 2、 1の画像 1
    • Unscrew the four back screws

  3. Alesis Palmtrack V3.1 Teardown: 手順 3、 2の画像 1 Alesis Palmtrack V3.1 Teardown: 手順 3、 2の画像 2
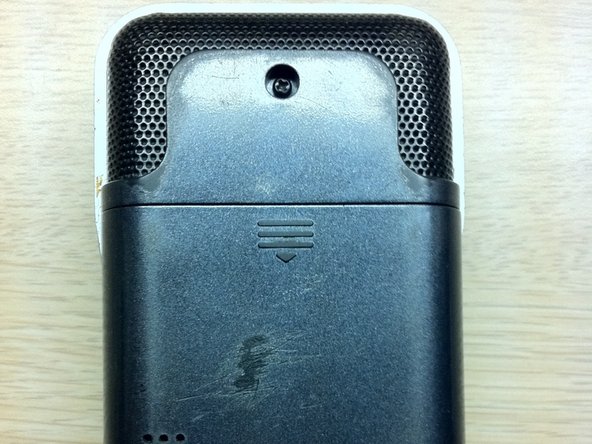
    • Remove the backing and the wire mesh microphone casing.

    • NOTE: The Speaker is connected to the motherboard and adhered to the back cover, so take caution when opening. I cannot foretell the chaos created if you break the speaker wire.

  4. Alesis Palmtrack V3.1 Teardown: 手順 4、 1の画像 1
    • Gently pull apart main plate from front cover.

    • Also note that there is a ribbon cable connecting the front circuit board to the motherboard

  5. Alesis Palmtrack V3.1 Teardown: 手順 5、 1の画像 1
    • Disconnect the ribbon cable.

  6. Alesis Palmtrack V3.1 Teardown: 手順 6、 1の画像 1
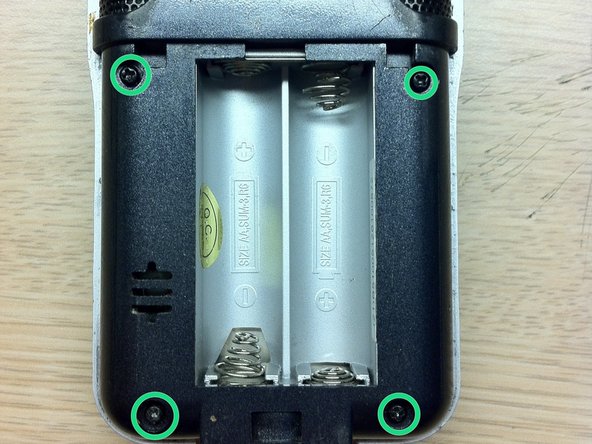
    • Feed the ribbon cable through this opening. This is much easier than disconnecting from the front circuit board, which requires delicate, if not impossible maneuvers to reconnect upon reassembly.

作成者

2人の作成者と共同で作成されました。

Lorca Strand

メンバー登録日: 04/02/14

11 ポイント

1ガイドが承認済み

0 件のコメント

コメントを追加

統計データ:

過去 24時間: 0

過去 7 日: 0

過去 30 日: 0

今までの合計 281