はじめに
This will guide the reader to a general teardown of this phone. To reassemble reverse the steps.
必要な工具と部品
-
-
Once you have the back removed and the battery set aside, you have 4 (long screws) at the corners, and 4 (smaller) screws in the middle. Set these aside in a safe place. (I used the back of the phone itself)
-
-
-
Find a small crevice along the outside and carefully insert your spudger, small screw driver or guitar pick tool inside and slide it along the length of the side to seperate the front assembly from the rear.
-
Carefully work the opposite side as well, you will need to duplicate while being mindful of the circuit board.
-
-
-
-
Take care not to damage the ribbon cable connectors (red arrows) coming from the front display assembly attempting to lift the circuit board from the display.
-
The guitar pick tool (orange arrows) should slide easily under the circuit board except for where the cables might still be connected.
-
-
-
Carefully remove the rear facing camera (pink box) and lift the speaker upwards (blue box - do not try to disconnect). The speaker is held in place by the magnet on the backside. You may need flat edge under the side to separate it from the plate of metal.
-
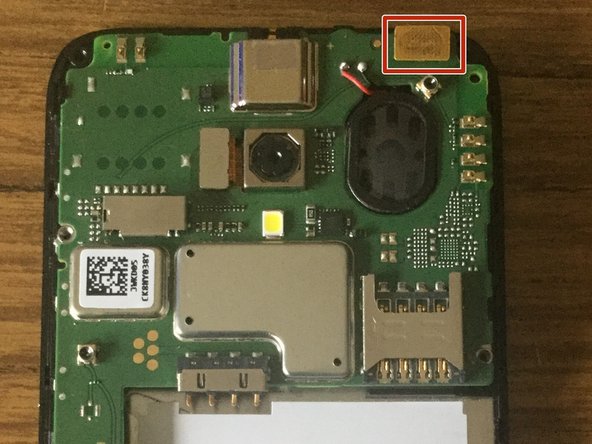
Carefully seperate the ribbon attachment from the top (red box) to remove the front facing camera (adhered to the front) with a small piece of adhesion.
-
-
-
Carefully lift (with tweezers or small pliers) the connection indicated by the yellow box(s)
-
Next lift, with tweezers or spudger (carefully) the connection indicated by the blue box marker.
-
You will need a flat surface to lift carefully the clip which holds the connector indicated by the green box. You can then use a pair of tweezers (or your fingernails?) to slide the connector to the side.
-
-
-
The circuit board should separate with little or no effort.
-
The orange box marker shows sighs of water damage. This phone had been dropped in a puddle.
-


チーム
