メインコンテンツにスキップ

必要な工具と部品

この分解は修理ガイドでは ありません。 お持ちのAGPTEK A02を修理する際は、iFixitの修理ガイドをご利用ください。

  1. AGPTEK A02 Teardown, AGPTEK A02 Teardown: 手順 1、 1の画像 1
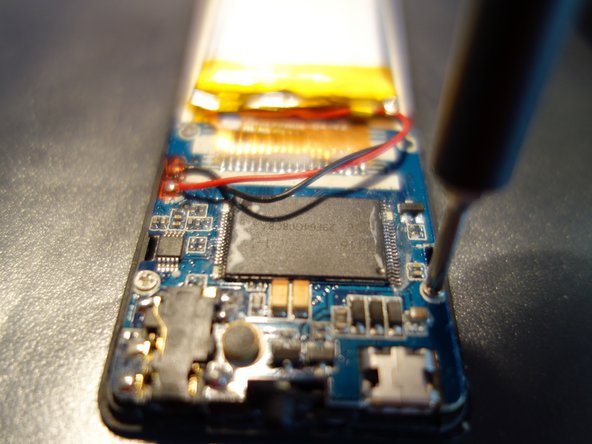
    • Remove the microSD card, if present. You can use a flat side of a spudger

  2. AGPTEK A02 Teardown: 手順 2、 2の画像 1 AGPTEK A02 Teardown: 手順 2、 2の画像 2
    • With a Pick, insert the tool and split the two parts that make the shell of the mp3 player

    • Use Jimmy, if the pick is too flexible for you

  3. AGPTEK A02 Teardown: 手順 3、 3の画像 1 AGPTEK A02 Teardown: 手順 3、 3の画像 2 AGPTEK A02 Teardown: 手順 3、 3の画像 3
    • Remove 3 screws with a #00 Philips screwdriver

  4. AGPTEK A02 Teardown: 手順 4、 1の画像 1
    • Remove the switch with the shape of a spudger

  5. AGPTEK A02 Teardown: 手順 5、 3の画像 1 AGPTEK A02 Teardown: 手順 5、 3の画像 2 AGPTEK A02 Teardown: 手順 5、 3の画像 3
    • That's all. The screen is welded and coated with glue.

    • command bottons

    • usb port

    • the switch

    • SD card holder

  6. AGPTEK A02 Teardown: 手順 6、 2の画像 1 AGPTEK A02 Teardown: 手順 6、 2の画像 2
    • Full IC Identification:

    • Predicted Block Diagram is on the 2nd image.

    • You may need to enlarge it to view the text.

作成者

2人の作成者と共同で作成されました。

Stefano De Rossi

メンバー登録日: 11/30/18

460 ポイント

2のガイドは作成済み

0 件のコメント

コメントを追加

統計データ:

過去 24時間: 3

過去 7 日: 13

過去 30 日: 36

今までの合計 2,915