メインコンテンツにスキップ

必要な工具と部品

この分解は修理ガイドでは ありません。 お持ちのA-Solar Power Bank AL-200を修理する際は、iFixitの修理ガイドをご利用ください。

  1. A-Solar PowerBank AL-200 Teardown, A-Solar PowerBank AL-200 Teardown: 手順 1、 2の画像 1 A-Solar PowerBank AL-200 Teardown, A-Solar PowerBank AL-200 Teardown: 手順 1、 2の画像 2
    • There are three blue LEDs to show you the power in the battery.

    • There is also a handy LED to see what you are doing in the dark.

  2. A-Solar PowerBank AL-200 Teardown: 手順 2、 3の画像 1 A-Solar PowerBank AL-200 Teardown: 手順 2、 3の画像 2 A-Solar PowerBank AL-200 Teardown: 手順 2、 3の画像 3
    • The bottom of the device.

    • It's time for some prying. Take out the rubber plugs at the bottom of the device.

    • Remove the screws which are underneath the plugs.

  3. A-Solar PowerBank AL-200 Teardown: 手順 3、 2の画像 1 A-Solar PowerBank AL-200 Teardown: 手順 3、 2の画像 2
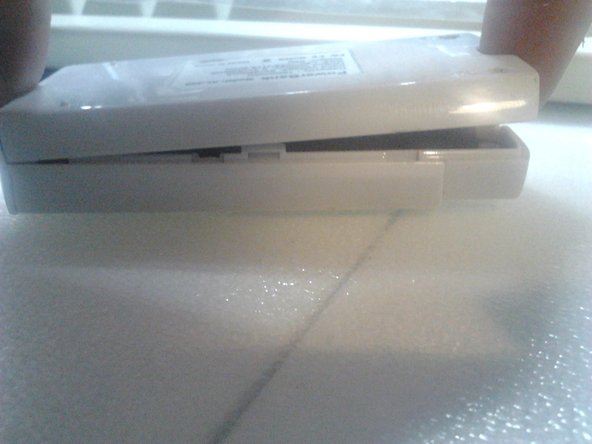
    • use a flathead screwdriver or a spudger to pry open the device.

    • Don't pry at the front of the device - there are a few hooks and you do not want to break them.

  4. A-Solar PowerBank AL-200 Teardown: 手順 4、 1の画像 1
    • A first glance at the inside: a big battery and the logic board.

    • There is a 1800 mAh battery in it.

    • There are two screws in the logic board, the battery is glued to the casing.

  5. A-Solar PowerBank AL-200 Teardown: 手順 5、 2の画像 1 A-Solar PowerBank AL-200 Teardown: 手順 5、 2の画像 2
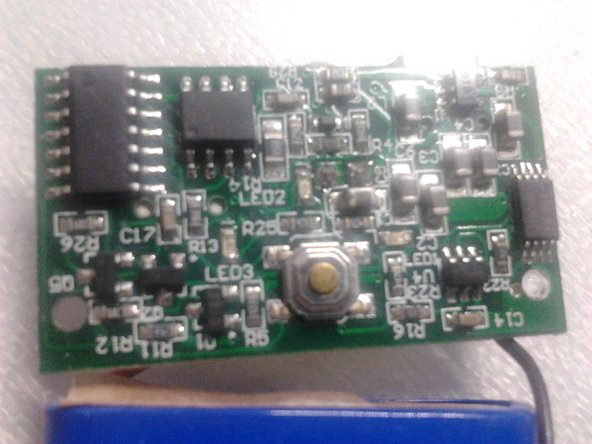
    • The other side of the electronics.

    • And the logic board.

  6. A-Solar PowerBank AL-200 Teardown: 手順 6、 1の画像 1
    • And there it is: the A-Solar PowerBank AL-200 torn down.

    • It was easy to do.

作成者

2人の作成者と共同で作成されました。

storm

メンバー登録日: 07/07/12

552 ポイント

2のガイドは作成済み

0 件のコメント

コメントを追加

統計データ:

過去 24時間: 2

過去 7 日: 7

過去 30 日: 20

今までの合計 5,205