はじめに
This is a tear down of a 2.4GHz Remote controlled toy helicopter for a univerity assignment.
The product was purchased at Kmart in Australia for a price of $25 AUD
Link to purchase the product is here: https://www.kmart.com.au/product/2.4ghz-...
必要な工具と部品
-
-
Begin the Teardown by taking both the Helicopter and the remote contoller out of its box. In order to complete this teardown you will need a small 6 pack set of stanley philips head screwdrivers and a samll pair of pliers to be able to remove each piece of the helicopter one by one. Also make sure to have a workspace ready to place down parts.
-
-
-
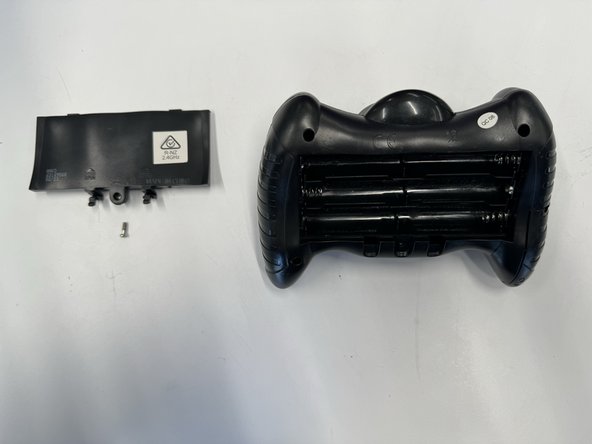
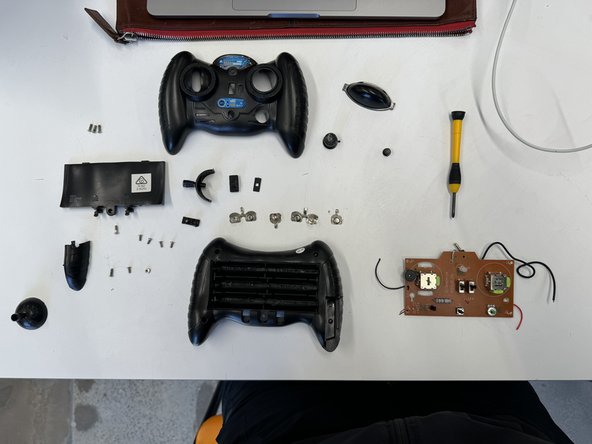
Start with the Contoller. Here are images of It at the start and End of its teardown
-
-
-
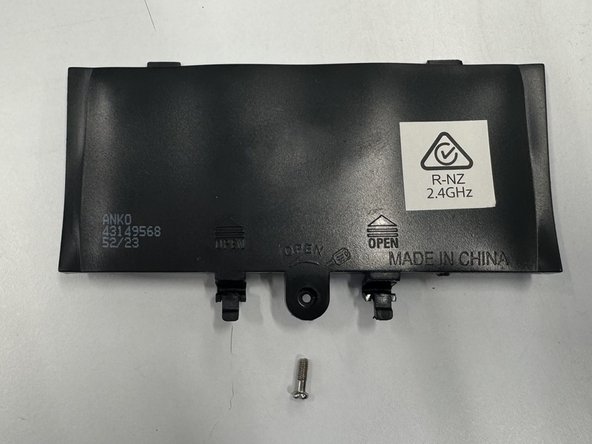
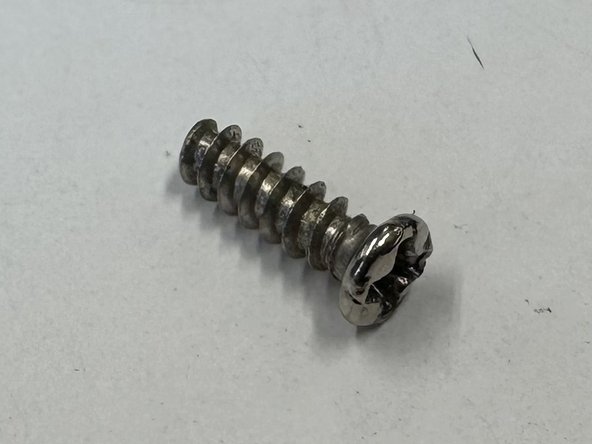
Begin by taking off the battery access panel. Removing one philips head screw in the bottom middle of the back panel.
-
-
-
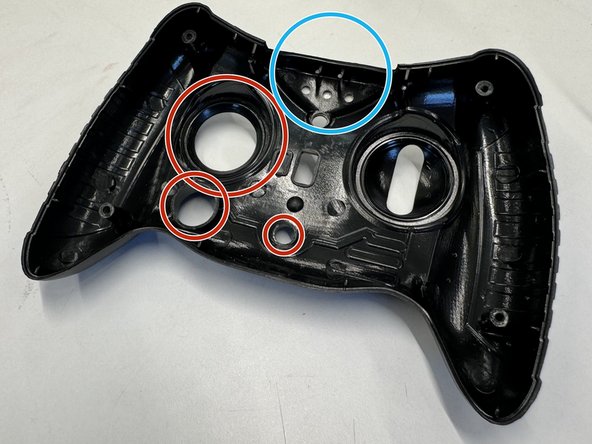
Now move on to removing the press fit charging port access. Then unscrew each of the four back panel screws to open up the remote, and reveal the insides of both the back and front panels.
-
-
-
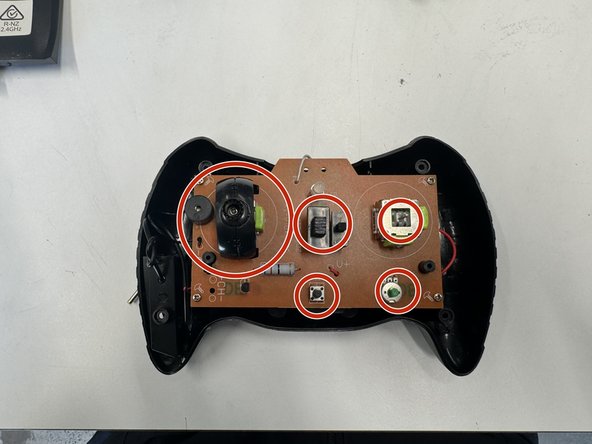
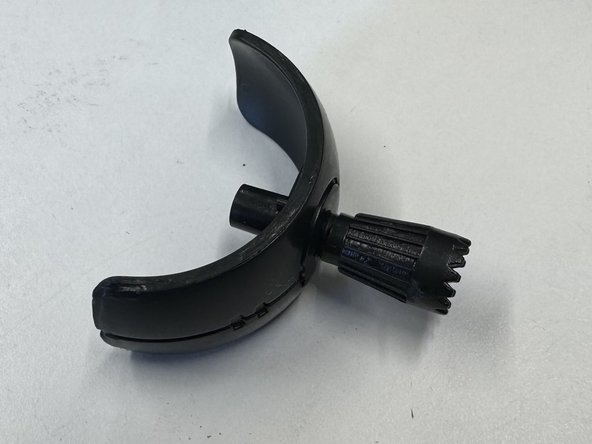
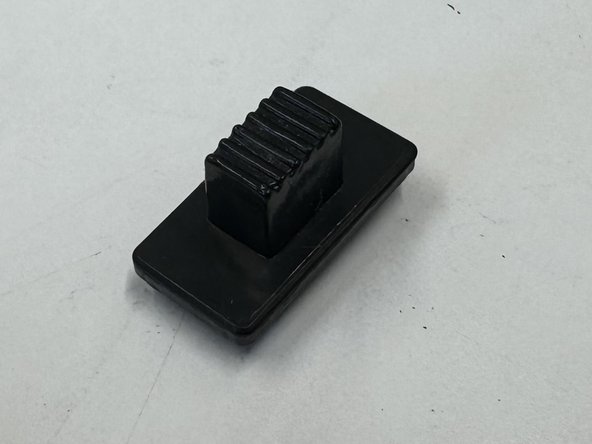
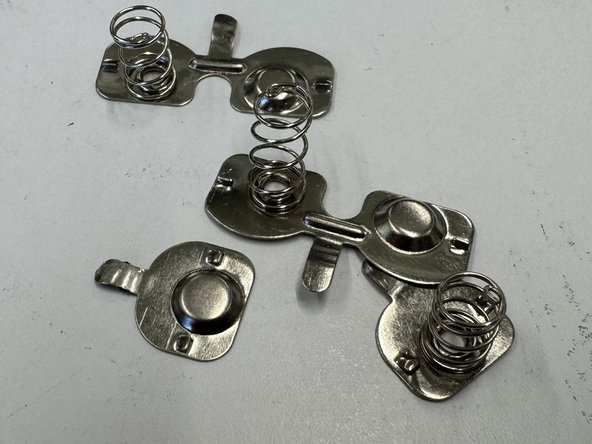
Once the pcb is revealed you will be able to remove press fit components such as the height joystick and power switch components depicted in the images. Other Pieces also come off in this stage however, only three photos are allowed in each step.
-
-
-
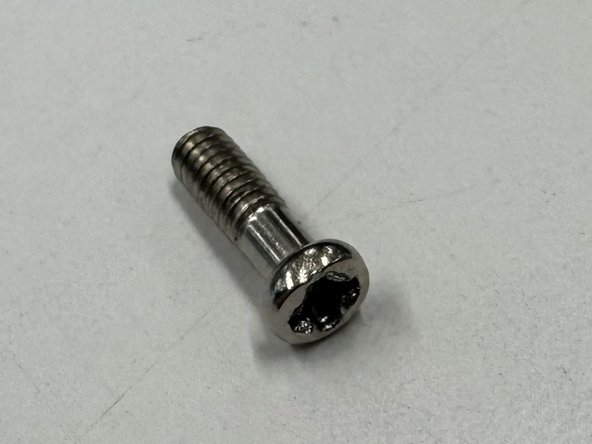
Once the press fit components have been removed you will then be able to unscrew 4 screws on the PCB from the back plate letting it loose (these are labeled on the Orange PCB). This then gives access to remove the hex nut and plastic underneath which allows the chaging acess to be screwed securely in place (this step may require pliers).
-
-
-
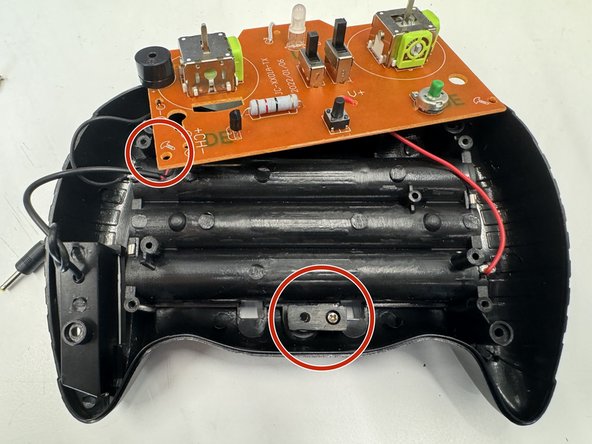
Once PCB is free/loose. Then De-soulder or cut the wires connecting the PCB to the battery chargers. Then pry the aluminium chagers up and let them fall out of the bottom onto the table (in second photo).
-
-
-
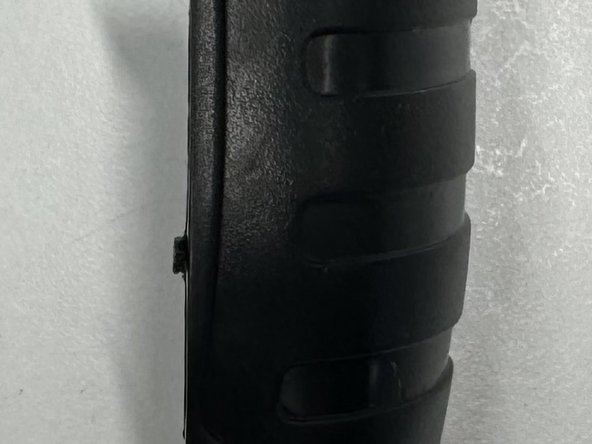
Now that the back plate of the controller is done, you shoud then able to move to the front. However this is easy as all the rest of the pieces should just fall out as they were press fit into place. Then you are left with the torn down contoller as depicted in the last image.
-
-
-
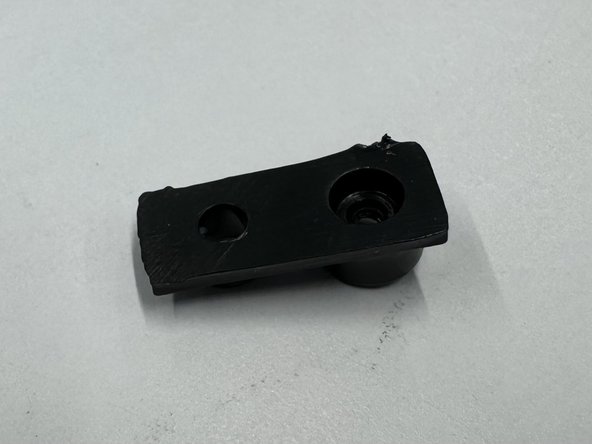
Now moving onto the helicopter we will begin by tearing it down at the rear propeller. This is done by unscrewing the first two screws and removing the bracket (in last image) which holds the system together.
-
-
-
-
Once the previous step has been completed you will then be able to remove the other pieces of the rear propeller sub-assembly. Taking the whole system apart. However, the Motor will not be able to be removed just yet. Rather in a later step when there is access to the electronics.
-
-
-
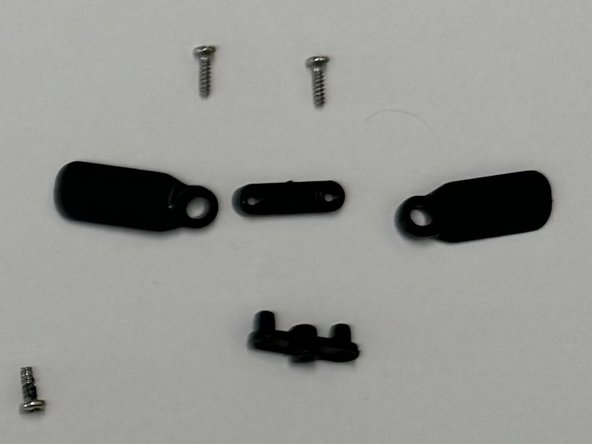
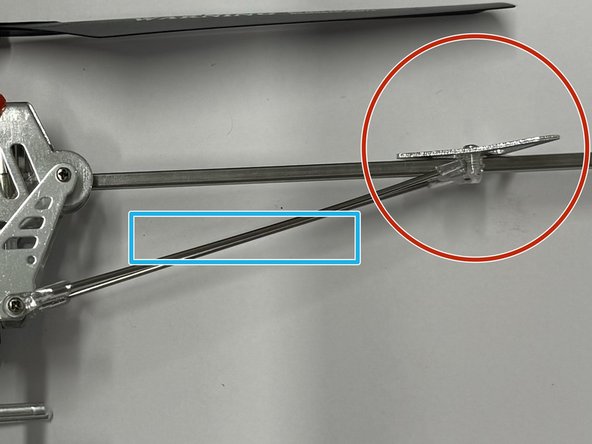
After the rear propeller has been taken apart, you can then remove the stablisation components of the body work. This is done simply by unscrewing the parts depicted from the frame and also taking out the plastic pieces which hold them together.
-
-
-
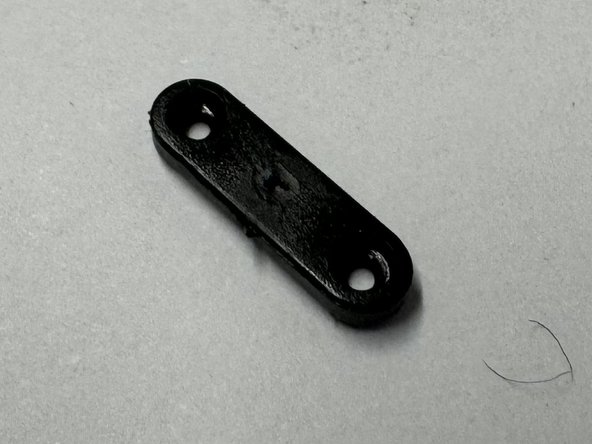
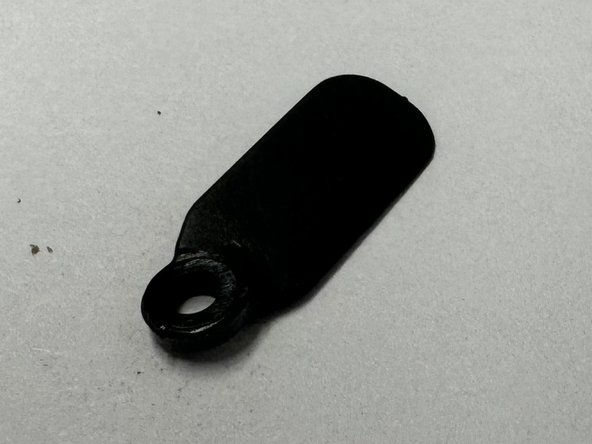
The clear plastic holding one of the stabilisation pieces in place is depicted (refer to previous instruction). This also holds two structure rods in place with the body. these components are press fit and easy to remove once unscrewed.
-
-
-
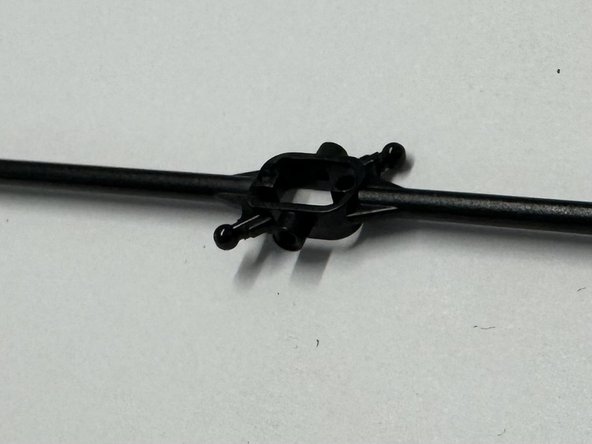
After the rear is for the most part torn down, you will then move onto the main propeller systmem. Removing a screw from the top and un hooking two plastic pices holing the weighted stabiliser in place.
-
-
-
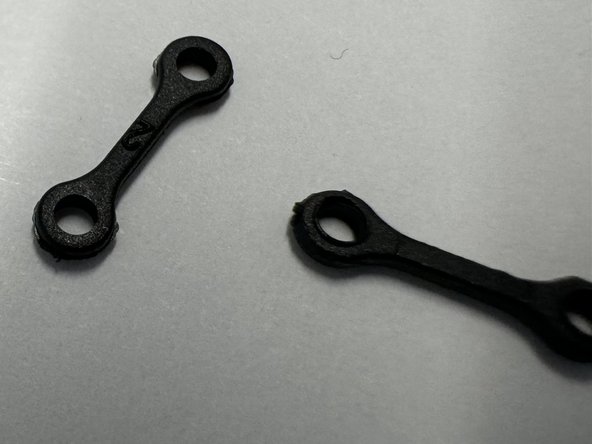
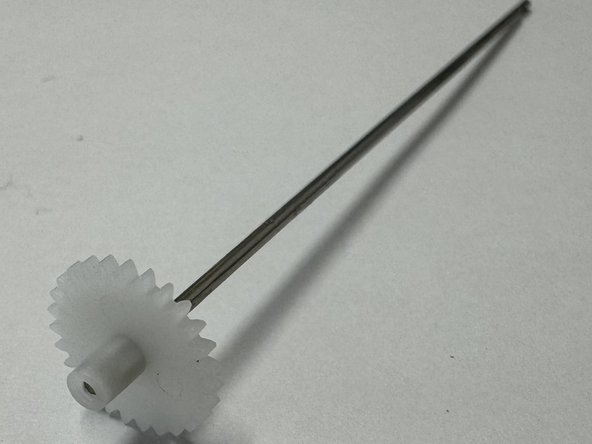
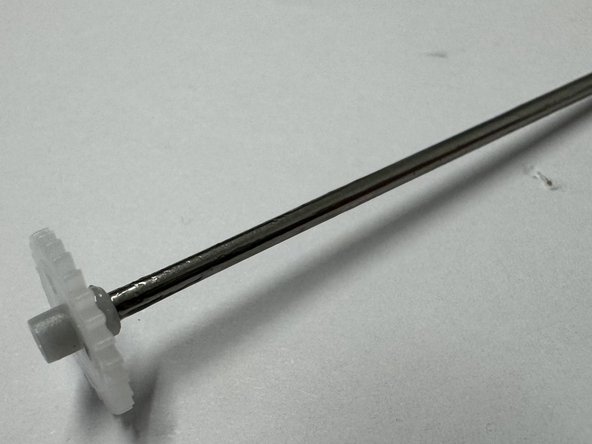
After the previous step you should then be able to remove two press fit and screwed brackets which hold the top two propellers in place and allows them to spin. Four screws hold them together.
-
-
-
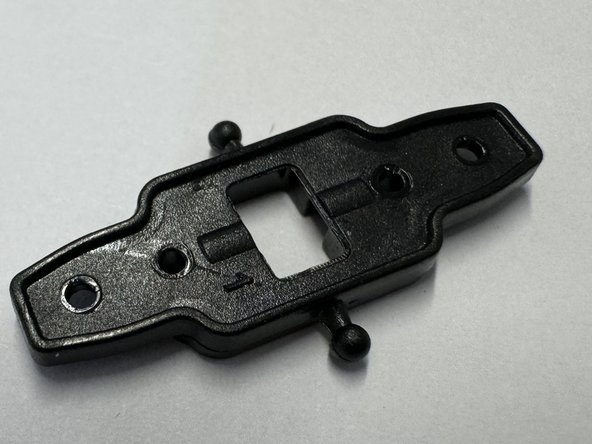
Repeat the same process/step with the bottom Propellers by unscrewing them and removing them from the propeller shaft. Four screws should be removed in this step.
-
-
-
Once this is done your torn down propeller should look like this splayed out on your table.
-
-
-
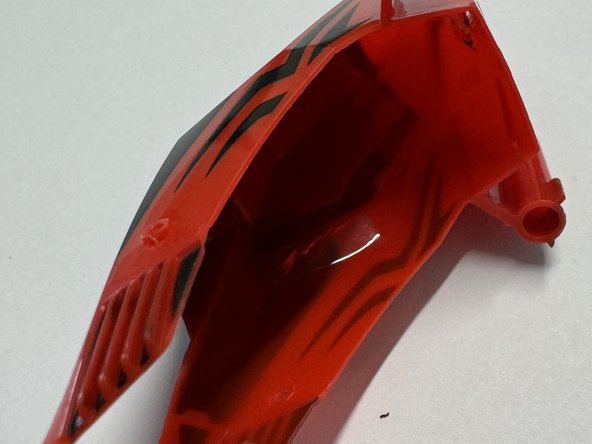
Now that the propeller systems are dismantled move onto the main body. This is first done by removing two screws on either side of the injection moulded and painted helicopter profile. Also at the same time letting two clear plastic brackets loose.
-
-
-
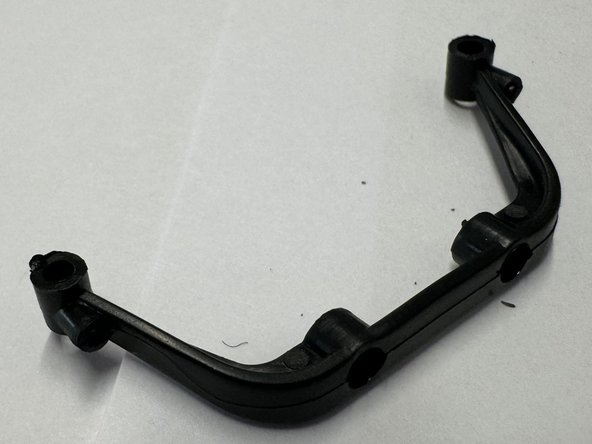
Once the plastic profile of the helicopter has been removed move onto the landing gear removal. In total you should be unscrewing 8 philips head screws (labeled in red) which then allow you to take it off the main body and disasemble it into four parts.
-
-
-
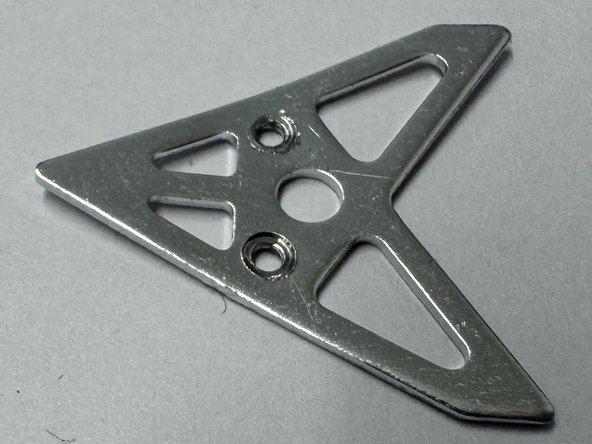
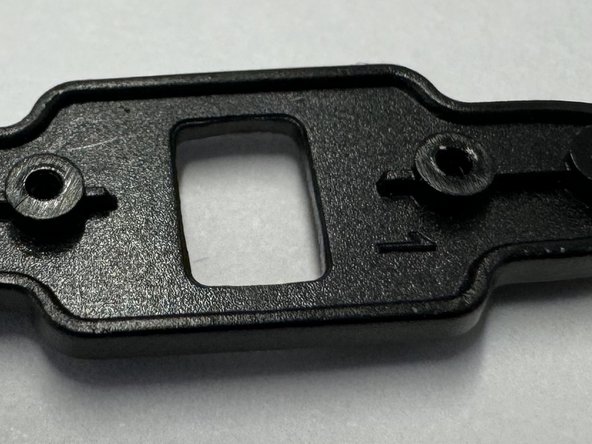
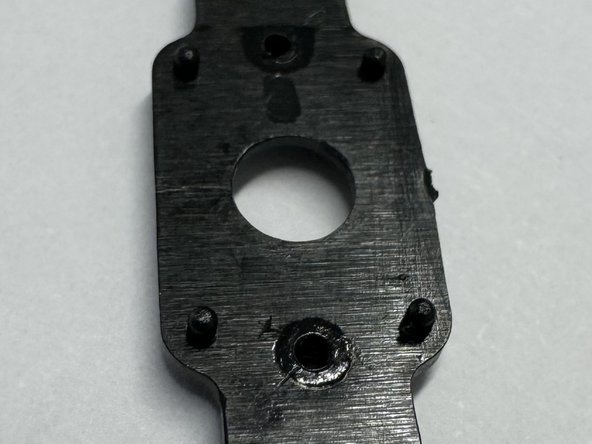
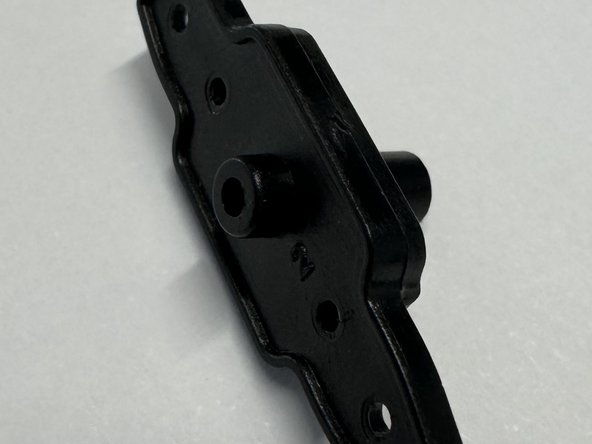
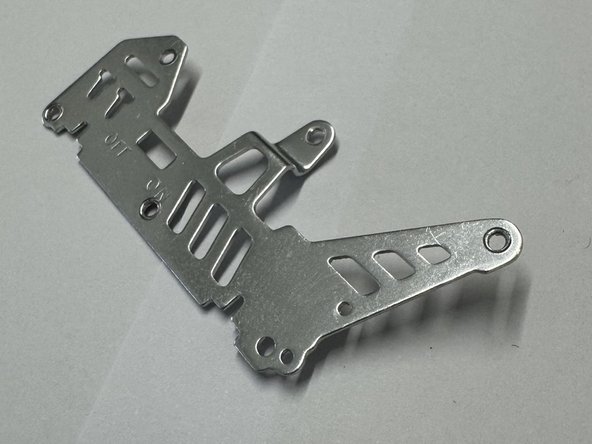
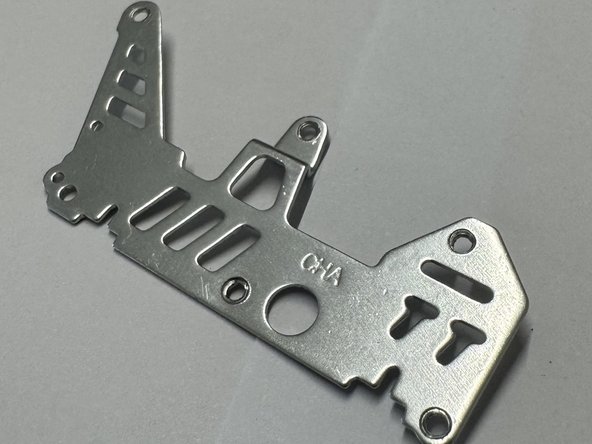
Now that you have access to the body after removing the plastic helicopter profile, you should then be able to start removing the structural parts of the helicopter. In the images depicted in this step you should be able to unscrew these stamped alluminium frames from the body work in order to access the internals such as the gears and motors.
-
-
-
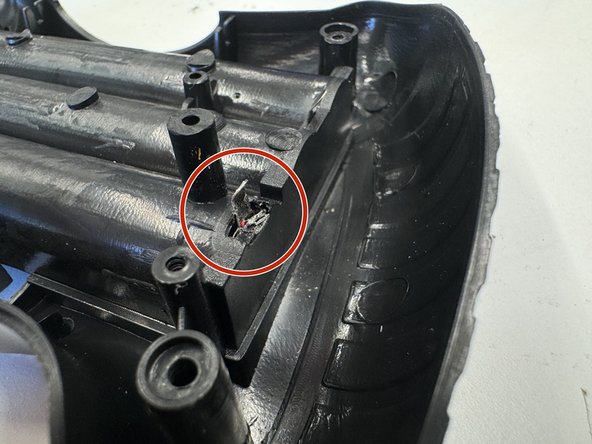
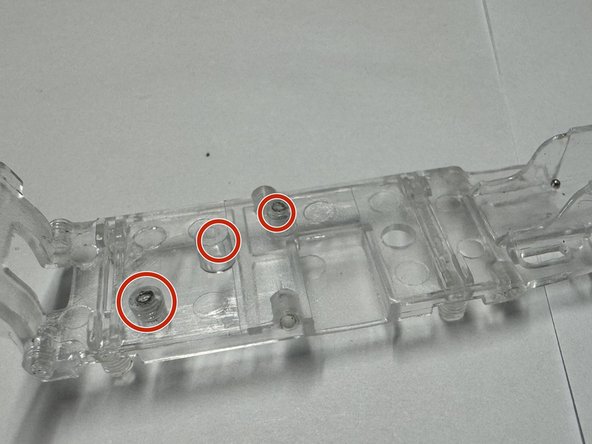
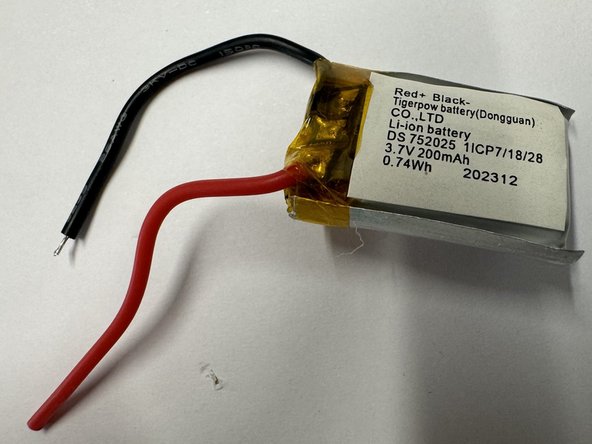
With all the previous steps completed you should then be able to remove both the PCB & clear plastic Plate aswell as the Battery. The battery is held in place with a small rubber band and the PCB can be unscrewed from the plate making it its own component. The PCB will still be souldered to other compoents so cut these or desoulder them.
-
-
-
These parts which are part of the Body Sub assembly look like this when exploded out on a flat surface.
-
-
-
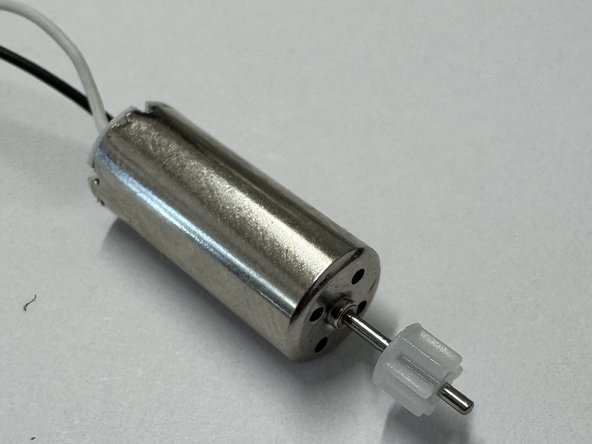
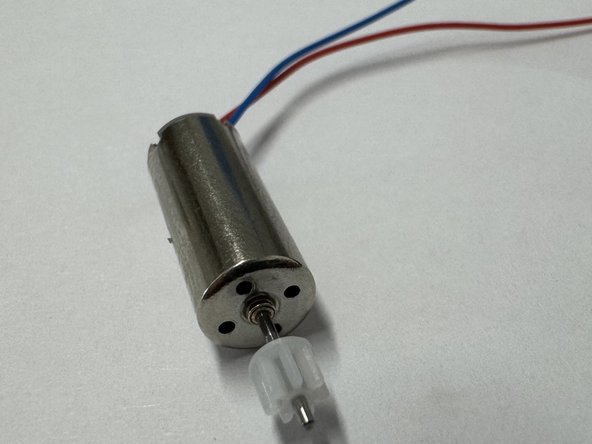
Now that the PBC and battery are disasembled you should be easily able to remove the press fit motors from their place. This is because the wires were cut from the source in the previous step.
-
-
-
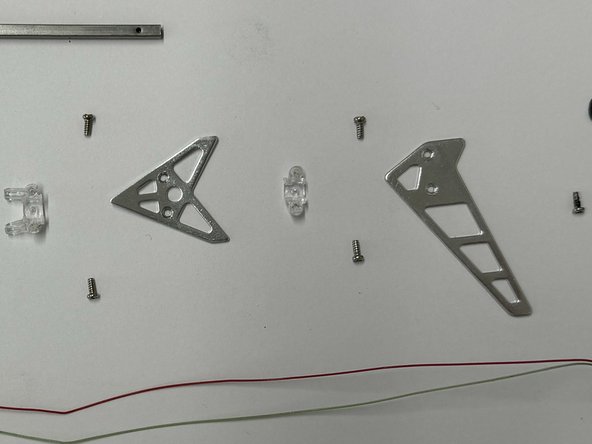
All the components from the previous steps that are part of the Body subassembly look like this in the exploded view. Many philips head screws were used in this assembly.
-
-
-
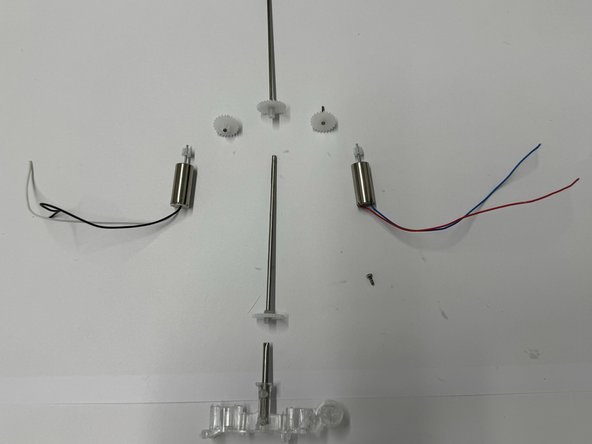
You should now have access to the motor/gear system of the helicopter. These components are tightly press fit to the main plastic body and will require pliers and a bit of strenght to remove them.
-
-
-
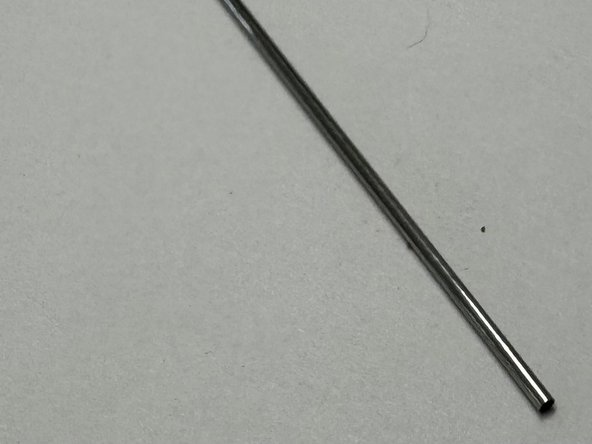
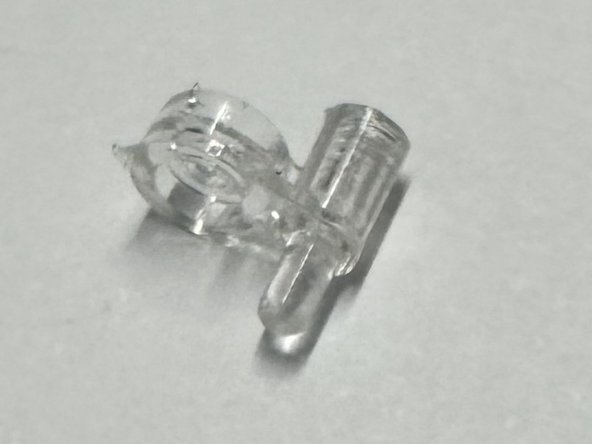
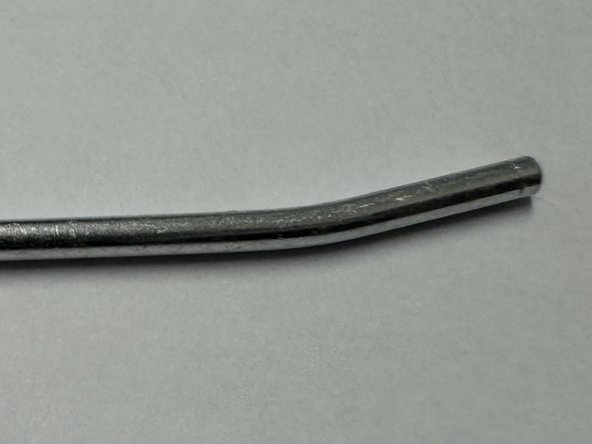
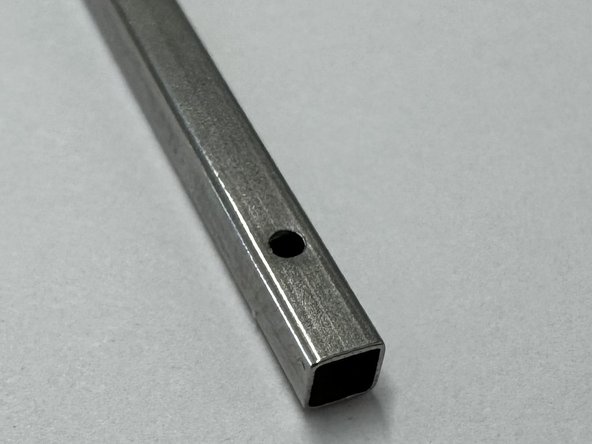
After all this has been completed you will have one part left of the helicopter and this is the clear plastic motor frame. with a glued in press fit rod inside this is where all the pieces are connected to and is the center of the helicopter. You will also be able to see the Exploded view of all the body components.
-
-
-
Now all that you are left with is a completely torn down helicopter. With all of its components layed out in order of assembly and sub assembly.\
-
Thank you for viewing my teardown.
-