


問題
Continuing the saga: bringing the power back to the people through repair and reuse.
修理
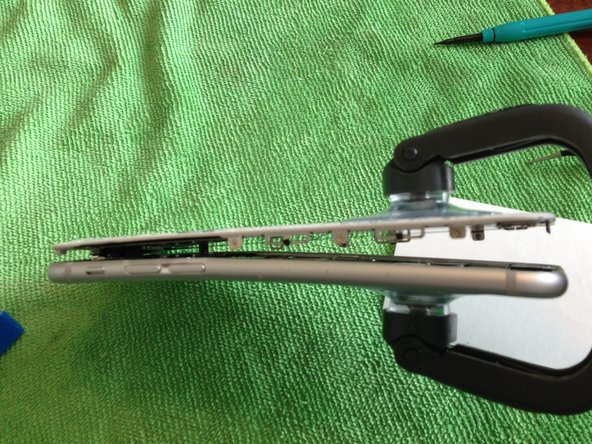
The repair went very well. I love working on iPhones because the iSclack makes the initial opening steps so very easy, compared to iPods and iPads. There were a few steps that require great patience and attention to detail - keep in mind that this is one of Apple's most advanced architectures as of this writing, and the compactness with which the designers have packed in all the features is telltale: this is not a repair for the budding tinkerer.
アドバイス
- Be extremely careful with removal of the home button cable. I recommend perusing the edits and comments on the guide to get your bearings; this is a very easy step to flub.
- Keep track of the various cables (four of them) when disconnecting. Pay special attention to how the cables are stacked and wound together in the assembly. This will save you time puzzling with them when you go to reconnect them.
- Using your fingernail or a pair of ESD-safe tweezers is a good way to provide adequate pressure when removing the six sideways-mounted LCD shield screws. Be careful to mount your workpiece firmly before attempting to remove them, as slipping with your tool holds a good chance of gouging out your circuitry if your angle is wrong.
2 件のコメント
Great advice!
Julia - 返信 共有
Thanks so much for sharing! Fantastic advice!
Kay-Kay Clapp - 返信 共有