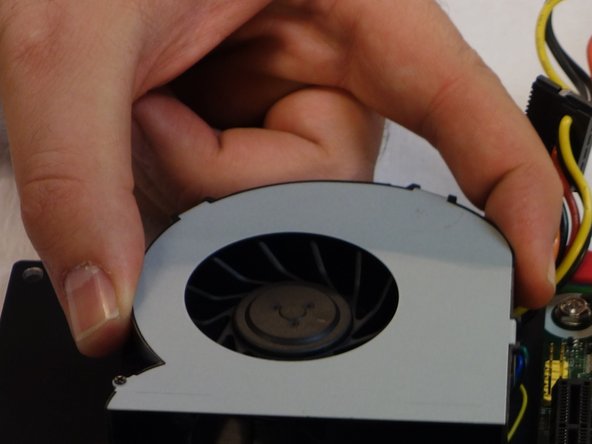
メインコンテンツにスキップ

why! WDi7SSD fan replacement

必要な工具と部品

  1. why! WDi7SSD fan replacement, why! WDi7SSD Opening procedure: 手順 1、 3の画像 1 why! WDi7SSD fan replacement, why! WDi7SSD Opening procedure: 手順 1、 3の画像 2 why! WDi7SSD fan replacement, why! WDi7SSD Opening procedure: 手順 1、 3の画像 3
    • Make sure the computer is disconnected from the power source.

    • Flip the computer over.

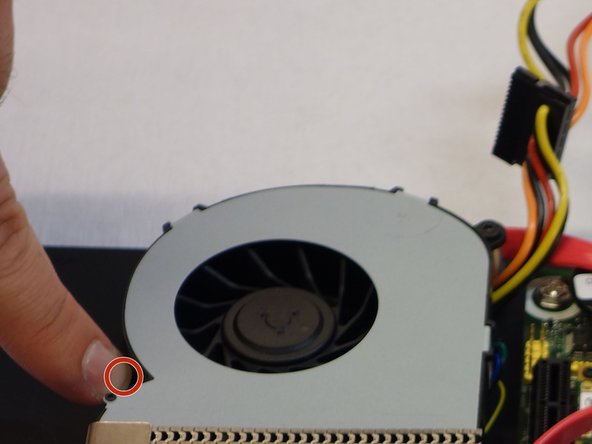
    • Remove the six screws with a 2 mm Allen key.

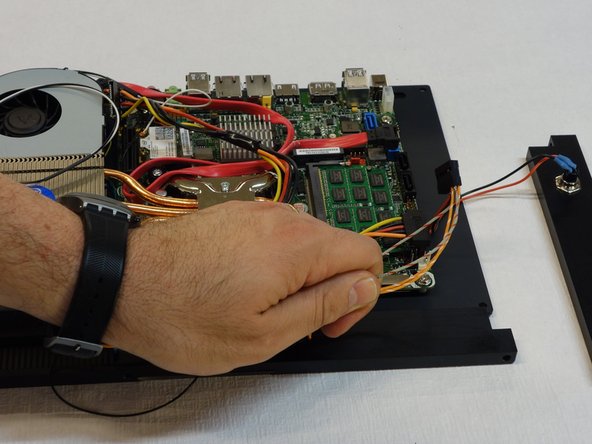
    • Carefully remove the back panel, as well the left and right panel.

  2. why! WDi7SSD fan replacement: 手順 2、 1の画像 1
    • Now flip up the base panel to which all components are attached.

  3. why! WDi7SSD fan replacement, Fan: 手順 3、 2の画像 1 why! WDi7SSD fan replacement, Fan: 手順 3、 2の画像 2
    • Remove the two Phillips PH2 screws on the fan.

  4. why! WDi7SSD fan replacement: 手順 4、 2の画像 1 why! WDi7SSD fan replacement: 手順 4、 2の画像 2
    • Remove the cable connecting the front part (with the LEDs) to the power source.

    • Remove that part of the case and its cable.

  5. why! WDi7SSD fan replacement: 手順 5、 3の画像 1 why! WDi7SSD fan replacement: 手順 5、 3の画像 2 why! WDi7SSD fan replacement: 手順 5、 3の画像 3
    • Remove the four screws on the heat sink with a Phillips PH2 screwdriver.

    • Remove the heat sink.

  6. why! WDi7SSD fan replacement: 手順 6、 2の画像 1 why! WDi7SSD fan replacement: 手順 6、 2の画像 2
    • Carefully remove the fan together with its case.

    • Carefully remove the connector connecting the fan to the power source.

終わりに

In order to reassemble your device, follow the steps of this guide in reverse order.

以下の翻訳者の皆さんにお礼を申し上げます:

de en

100%

Maria Parkerさんは世界中で修理する私たちを助けてくれています! あなたも貢献してみませんか?
翻訳を始める ›

作成者

4人の作成者と共同で作成されました。

Felice Suglia

メンバー登録日: 06/15/13

31,100 ポイント

264のガイドは作成済み

0 件のコメント

コメントを追加

統計データ:

過去 24時間: 1

過去 7 日: 2

過去 30 日: 7

今までの合計 205