必要な工具と部品
-
-
Slide the latch on the right to the unlocked position.
-
Slide the latch on the left to the unlocked position.
-
Remove the battery pack from the slot.
-
-
-
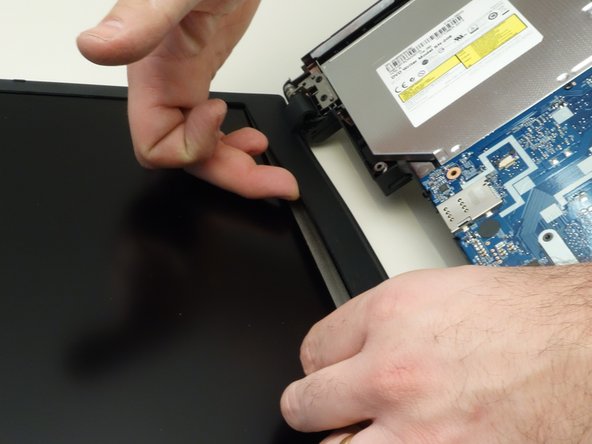
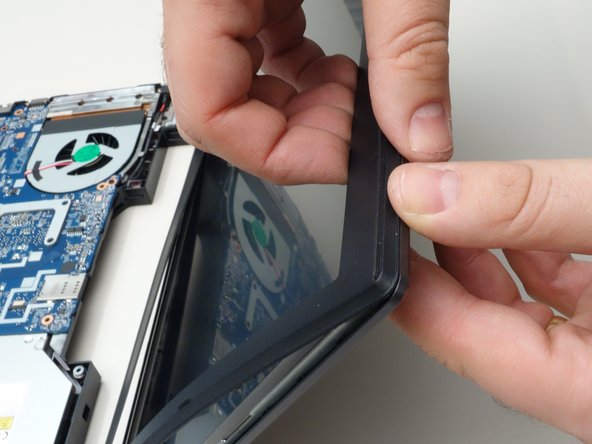
Working your way around the frame, unclip the mounting points of the frame surrounding the LCD screen.
-
-
-
-
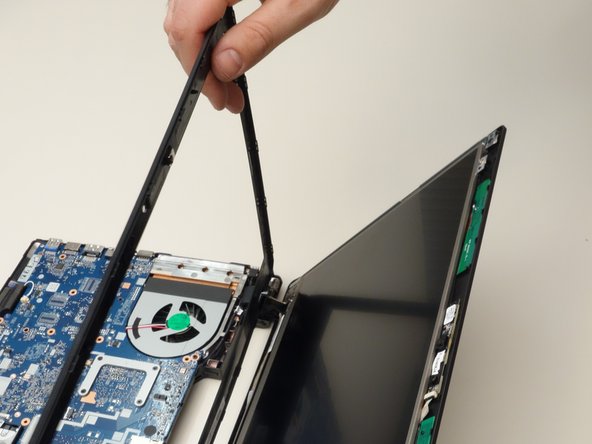
Remove the two upper mounting screws securing the LCD to the lid.
-
Remove the two lower mounting screws.
-
-
-
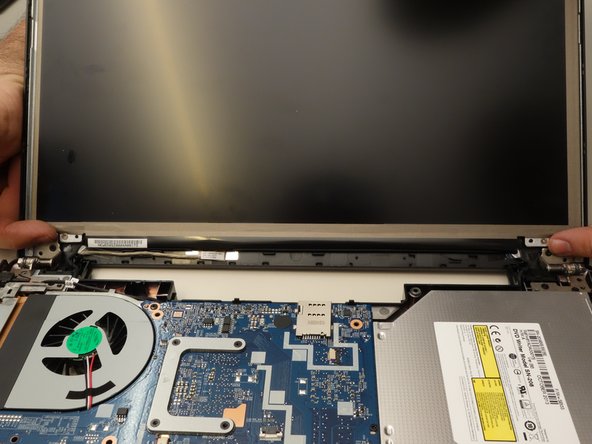
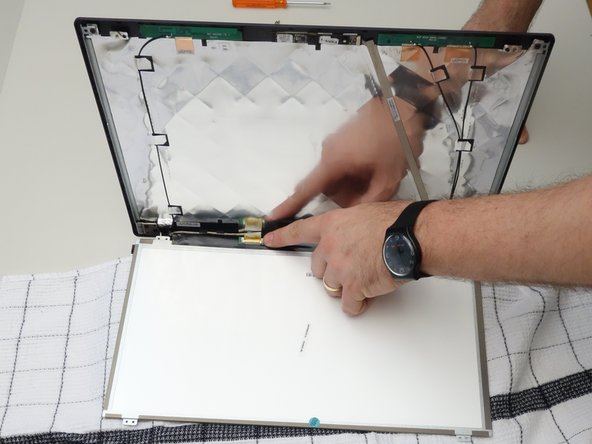
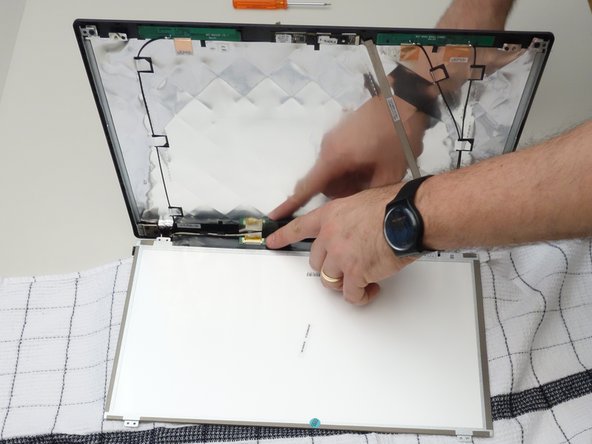
Cover the keyboard with a cloth, then carefully lower the LCD screen onto the keyboard.
-
-
-
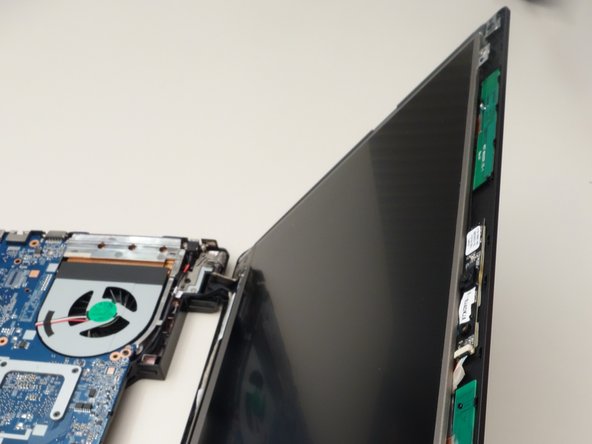
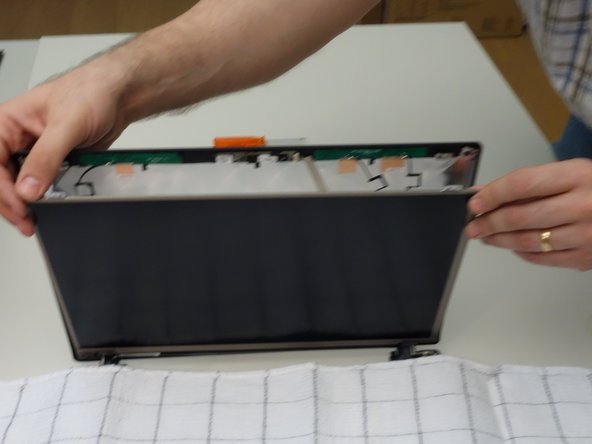
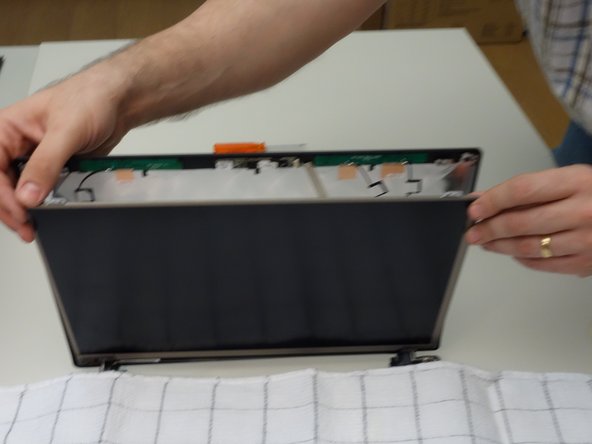
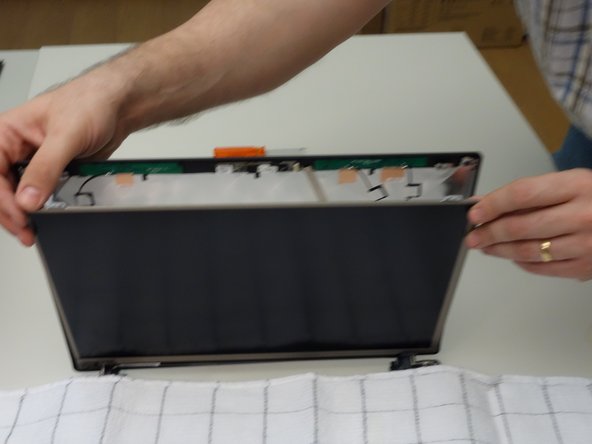
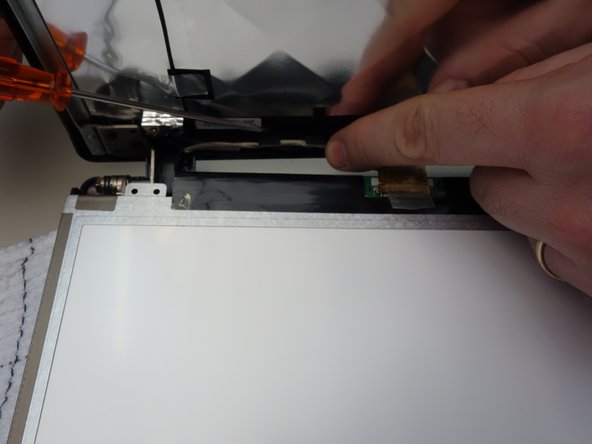
Using the plastic tab, peel back the tape securing the LCD cable the panel connector.
-
-
-
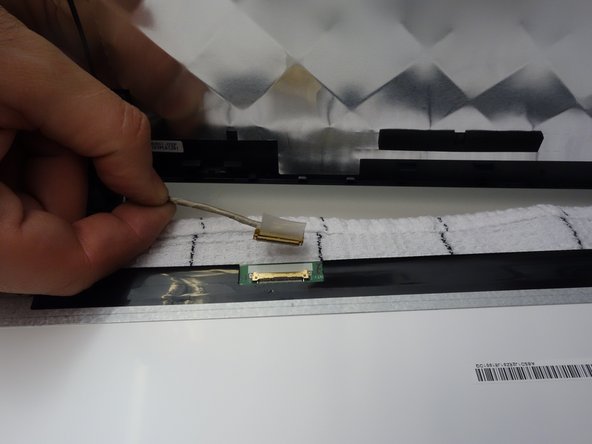
Unplug the connector.
-
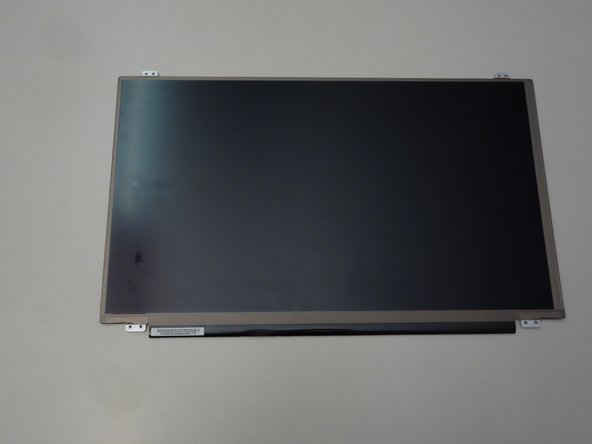
The LCD screen can now be removed.
-


To reassemble your device, follow these instructions in reverse order.
To reassemble your device, follow these instructions in reverse order.
以下の翻訳者の皆さんにお礼を申し上げます:
100%

Jerry Wheelerさんは世界中で修理する私たちを助けてくれています! あなたも貢献してみませんか?
翻訳を始める ›