必要な工具と部品
-
-
Start by unlocking the right locking latch.
-
Then, by simultaneously unlocking the left latch, lift the battery out of its socket.
-
-
-
Unscrew the circled screws in green and red
-
Put the computer in the position of the second image while pushing a paper clip into the hole of the screw circled in green until you hear a click
-
Lift the keyboard
-
-
-
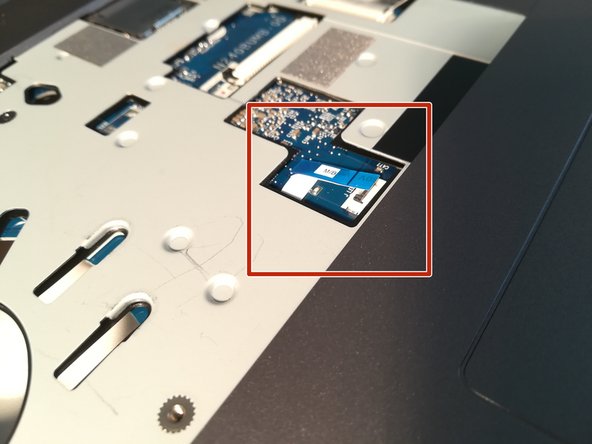
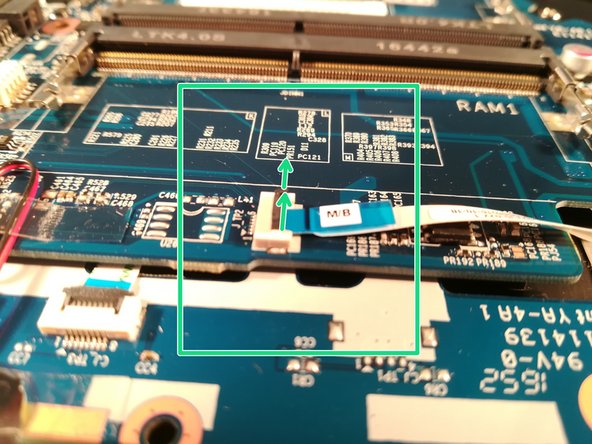
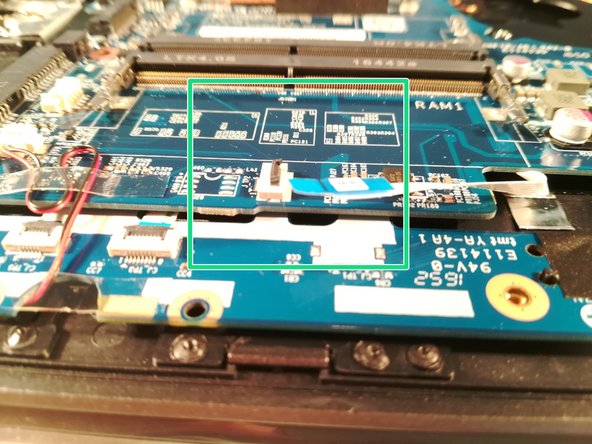
Begin by spotting the dummy memory card.
-
Then, remove it and put it on your workplan.
-
-
-
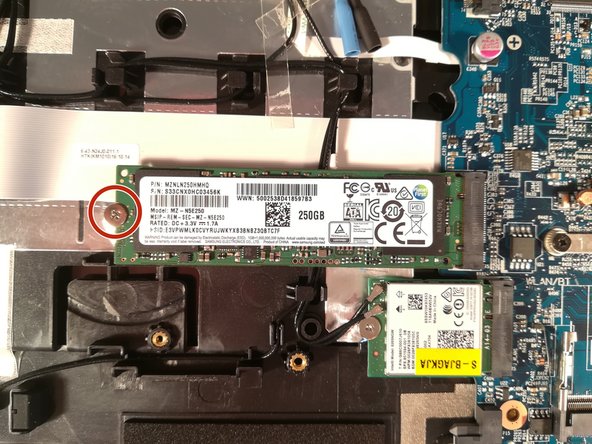
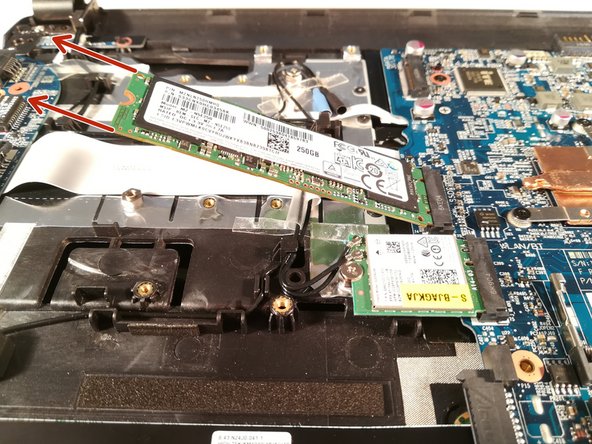
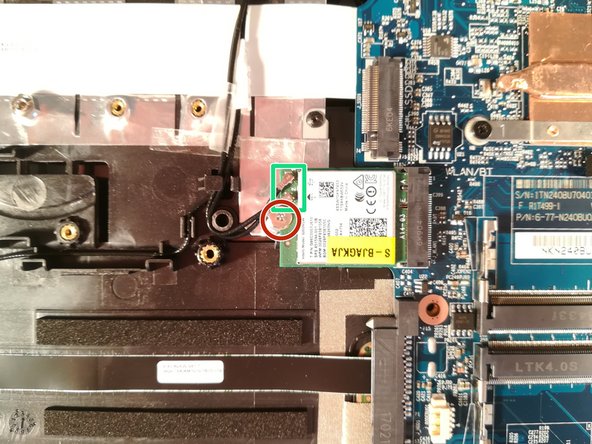
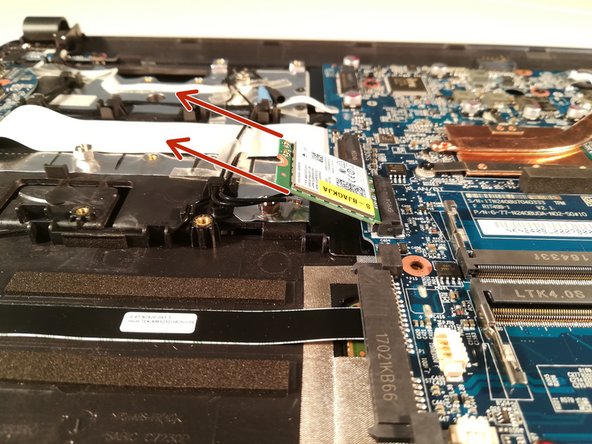
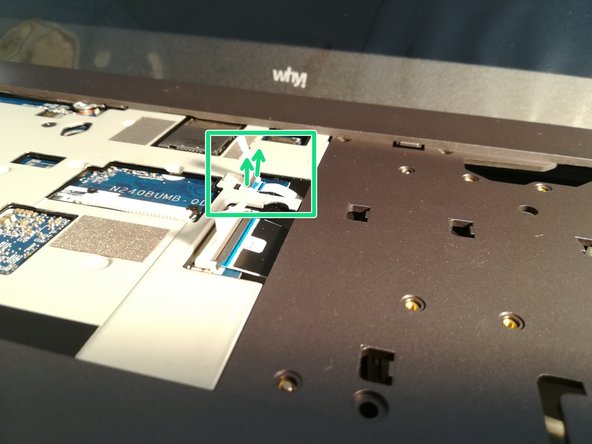
Unscrew the screw circled in red
-
Pull out the M.2 SSD in the direction of the red arrows
-
-
-
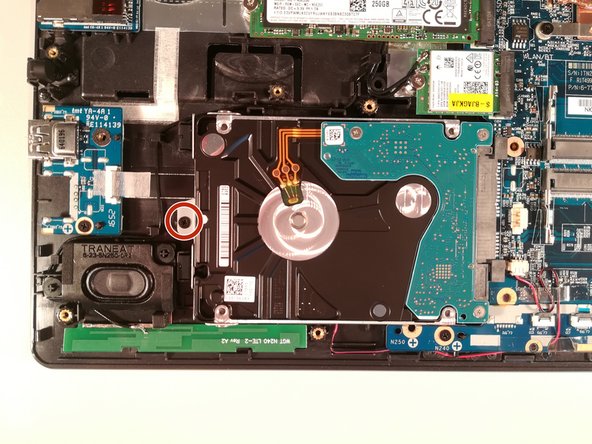
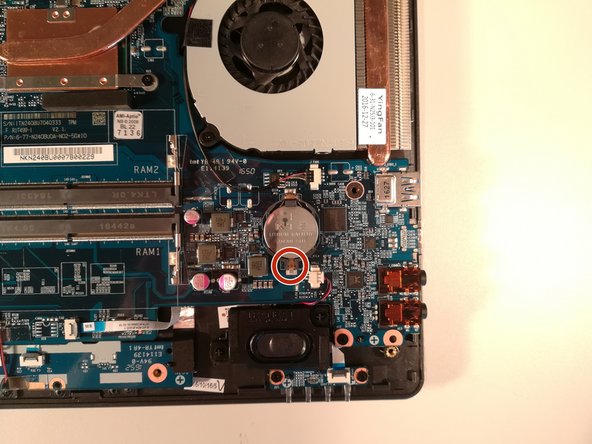
Remove the screw circled in red
-
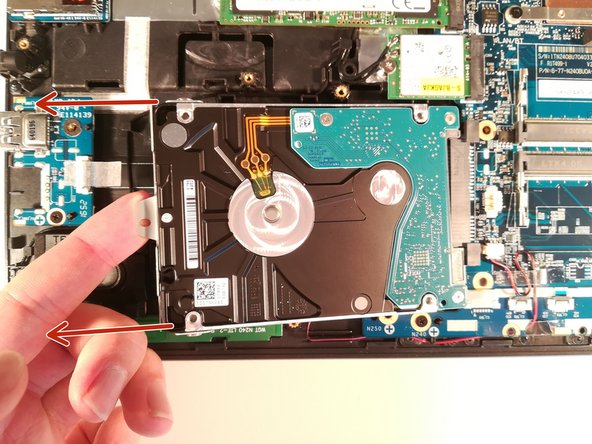
Lift up the hard drive
-
Remove the hard drive in the direction of the red arrows
-
-
-
-
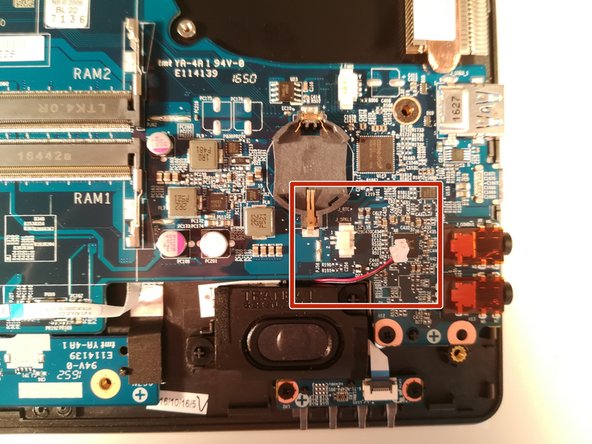
Remove the screw circled in red
-
Disconnect the two connectors marked in green
-
Remove the WLAN card
-
-
-
Press with a screwdriver in the red circled area to spread the base of the battery
-
Remove the battery by holding the screwdriver down
-
-
-
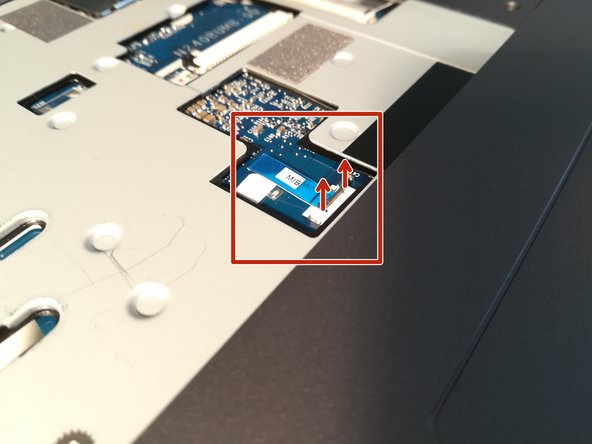
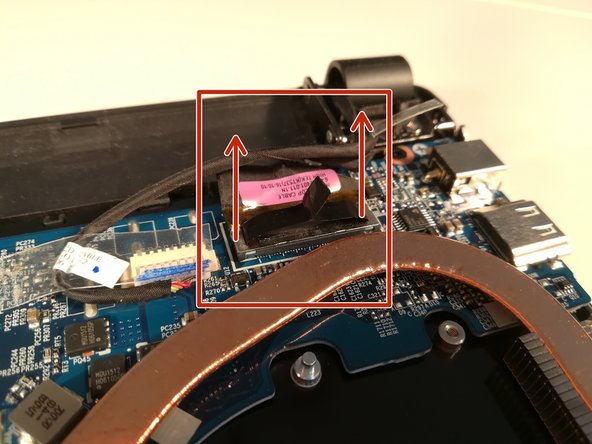
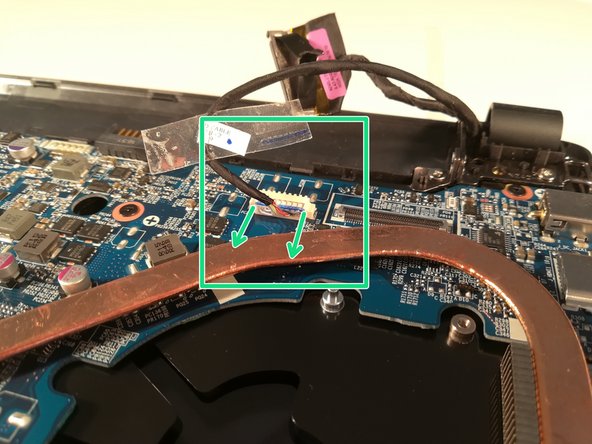
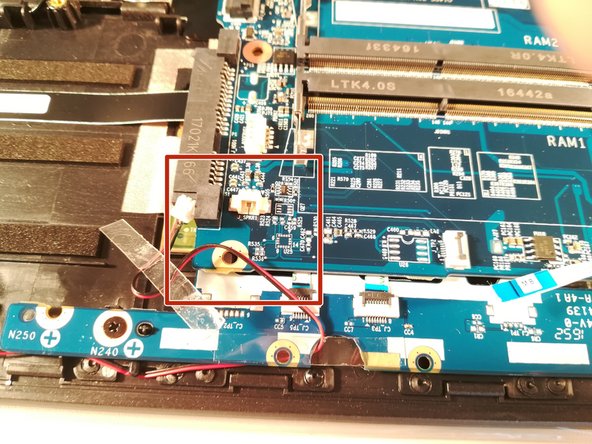
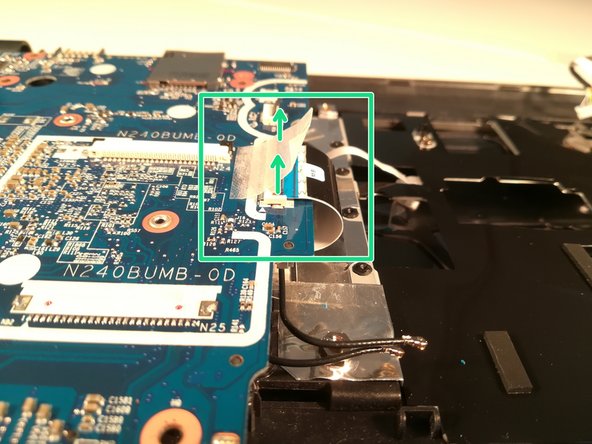
Lift the retaining flap off of the connector boxed in red.
-
Disconnect the connector boxed in red.
-


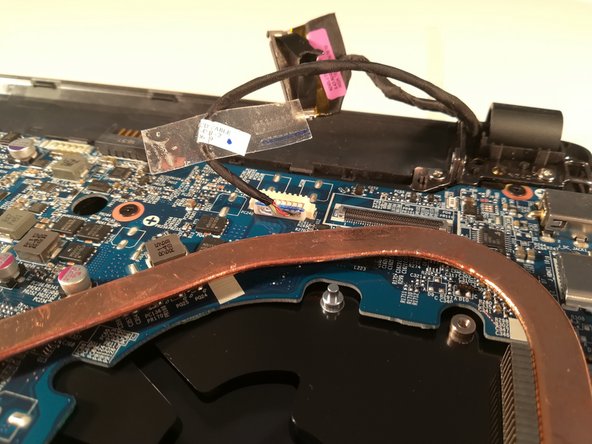

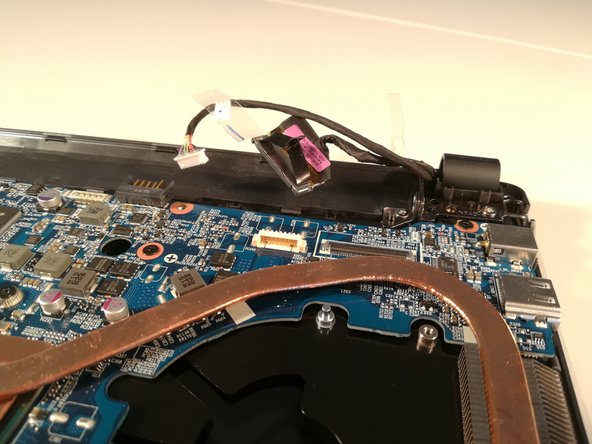


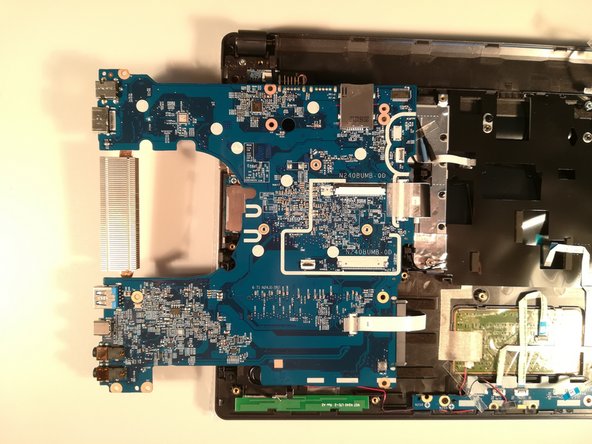


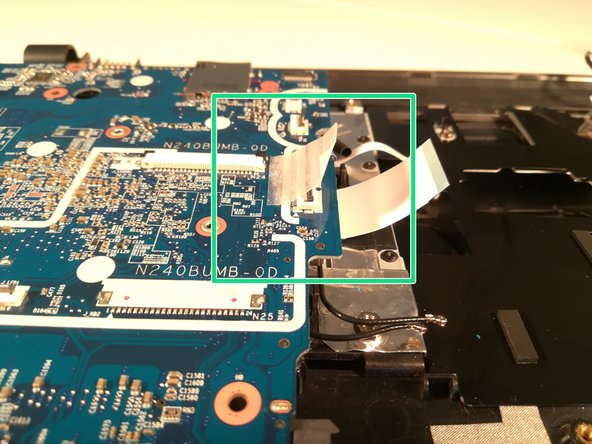
To reassemble your device, follow these instructions in reverse order.
To reassemble your device, follow these instructions in reverse order.
ある他の人がこのガイドを完成しました。
以下の翻訳者の皆さんにお礼を申し上げます:
100%


これらの翻訳者の方々は世界を修理する私たちのサポートをしてくれています。 あなたも貢献してみませんか?
翻訳を始める ›