はじめに
The screen provides the digital display for the unit. It is vital for the function of the entire unit operation. This guide will show how to remove and replace the screen. Take care not to damage the screen upon removal.
必要な工具と部品
-
-
Flip the device over.
-
Remove the four 10mm PH #2 screws by rotating the screwdriver counterclockwise, removing the screw from the housing completely.
-
-
-
-
Remove the four 10mm PH #2 screws from the screen assembly, by rotating the screw driver counter clockwise, removing the screw from the housing completely.
-
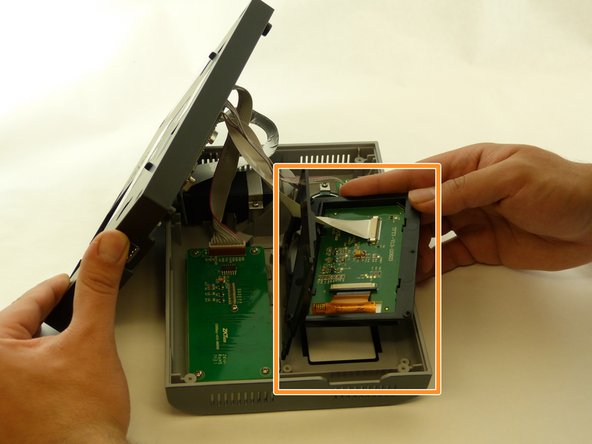
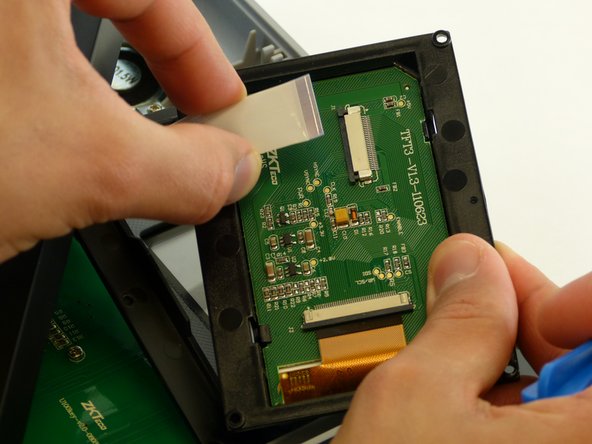
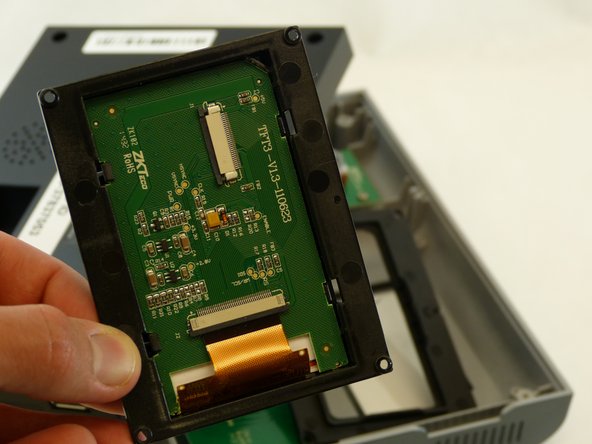
Remove the screen assembly from the housing by pulling the screen up and away from the housing.
-
To reassemble your device, follow these instructions in reverse order.
To reassemble your device, follow these instructions in reverse order.


