はじめに
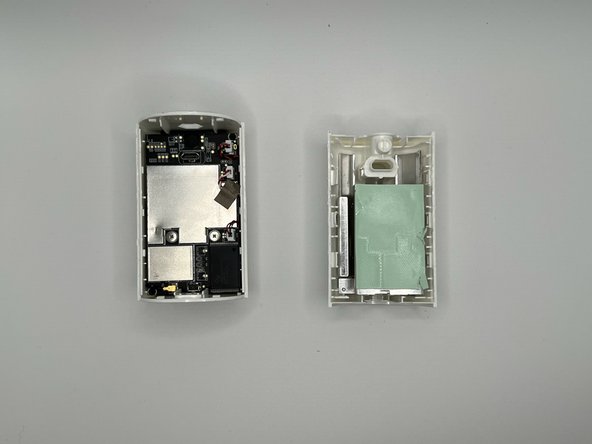
This guide provides a replacement walkthrough for the body of the ring Indoor Cam. This walkthrough is useful for opening the device for internal repairs or replacement of the camera base or body.
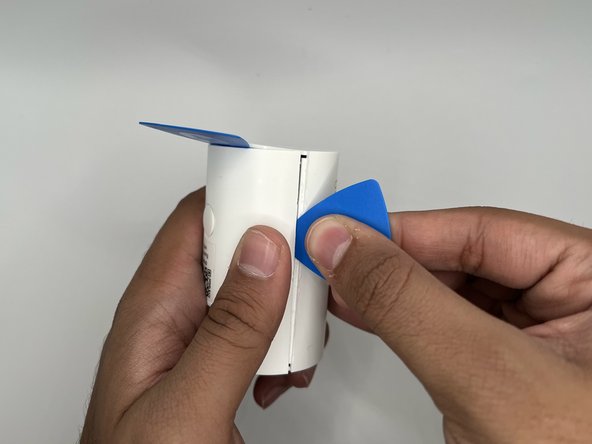
While prying the device, insert multiple iFixit opening picks into the creases to loosen the interlocking of the cam covers and prevent damaging your device.
必要な工具と部品


もう少しです!
To reassemble your device, follow these instructions in reverse order.
終わりに
To reassemble your device, follow these instructions in reverse order.

チーム

University of North Texas, Team 4-13, Harold Fall 2023 University of North Texas, Team 4-13, Harold Fall 2023人のメンバー
UNT-HAROLD-F23S4G13
4 メンバー
4のガイドは作成済み