必要な工具と部品
-
-
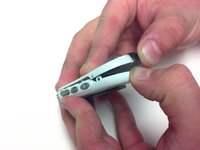
Remove the belt clip by pulling the clip casing up and away from the device starting at the top over the slightly protruding headphones jack.
-
-
-
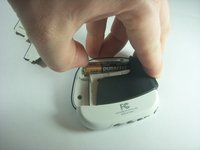
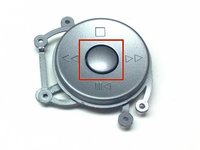
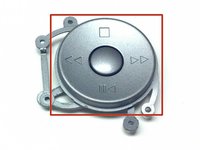
Remove the battery cover by gently pushing inward on the arrow on the cover.
-
While maintaining pressure push the cover upward.
-
-
-
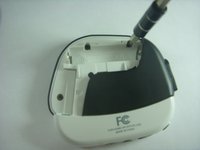
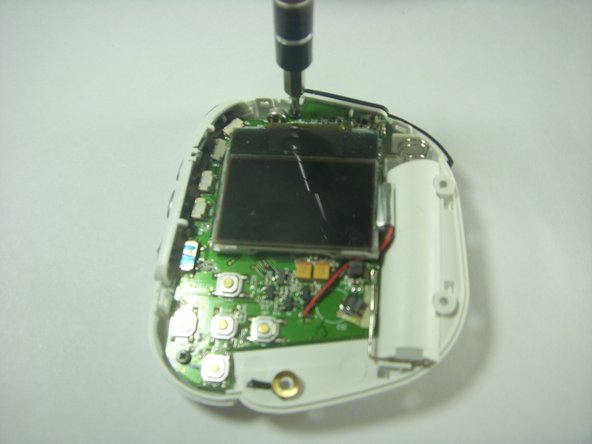
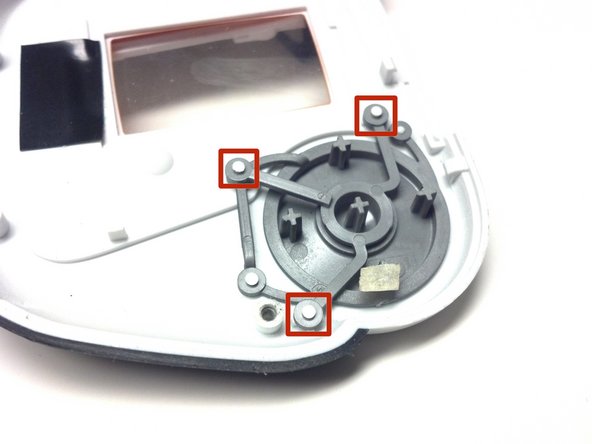
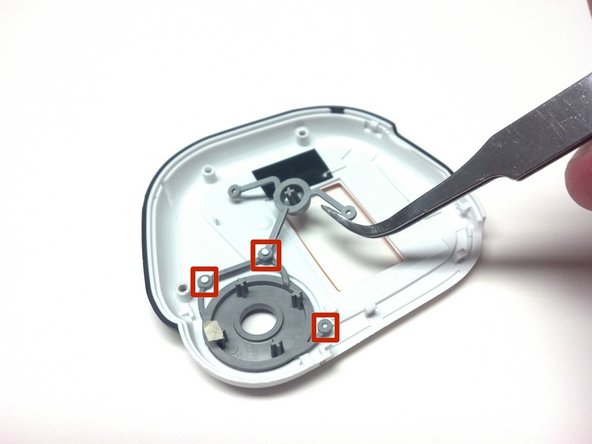
Under the cover you will find Three (3) 5mm screws that will need to be removed. For this you will need to use the PH00 screw tip included in your iFixit kit. Make sure to keep track of these screws as they will need to be reinserterd during the reassembly of your device.
-
-
-
-
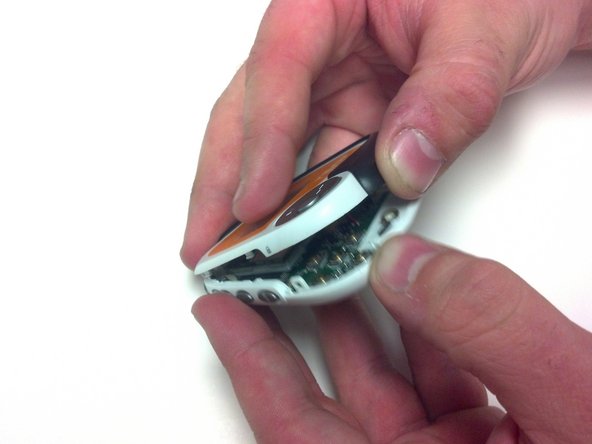
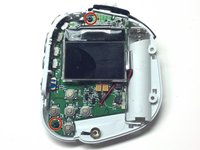
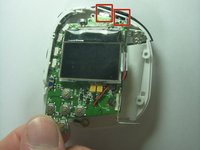
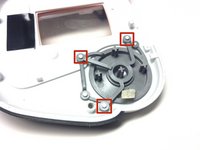
Use the bit spanner bit tool to gently pull upward on each of the arms to remove them from the pins.
-


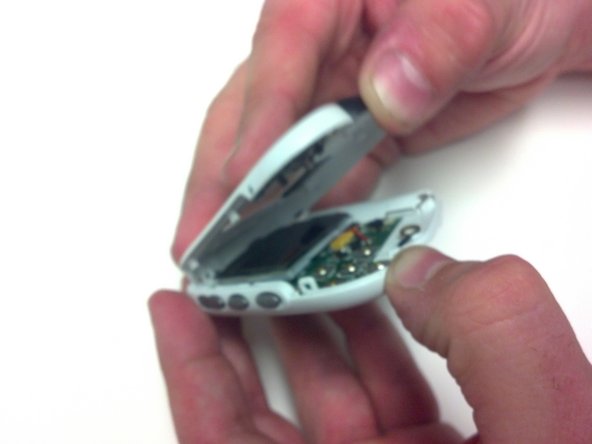


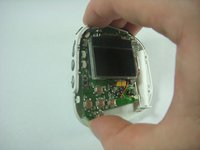


To reassemble your device, follow these instructions in reverse order.
ある他の人がこのガイドを完成しました。
チーム

University of Kentucky Louisville, Team 1-3, Chamberlain Fall 2012 University of Kentucky Louisville, Team 1-3, Chamberlain Fall 2012人のメンバー
LOUISVILLE-CHAMBERLAIN-F12S1G3
2 メンバー
5のガイドは作成済み