メインコンテンツにスキップ

iVIEW-754TPC Camera Assembly Replacement

必要な工具と部品

  1. iVIEW-754TPC Camera Assembly Replacement, Rear Panel: 手順 1、 3の画像 1 iVIEW-754TPC Camera Assembly Replacement, Rear Panel: 手順 1、 3の画像 2 iVIEW-754TPC Camera Assembly Replacement, Rear Panel: 手順 1、 3の画像 3
    • Before disassembling your tablet, make sure it is powered off.

    • Use plastic opening tool to release the clips holding the device together. The clips will take a small amount of pressure to release. Once you have the plastic opening tool inserted, use a twisting action to release the clips. Start from bottom of device and work all the way around.

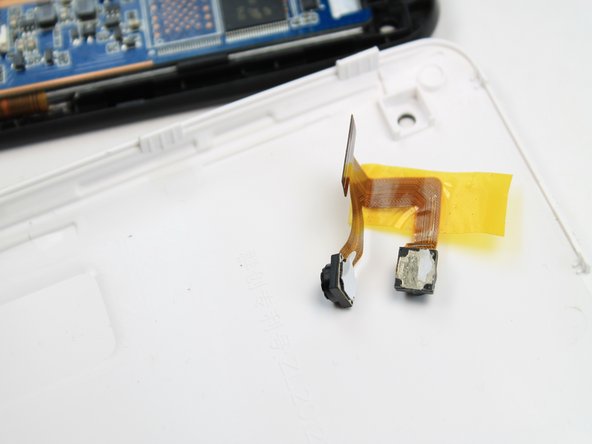
  2. iVIEW-754TPC Camera Assembly Replacement, Camera Assembly: 手順 2、 3の画像 1 iVIEW-754TPC Camera Assembly Replacement, Camera Assembly: 手順 2、 3の画像 2 iVIEW-754TPC Camera Assembly Replacement, Camera Assembly: 手順 2、 3の画像 3
    • The camera module is located directly under the top right corner of the back cover.

    • Peel back the tape holding down the camera ribbon connector using a pair of tweezers.

    • As you peel the tape backward, the front facing camera may come out, this is not an issue.

    • If the front facing camera does not come out, gently lift it out with a pair of tweezers

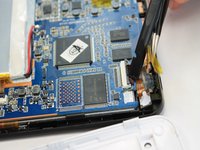
  3. iVIEW-754TPC Camera Assembly Replacement, Remove Camera: 手順 3、 2の画像 1 iVIEW-754TPC Camera Assembly Replacement, Remove Camera: 手順 3、 2の画像 2
    • Use a spudger to lift flap on top of the camera ZIF adapter.

    • At this point the camera module can be easily removed with a pair of tweezers.

    • During reassembly, make sure you put the ZIF adapter snugly back into its socket and secure the flap.

終わりに

To reassemble your device, follow these instructions in reverse order.

ある他の人がこのガイドを完成しました。

作成者

1人の作成者と共同作成されました。

Robert Clark

メンバー登録日: 01/21/15

1,065 ポイント

7のガイドは作成済み

チーム

USF Tampa, Team 5-4, Brown Winter 2015 USF Tampa, Team 5-4, Brown Winter 2015人のメンバー

USFT-BROWN-W15S5G4

4 メンバー

16のガイドは作成済み

0 件のコメント

コメントを追加

統計データ:

過去 24時間: 0

過去 7 日: 3

過去 30 日: 3

今までの合計 196