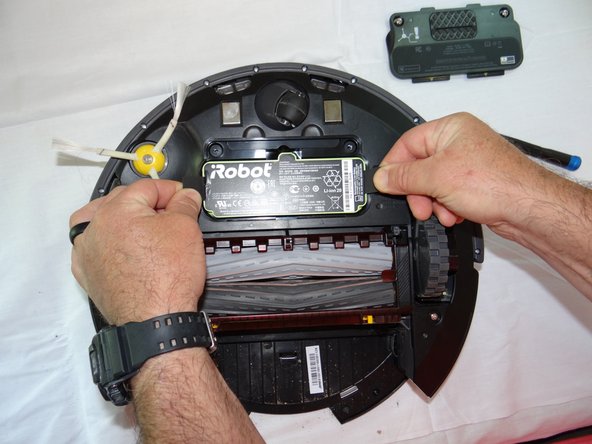
メインコンテンツにスキップ

iRobot Roomba 891 Drive Wheels Replacement

必要な工具と部品

  1. iRobot Roomba 891 Drive Wheels Replacement, Battery: 手順 1、 2の画像 1 iRobot Roomba 891 Drive Wheels Replacement, Battery: 手順 1、 2の画像 2
    • Start by flipping your Roomba onto its back on a flat surface.

    • Be sure not to close the side brush bristles in the battery door during reassembly as shown by the handy warning in the second photo.

  2. iRobot Roomba 891 Drive Wheels Replacement: 手順 2、 1の画像 1
    • Unscrew both the 11mm Phillips #2 screws from the battery cover and remove cover from the Roomba.

    • These captive screws are not intended to be removed from the cover.

  3. iRobot Roomba 891 Drive Wheels Replacement: 手順 3、 3の画像 1 iRobot Roomba 891 Drive Wheels Replacement: 手順 3、 3の画像 2 iRobot Roomba 891 Drive Wheels Replacement: 手順 3、 3の画像 3
    • Grasp the tabs on either side of the battery.

    • Remove the battery by pulling up on the tabs.

    • While you're here, check the battery contacts for corrosion or debris.

  4. iRobot Roomba 891 Drive Wheels Replacement, Side Brush: 手順 4、 2の画像 1 iRobot Roomba 891 Drive Wheels Replacement, Side Brush: 手順 4、 2の画像 2
    • Remove the 7.5mm flat head #4 screw from center of the side brush.

  5. iRobot Roomba 891 Drive Wheels Replacement: 手順 5、 1の画像 1
    • Gently pull the side brush off of the motor hub.

  6. iRobot Roomba 891 Drive Wheels Replacement, Drive Wheels: 手順 6、 1の画像 1
    • Remove dustbin assembly from the Roomba.

  7. iRobot Roomba 891 Drive Wheels Replacement: 手順 7、 3の画像 1 iRobot Roomba 891 Drive Wheels Replacement: 手順 7、 3の画像 2 iRobot Roomba 891 Drive Wheels Replacement: 手順 7、 3の画像 3
    • Remove 2 Phillips #2 11mm screws from the bottom cover.

    • These captive crews are designed to stay in the bottom cover.

    • Remove the bottom cover.

  8. iRobot Roomba 891 Drive Wheels Replacement: 手順 8、 3の画像 1 iRobot Roomba 891 Drive Wheels Replacement: 手順 8、 3の画像 2 iRobot Roomba 891 Drive Wheels Replacement: 手順 8、 3の画像 3
    • Unscrew three Phillips #00 gold 11mm screws from the drive module.

    • Both modules have the same number of screws and are mirror images of each other.

    • Left module is shown in the photos.

  9. iRobot Roomba 891 Drive Wheels Replacement: 手順 9、 1の画像 1
    • Grasp wheel module and remove from roomba.

    • Inspect housing for debris.

終わりに

To reassemble your device, follow these instructions in reverse order.

作成者

2人の作成者と共同で作成されました。

Justin Tolin

メンバー登録日: 05/29/19

718 ポイント

5のガイドは作成済み

チーム

コメント 1 件

justin i added the word captive to the steps where the screws stayed in place

thomas Wilson - 返信

コメントを追加

統計データ:

過去 24時間: 0

過去 7 日: 2

過去 30 日: 8

今までの合計 503