メインコンテンツにスキップ
リペアコミュニティに参加 - アカウントの作成

iRobot Roomba 551 Bumper Sensor Replacement

必要な工具と部品

  1. iRobot Roomba 551 Bumper Sensor Replacement, Side Brush: 手順 1、 1の画像 1
    • Place your Roomba upside-down on a hard surface.

    FixBotに聞いてみる
    コメントを追加

  2. iRobot Roomba 551 Bumper Sensor Replacement: 手順 2、 1の画像 1
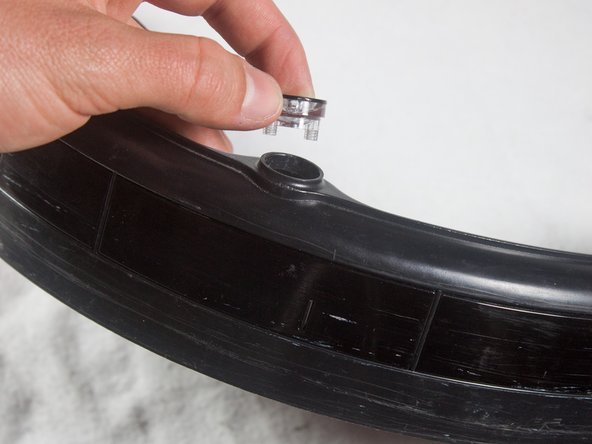
    • While holding the side brush in place, use a Phillips #1 screwdriver to remove the 4.5mm screw from the center of the brush.

    FixBotに聞いてみる
    コメントを追加

  3. iRobot Roomba 551 Bumper Sensor Replacement: 手順 3、 1の画像 1
    • Gently pull upwards on the brush to remove it.

    FixBotに聞いてみる
    コメントを追加

  4. iRobot Roomba 551 Bumper Sensor Replacement, Bottom Plate: 手順 4、 1の画像 1
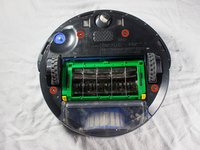
    • Rotate the Roomba upside-down so the bottom is facing towards you.

    FixBotに聞いてみる
    コメントを追加

  5. iRobot Roomba 551 Bumper Sensor Replacement: 手順 5、 2の画像 1 iRobot Roomba 551 Bumper Sensor Replacement: 手順 5、 2の画像 2
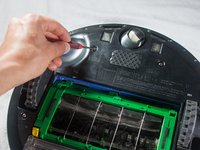
    • Using a Phillips #2 screwdriver, remove the captive screws that hold the bottom plate in place.

    FixBotに聞いてみる
    コメントを追加

  6. iRobot Roomba 551 Bumper Sensor Replacement: 手順 6、 1の画像 1
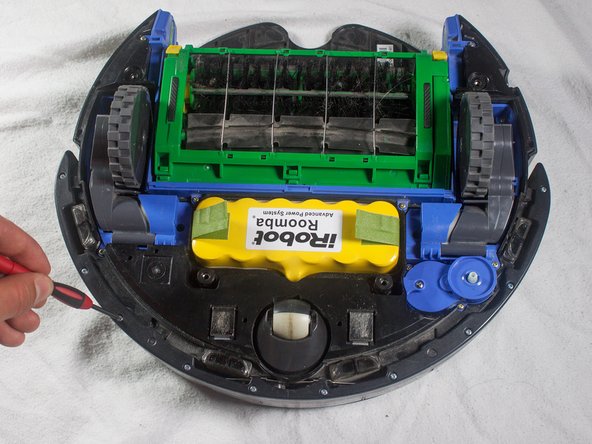
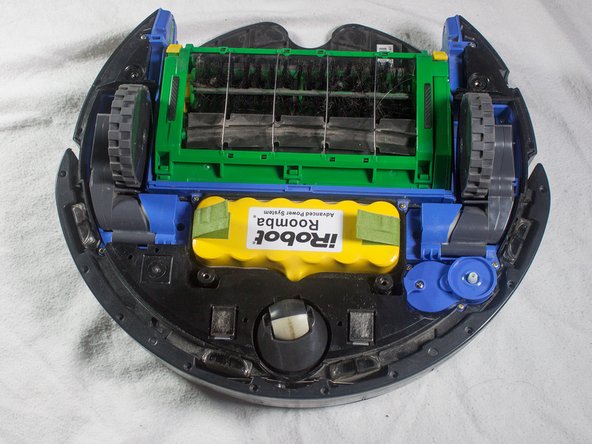
    • Carefully lift the bottom plate.

    • The battery is only secured in place by the bottom plate, and may fall out once the bottom plate is removed.

    FixBotに聞いてみる

    コメントを追加

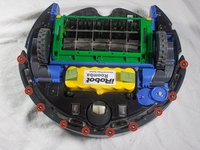
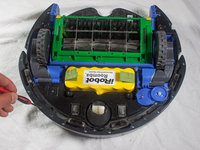
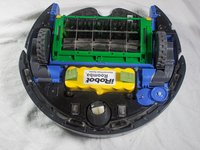
  7. iRobot Roomba 551 Bumper Sensor Replacement, Bumper: 手順 7、 3の画像 1 iRobot Roomba 551 Bumper Sensor Replacement, Bumper: 手順 7、 3の画像 2 iRobot Roomba 551 Bumper Sensor Replacement, Bumper: 手順 7、 3の画像 3
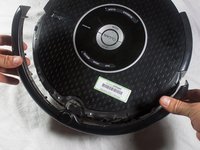
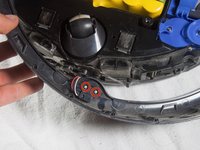
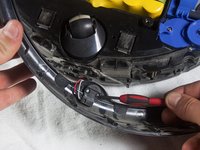
    • With a Phillips #1 screwdriver, remove the ten 12mm screws located along the bottom of the bumper.

    FixBotに聞いてみる

    コメントを追加

  8. iRobot Roomba 551 Bumper Sensor Replacement: 手順 8、 1の画像 1
    • Lift the bottom cover and set it to the side.

    FixBotに聞いてみる

    コメントを追加

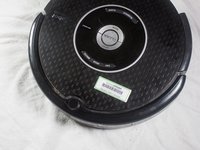
  9. iRobot Roomba 551 Bumper Sensor Replacement: 手順 9、 2の画像 1 iRobot Roomba 551 Bumper Sensor Replacement: 手順 9、 2の画像 2
    • Flip the Roomba over, grasp the bumper, and gently lift to remove.

    • The battery is not secured in place once the bottom plate has been removed, and may fall out when the Roomba is turned right-side up.

    FixBotに聞いてみる

    コメントを追加

  10. iRobot Roomba 551 Bumper Sensor Replacement, Bumper Sensor: 手順 10、 1の画像 1
    • Flip the Roomba so that the bottom is facing you.

    FixBotに聞いてみる

    コメントを追加

  11. iRobot Roomba 551 Bumper Sensor Replacement: 手順 11、 2の画像 1 iRobot Roomba 551 Bumper Sensor Replacement: 手順 11、 2の画像 2
    • Remove the two 5mm screws located near the center of the bumper using a Phillips #1 screwdriver.

    FixBotに聞いてみる

    コメントを追加

  12. iRobot Roomba 551 Bumper Sensor Replacement: 手順 12、 1の画像 1
    • Pull gently on the bottom of the sensor to remove.

    FixBotに聞いてみる

    コメントを追加

  13. iRobot Roomba 551 Bumper Sensor Replacement: 手順 13、 3の画像 1 iRobot Roomba 551 Bumper Sensor Replacement: 手順 13、 3の画像 2 iRobot Roomba 551 Bumper Sensor Replacement: 手順 13、 3の画像 3
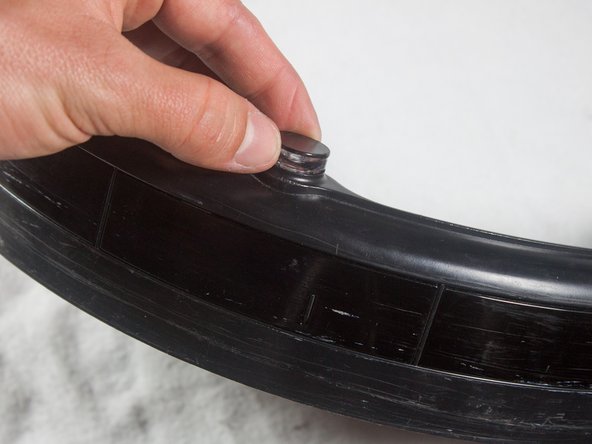
    • Flip the bumper over and lift the sensor from its compartment.

    • You are now free to replace the bumper sensor.

    FixBotに聞いてみる

    コメントを追加

終わりに

To reassemble your device, follow these instructions in reverse order.

キャンセル: このガイドを終了できませんでした。

4 の人々がこのガイドを完成させました。

作成者

4人の作成者と共同で作成されました。

Cody Rhoads

メンバー登録日: 01/16/14

348 ポイント

2のガイドは作成済み

チーム

Cal Poly, Team 13-14, Regan Winter 2014 Cal Poly, Team 13-14, Regan Winter 2014人のメンバー

CPSU-REGAN-W14S13G14

4 メンバー

32のガイドは作成済み

0件のガイドコメント

コメントを追加

統計データ:

過去 24時間: 1

過去 7 日: 5

過去 30 日: 28

今までの合計 4,997