はじめに
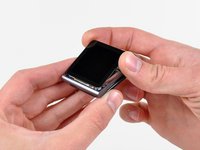
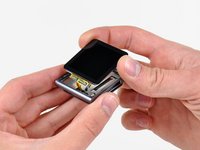
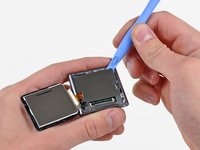
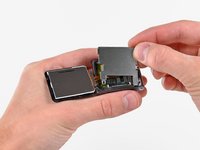
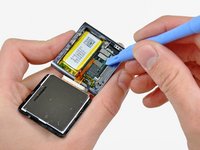
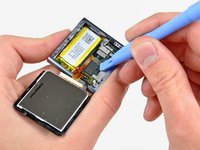
このマニュアルでは、iPod Nano 第6世代のフロントパネルの交換方法について記載しています。
Nano 第6世代はLCDとタッチパネルが一体になっているため、どちらか片方のみの交換はできません。修理する際は、両方が一体になったパーツを購入してください。
必要な工具と部品
組み直す際は、このマニュアルを逆の手順から行ってください。
組み直す際は、このマニュアルを逆の手順から行ってください。
120 の人々がこのガイドを完成させました。
以下の翻訳者の皆さんにお礼を申し上げます:
100%
これらの翻訳者の方々は世界を修理する私たちのサポートをしてくれています。 あなたも貢献してみませんか?
翻訳を始める ›
10 件のコメント
Don't forget to include in your repair the adhesive to hold the new screen on. It does not come with the new display. I as unable to find it at iFixit's site but was able to get it here for $10 incl p&p: http://www.badgizmorepair.com/product/ip...
By the time I paid for the screen, opening tool and glue it turned out to be more economical and less hassle to take it to the Apple store (albeit less satisfying than doing it yourself). I suggest you forego the opening tool if you have a good flat blade jewelers screwdriver. A fine temporary fix for not having the correct screen glue is a piece of packing tape. It leaves the iPod open to the elements though, so I highly recommend the correct glue in order to avoid water leaking in around the edge of the screen.
You will also need a very small jewellers or electronics screwdriver for the two screws. I just managed it with an oversized flathead driver.
dmcgleenan - 返信
i had bought these part and succeeded in repair my drown ipod using these guides (luckily only the lcd that didnt work). and it work nicely. thanks
bubba12250 - 返信
Thanks for the guide. Very useful and easy to follow.
Had some issues with getting the screen off initially, but that was due to the glass along the headphone jack side being cracked into several small little shards (hence the reason for following the guide ;)
Used a replacement screen (incl. toolkit and replacement precut adhesive) that I purchased from ebay for around US$10 (free shipping).


