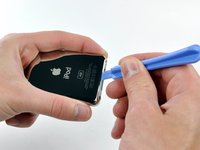
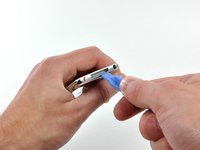
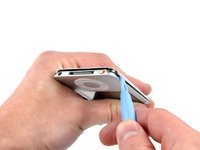
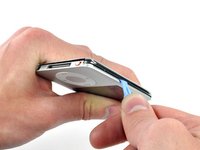
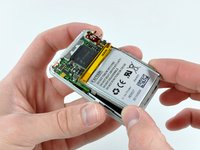
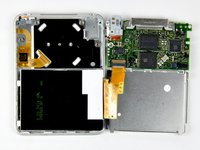
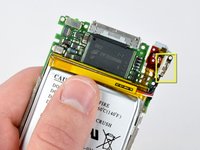
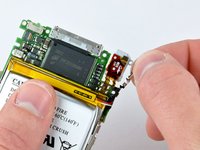
はじめに
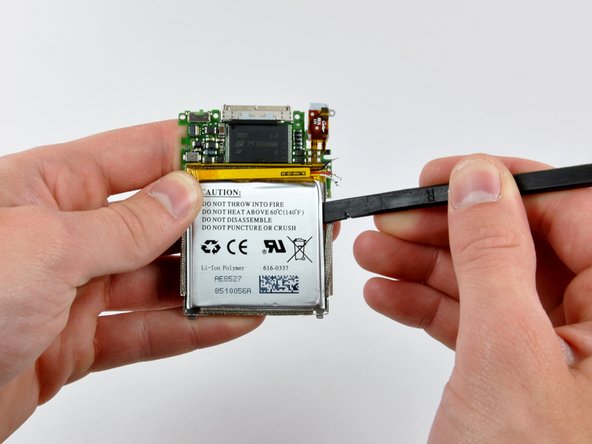
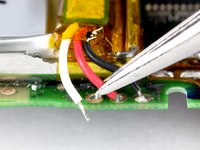
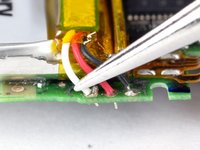
バッテリーが長持ちしませんか?交換しましょう(はんだ付けが必要です)。
必要な工具と部品
デバイスを再度組み立てるには、この説明書の逆の順番で組み立ててください。
デバイスを再度組み立てるには、この説明書の逆の順番で組み立ててください。
122 の人々がこのガイドを完成させました。
以下の翻訳者の皆さんにお礼を申し上げます:
100%
これらの翻訳者の方々は世界を修理する私たちのサポートをしてくれています。 あなたも貢献してみませんか?
翻訳を始める ›
20件のガイドコメント
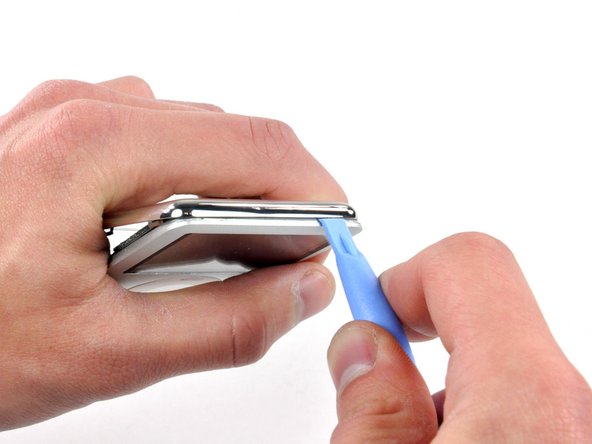
I have one suggestion about replacing the back cover after you are all done (If you did not purchase a new replacement cover). I noticed that in the process of removing the back cover, the metal clips get bent up. This causes the cover to be very loose when you replace it (this is the "considerable damage" I presume the article talks about. In order to get a tight fit, you must press down the clips very gently. One of the tack welds came off of mine, and I had to remove one of the metal tabs because it was useless, so be careful. Anyway, keep this in mind and you won't have to buy a new back cover. Thanks for the article, it really helped!
This is NO EASY TASK. Much HARDER than the steps shown here. There is no way in !@#$ the plastic tool will separate the case...but I am sure someone will say there is.
Not I though.
I will be purchasing the back case now since it is obvious to me after receiving the replacement battery in the mail that I am going to butcher this thing up and the clips.
Peace.
I totally agree, the plastic tool broke the tangs right away. I had to use a small flat blade jewelers screwdriver to pry around. And yes, I bought a new cover
Bud -
I successfully opened the ipod with a walmart brand set that contained a large and small plastic tool. You gotta work it.


