はじめに
If your iPod's front faceplate is cracked, scratched, damaged, or just boring, this guide will teach you how to replace the front faceplate of your iPod.
必要な工具と部品
-
-
Take caution while opening your iPod, making sure not to rip any ribbon cables.
-
You can use things such as a guitar pick or spudger to pry open the iPod.
-
-
-
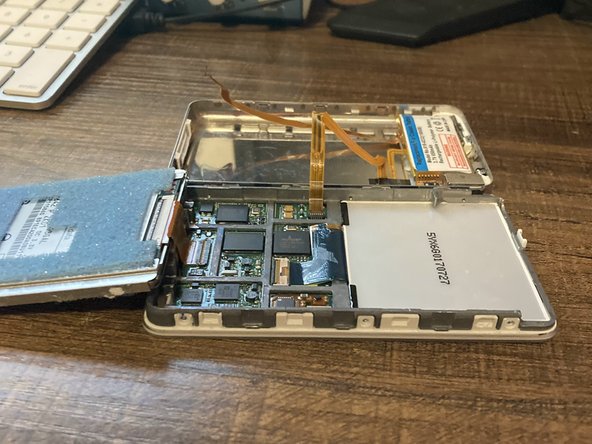
Gently unplug the battery ribbon cable from the iPod and lift up the back shell.
-
Make sure the iPod looks like the image shown.
-
-
-
-
Using a spudger or pick, gently pry the frontplate off of the iPod's frame that holds internals such as the screen, motherboard, etc.
-
Your iPod should look like the second image when this step is completed.
-
-
-
First, install the middle button that came with your new frontplate by lifting up the click wheel and simply clicking the center button into place.
-
Then, install the frontplate by just aligning the frontplate with the iPod frame and pressing it down into place until all the clips click together.
-
-
-
Before closing the iPod, make sure you reconnect the battery ribbon cable.
-
Be careful not to rip it!
-
-
-
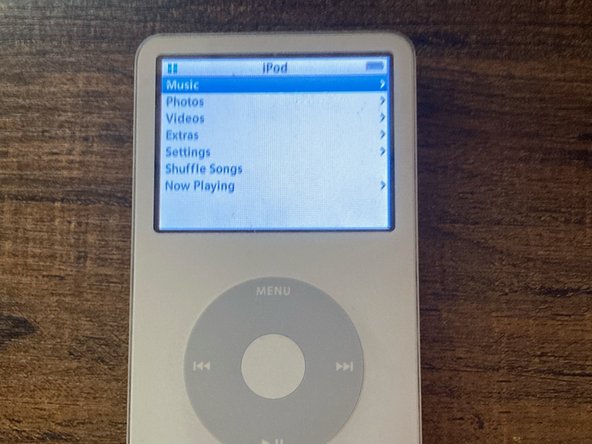
Once you've completed everything and closed your iPod, try and turn it on by pressing any button on the click wheel. If it turns on and everything works without issue, than you've successfully completed this guide!
-
But, if something doesn't work after replacing it, such as there being no sound or the screen is not displaying things correctly, reopen the iPod and examine the ribbon cables and capacitors to make sure none are missing or ripped.
-


To reassemble your device, follow these instructions in reverse order.
To reassemble your device, follow these instructions in reverse order.
ある他の人がこのガイドを完成しました。