はじめに
As we know, glass is very easy to shattering, scratching and other light damage over time. You’d better not drop your iPhone XS MAX. If it’s broken, you would be very surprised that the most expensive smartphones in the market also cost the most to blace glass repair.
Good luck! The back cover of the iPhone X/XS/XS MAX can be separated. We can tear them down with a heating device or a freezing separating machine. They are a cost-effective and efficient way.
必要な工具と部品
ビデオの概要
-
-
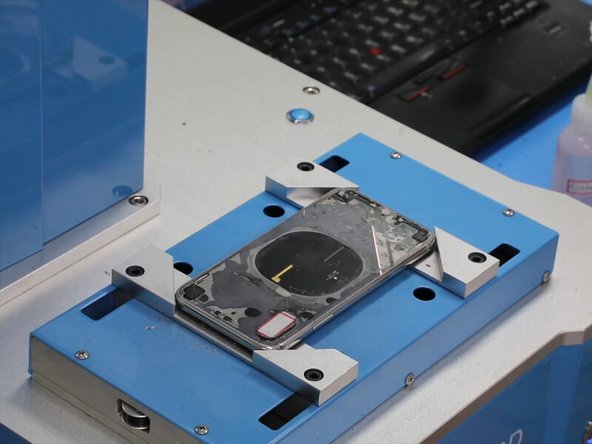
Firstly, we put the cellphone without disassemble on the focusing area and run the black wheel. It can test focal length automatically. Meanwhile the blue light will sparkle once focusing the best distance.
-
After that, we put the phone on the location mold which has a unique patented technology. It can calibrate the center automatically and it is fast and accurate. The error is less than 0.002mm.
-
-
-
The next part is using the computer and find the drawing of iPhone X/XS/XS MAX once we fix the position.
-
Then we click “Mark” to start the laser separation. Here the machine will laser two times to separate the back glass.
-
-
-
-
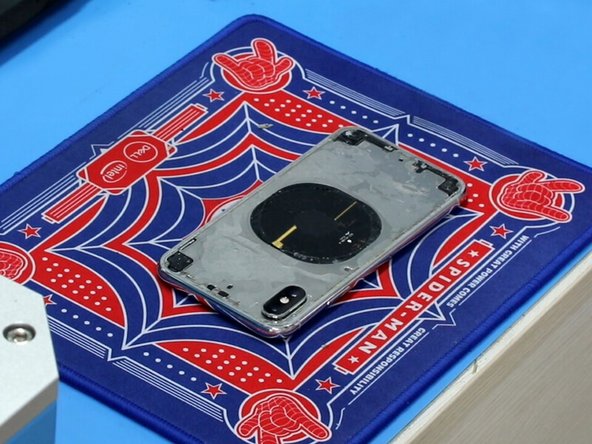
After the laser work is done, we can remove the iPhone XS back glass with a blade, a pry piece and pliers successfully in a short time.
-
When the glass teardown, we have to use the laser machine again to remove the residual glue.
-
If you don't use a laser machine, it is quite challenging to remove the residual glue, but the hair dryer or heat gun makes the process easier.
-
-
-
We can add glue on the back frame with a glue gun.
-
Finally, stick the new glass.
-


There is a fast and easy way to refurbish the back glass of mobile phones. It's cool and functional as it can engrave, remove back cover and front glass of mobile phones without disassemble. The machine is not only used for edge screens but also it is used for flat screens, such as iPhone 8P, X, XS, XS MAX, etc.
There is a fast and easy way to refurbish the back glass of mobile phones. It's cool and functional as it can engrave, remove back cover and front glass of mobile phones without disassemble. The machine is not only used for edge screens but also it is used for flat screens, such as iPhone 8P, X, XS, XS MAX, etc.
4 の人々がこのガイドを完成させました。

3 件のコメント
What about the camera ring? Does the glass seal properly around it?
Yes, pretty funny somone made this guide with the laser removal. You can also use a heatgun or a hairdryer and slowly warm up some of the glass while peeling more back.
I will be replacing my iPhone back glass and do NOT have a laser etcher (although it would be fun to have.)