はじめに
Nur Grundständige Anleitung: Trenne den Akku eines iPhone 6s, um Reparaturen sicher durchzuführen.
必要な工具と部品
-
-
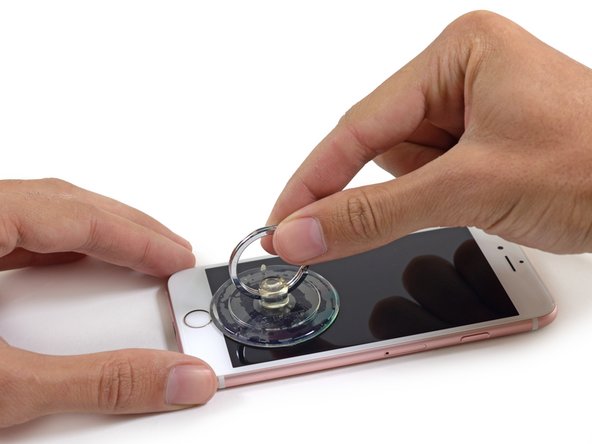
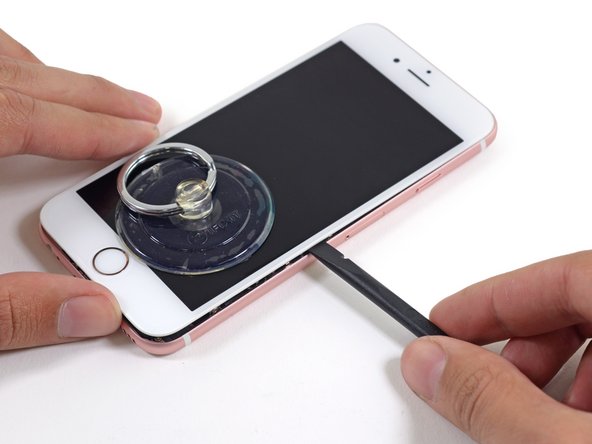
Entferne die beiden 3,4 mm P2 Pentalobe Schrauben an der Unterseite des iPhones neben dem Lightning-Anschluss.
-
-


Arbeite die Schritte in umgekehrter Reihenfolge ab, um dein Gerät wieder zusammenzubauen.
Arbeite die Schritte in umgekehrter Reihenfolge ab, um dein Gerät wieder zusammenzubauen.
ある他の人がこのガイドを完成しました。
以下の翻訳者の皆さんにお礼を申し上げます:
100%

これらの翻訳者の方々は世界を修理する私たちのサポートをしてくれています。 あなたも貢献してみませんか?
翻訳を始める ›


3 件のコメント
While replacing a charging port on the 6s I realized that the battery didn't seem to stay seated. It also won't charge past a certain percentage. Anyone run into this?
BE FOREWARNED: I used this guide and ended up breaking one of the cables to my display on step 8. Now my home button, camera and speaker don’t work and I have to spend 80 dollars for a new lcd panel.
The featured guide (not this one) shows how to completely detach the screen cables so this won’t happen. Do a quick search and take a look before possibly breaking your phone on step 8. Fully detaching the panel would have prevented this issue
DO NOT USE THIS GUIDE: It is not complete. I ended up having to goto the store and pay $250 dollars to get my I phone fixed after breaking it with these incomplete directions.
This is a more complete guide use this one: iPhone 6sのバッテリーの交換