はじめに
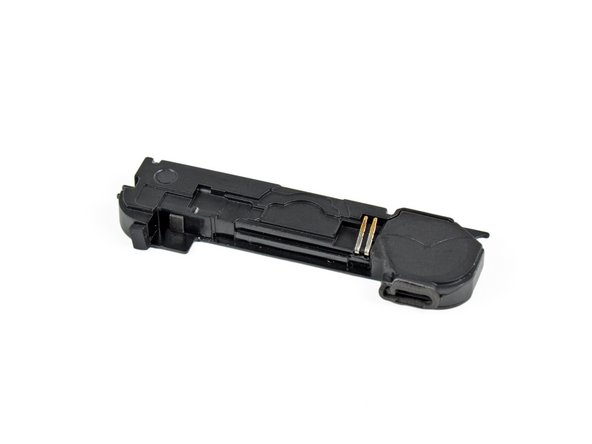
このガイドを使ってiPhone 4sの底側端付近にあるスピーカーエンクロージャーを交換します。
必要な工具と部品
-
-
-
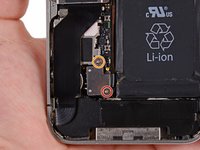
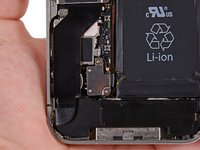
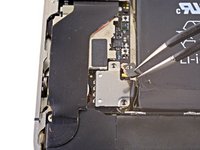
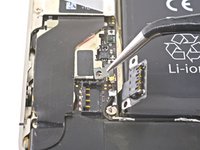
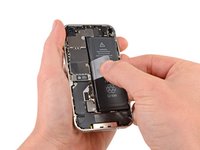
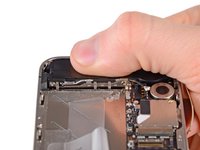
ロジックボードにドックコネクタケーブルのカバーを固定している次のネジを外します。
-
1.5 mmプラスネジー1本
-
1.2 mmプラスネジー1本
-
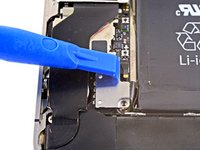
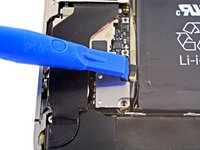
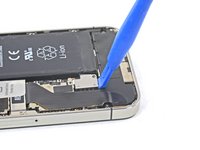
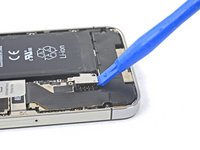
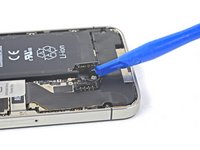
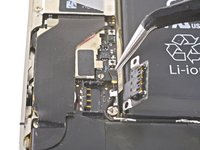
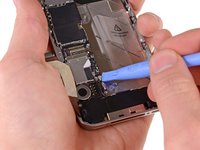
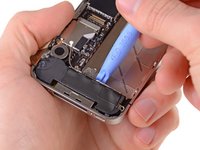
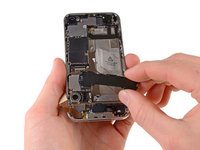
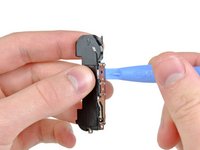
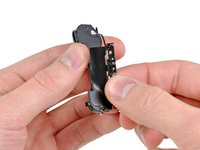
メタル製ドックコネクタケーブルカバーを外します。
-


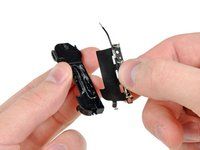

デバイスを再組み立てする際は、これらのインストラクションを逆の順番に従って作業を進めます。
デバイスを再組み立てする際は、これらのインストラクションを逆の順番に従って作業を進めます。
186 の人々がこのガイドを完成させました。
以下の翻訳者の皆さんにお礼を申し上げます:
100%

Midori Doiさんは世界中で修理する私たちを助けてくれています! あなたも貢献してみませんか?
翻訳を始める ›

8 件のコメント
Your tutorial was very easy to follow and provided the exact direction and instruction for each step... Job well done, thanks for all of your hard work, because of it my install was a success and only took 15 minutes!
I found antenna is not replaceable.
Went according to directions fairly straightforward. The Philips heads in the ifixit pro kit are definitely substandard quality. Had to use another jewelers screwdriver on these screws. The fins are too wide.
dwatson102 - 返信
Excellent guide I'm now tech wizard but replaced speaker enclosure no problem . Take your time I used a a4 pad and drew circles for each step I was removing screws or brackets so they were all labelled. It's nerve racking at first but follow guide you ll be fine.
Read it twice perform it once!
Be prepared and have all the tools
Enjoy!! I now have sound back thx ifixit!!!