はじめに
Kara, my four-year-old granddaughter repairs Grandma's iPhone.
必要な工具と部品
ビデオの概要
-
-
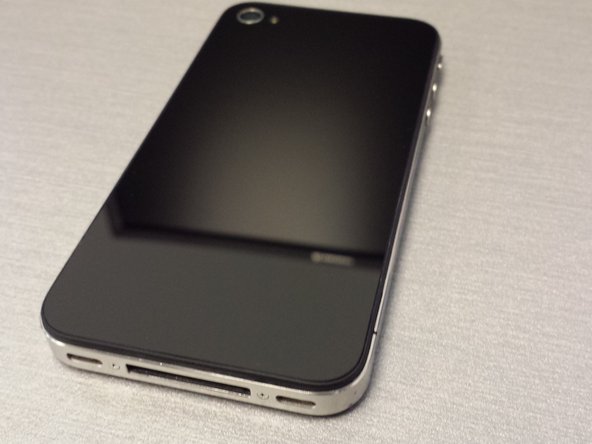
Here you can see the original cracked rear panel and the replacement panel.
-
Next using a Phillips head screwdriver, remove the mounting screws at the bottom of the iPhone. Place them aside carefully as they are really small.
-
Finally, once the screws are out gently apply pressure and slide the screen up to release the panel. Careful not to be too rough with it.
-
-
-
-
Carefully place the replacement panel on to the iPhone back lining it up as close to the bottom as possible.
-
Now again gently apply pressure as you slide the panel towards the bottom of the iPhone to lock it into place.
-
Replace the screws that you set aside earlier and be sure no to over tighten otherwise you will strip them.
-


To reassemble your device, follow these instructions in reverse order.
To reassemble your device, follow these instructions in reverse order.
6 の人々がこのガイドを完成させました。
