この翻訳は機械によって生成されたものであり、まだ人間による校正は行われていません。 日本語を話せますか? レビューはこちらから。
はじめに
この修理ガイドを使用して、iPhone 3GSのフロントパネルとデジタイザーを取り外し、交換します。
必要な工具と部品
ビデオの概要
-
-
-
ディスプレイのガラスにひびが入った場合は、ガラスをテープで留めて修理中にさらなる破損を防ぎます。
-
透明なガムテープをiPhoneをディスプレイの上に、全体が覆われるまで重ねておきます。
 FixBotに聞いてみる
-
-
-
-
-
吸盤カップから金属製のハンドルを取り外します。金属製のハンドルを持つよりも、吸盤カップのベース部分を持つ方が簡単で安全です。
-
ホームボタン付近で吸盤カップを使用し、iPhoneのディスプレイアセンブリ下部をゆっくりと引き上げます。
-
-
-
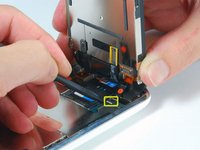
片手でディスプレイアセンブリを保持したまま、もう片方の手とスパッジャーを使って「1」とラベル付けされた黒いリボンケーブルを外します。
-
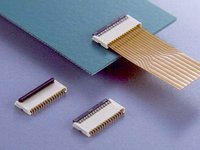
リボンケーブル「1」はプラグ式コネクタで接続されています。ケーブルの端にあるブロックは、回路基板上のソケットに単純に押し込まれているだけのプラグです。他のロック機構は使用されていません。
-
-
-
ディスプレイアセンブリをほぼ垂直になるまで回転させます。こうすることで、残りのケーブルを外しやすくなります。
-
スパッジャーを使用して、「2」とラベル付けされた黒いリボンケーブルを外します。
-
-
-
-
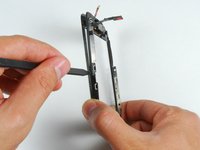
ディスプレイアセンブリを裏返し、ディスプレイアセンブリの端に沿って2本の金属製レールの間に金属製スパッジャーを慎重に再度差し込みます。スパッジャーをゆっくりと回転させ、液晶をガラスから持ち上げます。
-
-
-
-
タッチスクリーンの上部または下部でガラスが割れている場合は、破片を取り除く際に特に慎重かつ丁寧に行ってください。ガラスの破片がプラスチックパーツに貼り付いたままになっている場合は、取り除くのに時間がかかることがあります。
-
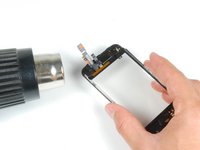
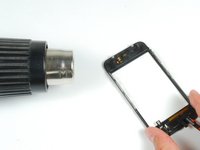
ヒートガンまたはヘアドライヤーを使用して、タッチスクリーンの左上部分を加熱します。
-
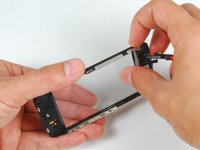
指の爪を使って、左の角をゆっくりと持ち上げます。タッチスクリーンのプラスチックパーツは、粘着剤でタッチスクリーンに固定されています。角を剥がすには多少時間がかかる場合があります。
-
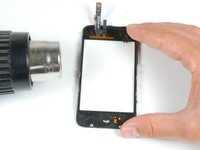
同様に右側も加熱し、同じ手順を繰り返します。
-
-
-
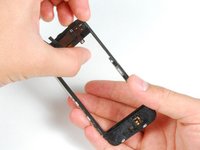
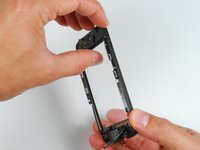
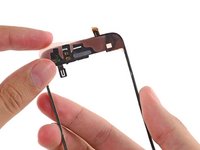
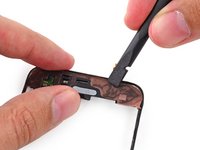
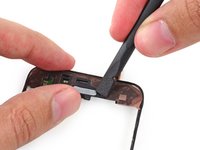
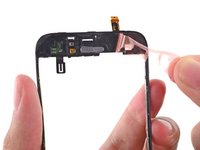
フロントパネルプラスチックの上部に専用接着ストリップまたは両面テープを貼り付けます。
-
スパッジャーの平らな先端を使用して、接着ストリップをフレームに押し込みます。
-
-
-
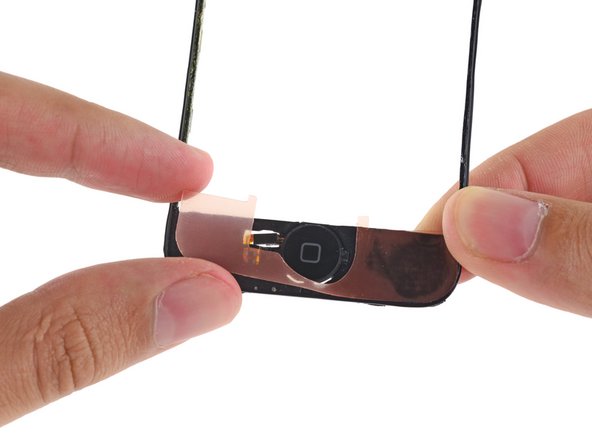
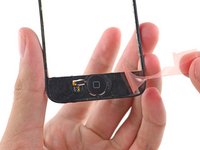
2枚目の接着ストリップまたは両面テープを、フロントパネルフレームのホームボタン側の端に配置します。
-
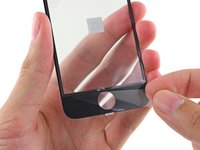
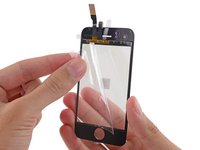
スパッジャーの平らな端を使ってストリップの上をなぞり、接着させると同時に、ステッカーの下から気泡を押し出します。
-




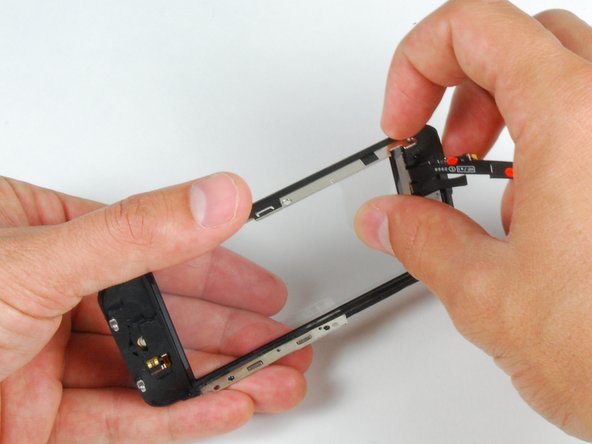
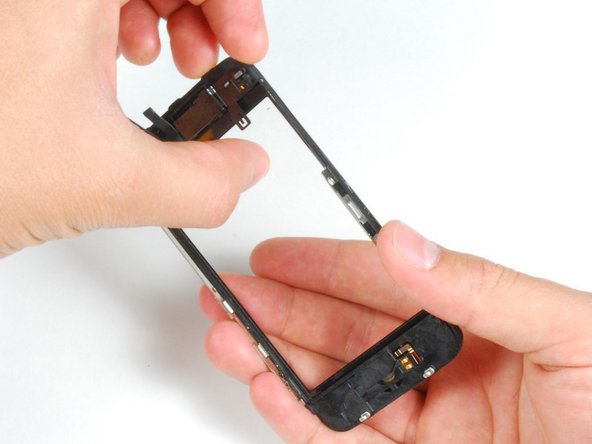




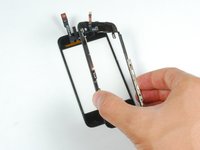




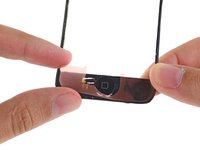
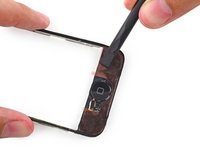
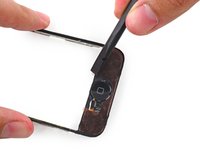


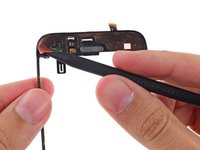


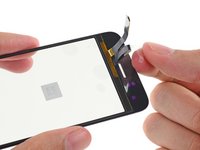


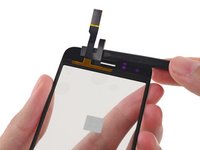
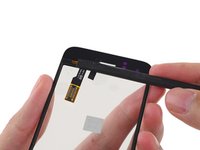
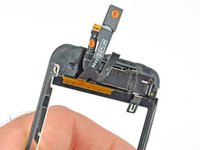


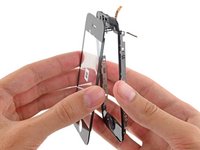
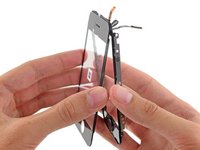


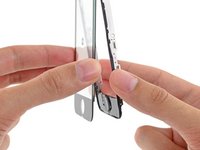
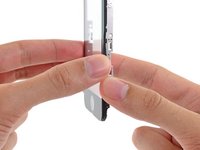

デバイスを再組み立てするには、これらのインストラクションを逆の順番に従って作業を進めてください。
541 の人々がこのガイドを完成させました。

8件のガイドコメント
Step 15:
the screen sort of sits in the plastic because of the band of material running around the perimeter of the assembly being more firmly attached to the plastic than the screen. I found this step much easier to complete the second time around because i knew to dig my nail in between the screen and the material running around the perimeter of the assembly in a front to back motion. Then i pivoted my nail up 90 degrees so it was between the plastic and the screen and was able to gently pry them apart while heating.
i second that, it should really be another bulletpoint because its really hard to see if you are not looking for it. Something like:
Push gently on the thin plastic bezel surrounding the frontpanel, do not try to push into the side of the assembly. It can look like there is a seam but there is not!
Its really the only way to get it done without ripping off any parts of the plastic bezel... it does not show when reassembled but its creating a wide portal for dust particles.
NOTE: Just completed the installation and was supremely frustrated when the screen didn't turn back on. My first inclination was that the 3rd connector wasn't seated properly...so I opened up and re-attached 3 times. With girlfriend peering over my 'soon to be a failure of a bf' shoulder, I asked her to google up a 'hard reset'. Eureka. Hold down the black nav button and the top power button at the same time until the silver apple reappears. Crisis averted, great tutorial otherwise!
When removing the broken glass, be sure to remove adhesive from the side rails of the iPhone front panel assembly, otherwise your front panel won't fit as snugly as it should.
When reassembling, take care to properly insert ribbon cable 3, as it is much easier to remove it than it is to install it. Having an extra set of hands was invaluable for this repair.
I wish the instructions warned me to make sure a sim card is in the socket before reassembling, and/or they gave detailed reassembly instructions, and/or had higher quality pictures (I zoomed in on the pictures multiple times while reassembling, and could not see exactly how things were supposed to fit back together). My replacement went well, and all was working perfectly, but a piece of the cable was apparently sticking down into the sim card socket, and when my 21 yr old son forced the sim card it, it destroyed the cable that is attached to the plastic speaker assembly. Now I get to buy the more expensive repair kit that includes that part, and try again. D amn, I'm frustrated. -Bill
