はじめに
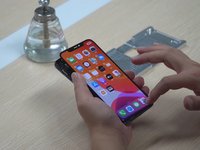
Guide on repair iPhone 11 Pro Max screen glass, the key steps of bezel removing, glass separating, glue removing, LCD laminating and bezel attaching.
必要な工具と部品
-
-
Heat up the screen on the heating platform. Here please be noted that the temperature of the heated platform should be at 90℃.
-
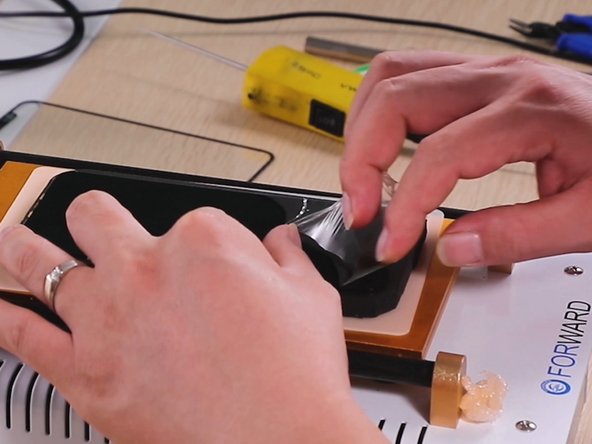
The first one we to do is apply the specialized glue remover XII to the gap between the bezel and the OLED.
-
Then we scrape the cold glue in the bottom of the bezel’s flex cable position with a plastic slice.
-
-
-
Once done, we cut the bracket around the bang with a cut pliers.
-
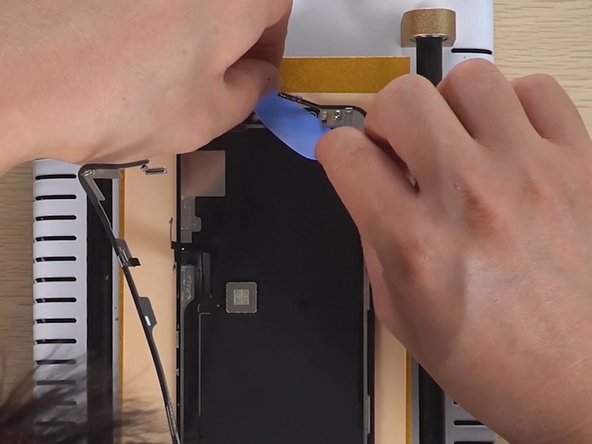
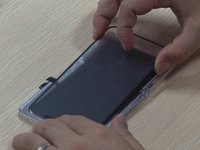
Next, we start to take apart the bezel. For this part, there are two tips we need to be cautioned.
-
-
-
When we remove the bezel, you should remove one side first and stop at the flex cable position. Then remove another side and stop at the flex cable position.
-
The following is a key point to remove the bezel of flex cable position. Here we also have two things should be cautioned.
-
-
-
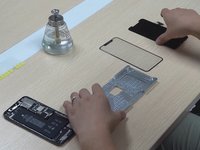
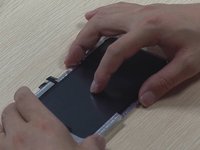
Well, next is the final part of this step. When detaching the bezel at the bottom area, using both hands to pull the glued bezel out with the parallel. Here the action of your hands is grasp the bezel and lift it up gently, then lower down the bezel.
-
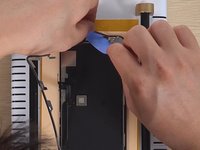
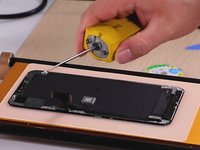
Then, we remove the residual glue with a glue removal device.
-
-
-
-
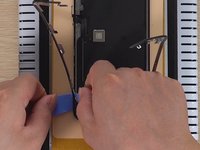
For this step, there are three tips we have to mention. First, the steel cutting wire should be inserted from the side of the flex cables.
-
Second, you should pull the steel wire with even force. If the left side doesn’t work while you pull the wire, you can change other directions, like right or middle side of the screen.
-
Third, if you encounter the residual glue while pulling the steel wire, you can scrape it and then move on.
-
-
-
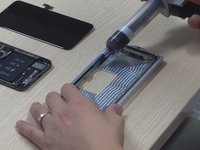
For this step, paint a layer of 8333 glue remover on the OCA glue and wait for 30s.
-
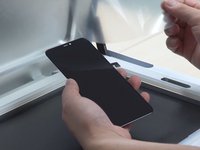
After that tearing off it with one hand. And be careful with force applied. This is to avoid damaging the OLED screen.
-
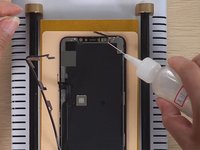
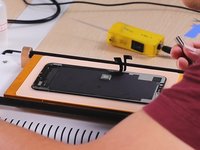
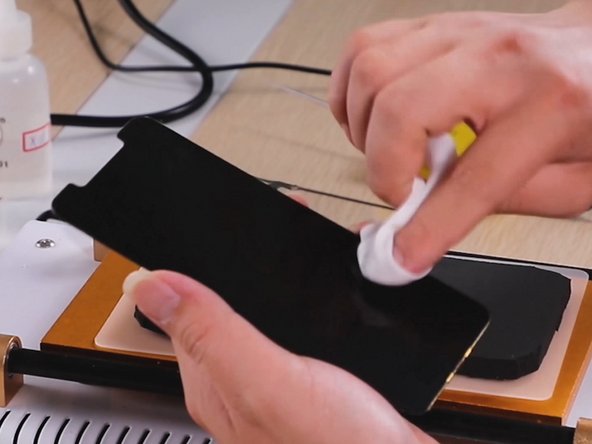
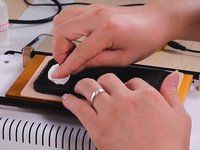
Once finished the glue removing, it’s time to clean the screen with white oil. Here are also two tips we would like to mention. That is, be more careful of the touch’s golden circuit at the edge of the screen during the cleaning and slide the dustless cloth gently.
-
It’s because if too much force is applied, the touch cable would break and the touch is unworkable.
-
The other one is while cleaning the flex cables area, the action should be gentle and the white oil can’t be added too much.
-
-
-
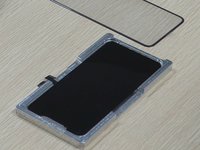
For this part, we prepare iPhone11 Pro Max’s specialized locating mold in advance.
-
Then place the LCD flat into the mold so it’s not easy to shift and clean up the dust on the LCD. Here we have to pay attention to the flex cables position.
-
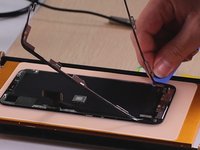
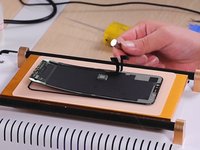
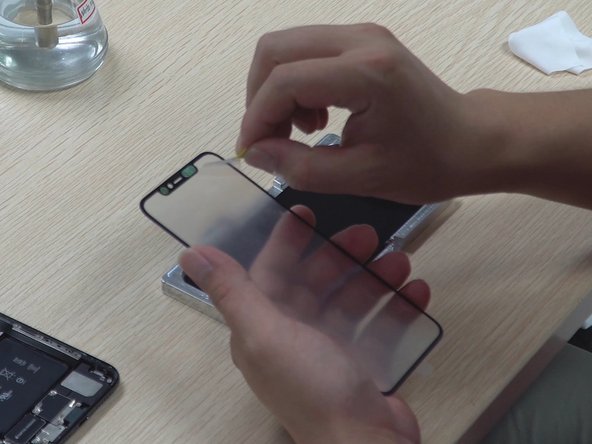
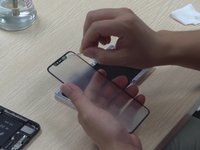
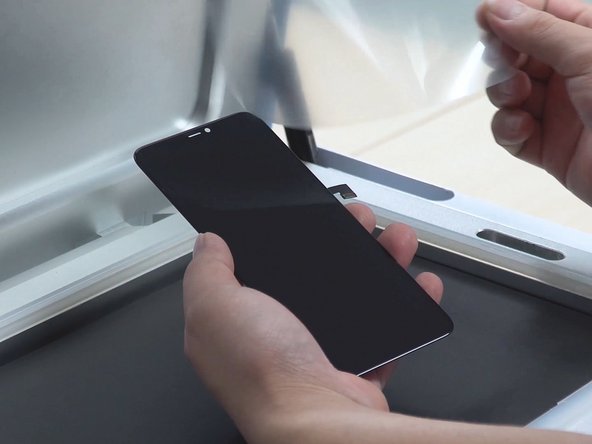
Once done, take out the glass with OCA and tear off the protective film of the OCA with a pull tape.
-
-
-
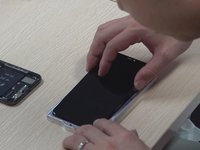
Next, align the glass to the LCD and attach it to the right position of the LCD.
-
After that, press the center of the glass with your one hand and fit it gently with the LCD.
-
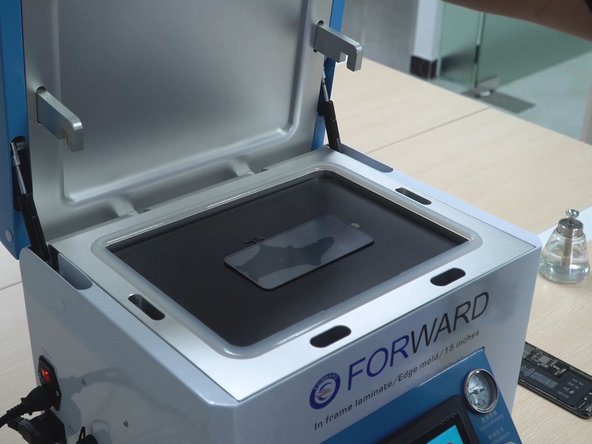
Finally, we put the preliminary pasted LCD on the black magic mat and put them into the CEO-2+ OCA lamination machine for laminating and bubble removing.
-
-
-
For this part, please make sure the flex cable is outside the LCD while you put the LCD on the mat.
-
Then, we set the time and press “START” BUTTON. The vacuum time is 20s, the laminate time is 15s and the bubble removing time is 180s.
-
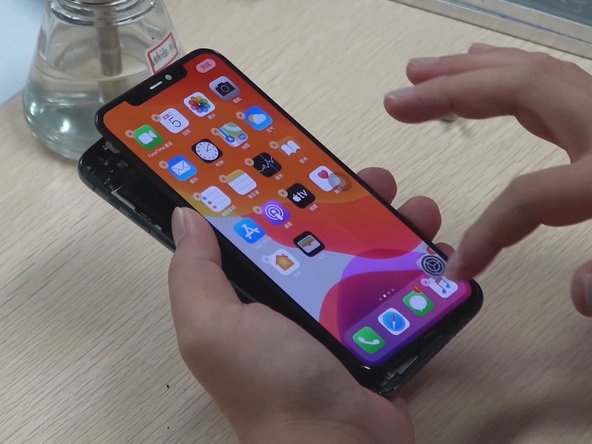
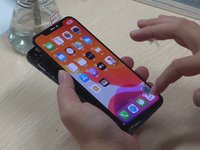
Here, we should test the display and the touch of the screen.
-
-
-
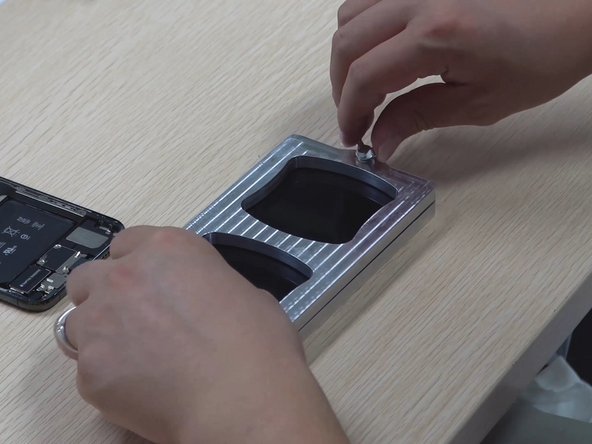
How can we let up when we’re so close? So let’s keep on. First, we put a new bezel into the protection pressure mold.
-
Second, apply the bezel glue around the bracket once we fix the bracket.
-
Third, fit the pasted LCD with the bracket. Here is a detail that should be cautioned, place the LCD from the side of flex cable position.
-
Fourth, once done, press hard around the screen with our hand to make sure the LCD is completely inside the frame.
-
Fifth, cover the protection pressure mold and leave it for 30 mins.
-
-
-
Time’s up. Take the screen out after the glue is dried and clean up the screen.
-
In the end, test the display and the touch of the screen. If there’s no problem, the whole restore process is done.
-


Guide on repair iPhone 11 Pro Max screen glass, following in step by step, you can successfully repair it.
Guide on repair iPhone 11 Pro Max screen glass, following in step by step, you can successfully repair it.
2 の人々がこのガイドを完成させました。
