必要な工具と部品
-
-
鍋を十分な量のお湯で満たして、iOpener を完全に沈めます。
-
お湯を沸かして熱くなったら火を止めます。
-
iOpenerを熱湯の中に約2−3分間沈めます。iOpener全体が完全に浸かっているか確認してください。
-
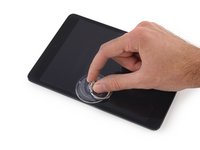
トングなどを浸かって、温まったiOpenerをお湯から取り出します。
-
タオルでiOpener全体を拭き取ります。
-
iOpenerの準備は整いました。iOpenerを再度温める必要がある場合は、お湯を沸騰させて、火を止めてからiOpenerを2-3分間浸してください。
-
-
-
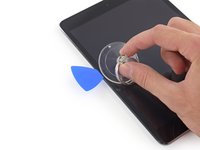
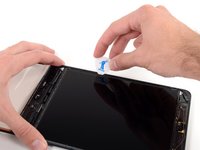
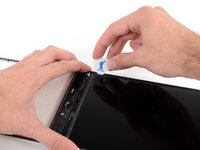
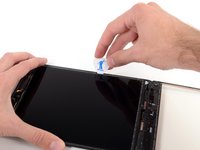
ディスプレイガラスにひびが入った場合は、ダメージが広がらないように、また作業中怪我などしないように、ガラスにテープを貼ります。
-
クリアタイプのテープをiPadのディスプレイ上に何重にも合わせて貼ります。ディスプレイ表面全体が覆われるようにしてください。
-
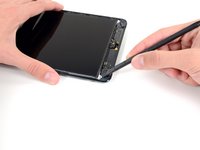
できるだけこのガイドに表記されている手順に従って作業を進めてください。しかしながら、一度ガラスが壊れてしまったら、作業が進むに連れて程度が酷くなる場合があります。この場合、ガラスを取り出すにはメタル製のこじ開けるツールが必要となります。
-
-
-
-
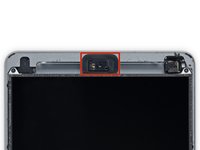
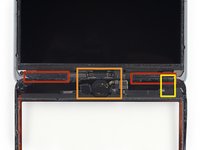
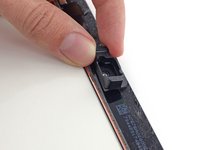
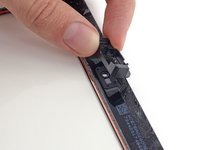
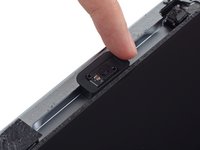
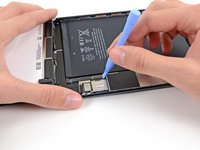
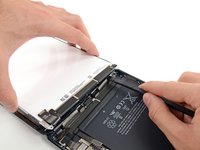
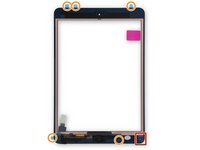
ピンセットを使って、上部右側の液晶ディスプレイに留められたネジを覆っている長方形フォーム製テープを取り外します。
-
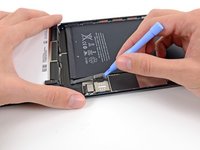
下部右側の液晶ディスプレイに留められた長方形のテープを外します。
-
-
-
iPadの背面ケースに留められた液晶ディスプレイシールドプレートより次のネジを外します。
-
2.6 mm #00プラスネジー2本
-
1.7 mm #00プラスネジー13本
-
1.7 mm #00プラスネジー1本(デバイスの種類によって有無があります)
-
-
-
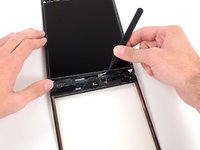
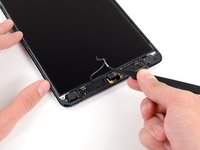
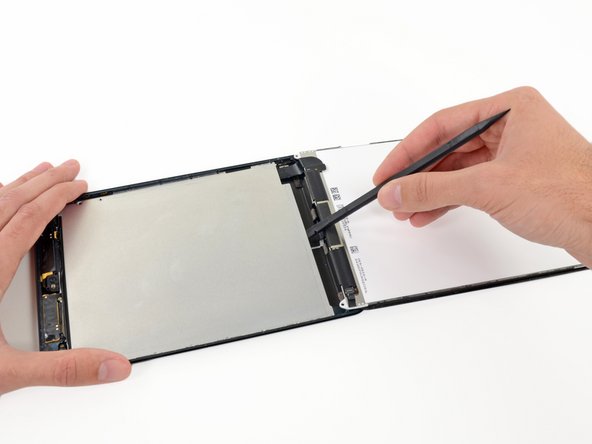
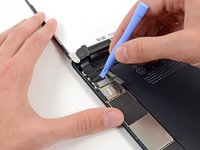
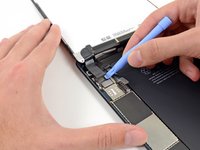
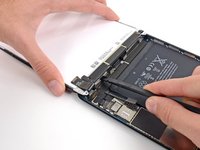
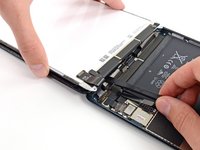
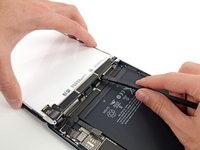
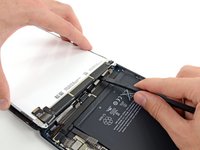
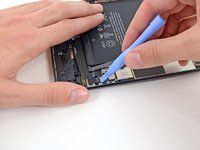
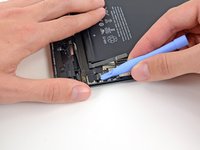
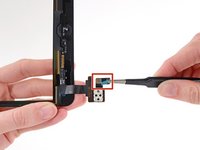
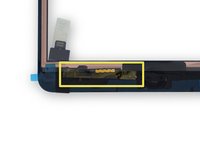
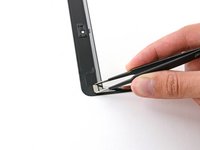
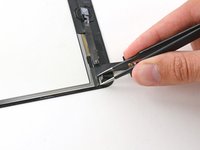
ソケットに加わるストレスを最小化するには、画像にあるように、コネクタの短辺側下をこじ開けてください。
-
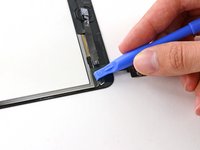
ロジックボード上のソケットからデジタイザーコネクタを慎重にこじ開けます。
-
-
-
交換用のフロントパネルで、デジタイザケーブルの接着剤のシールを剥がします。
-
デジタイザーケーブルを後ろ向きに折り曲げて、接着剤が固定するようにしっかりと押します。
-
-
-
ガラスの内側にある大きな透明なプラスチックのライナーをはがします。
-
フロントパネルアセンブリの周囲にある接着剤を覆っている青いプラスチック製のライナーを全て剥がします。
-
黄色のカプトンテープや黒い電気テープなど、アウトライン部分のコッパーの被覆を剥がさないでください。
-
ガラスパネルに指紋や汚れがないことを確認してから、デバイスに装着してください。
-
-
-
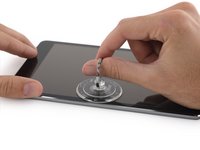
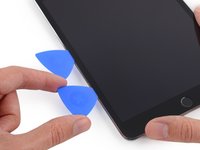
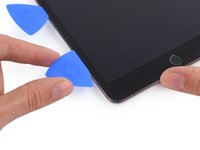
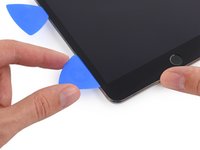
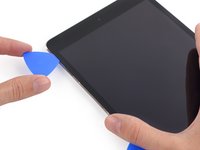
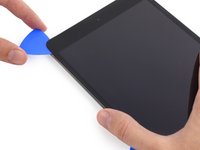
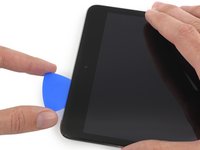
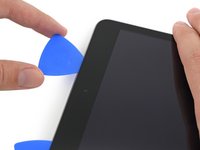
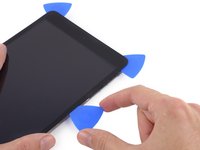
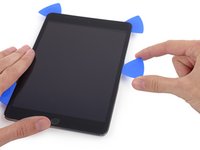
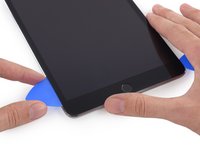
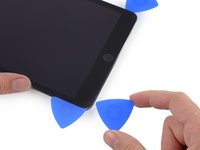
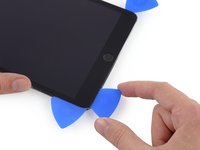
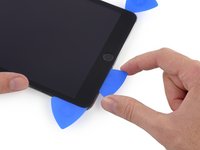
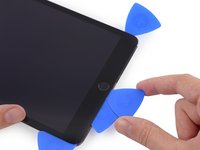
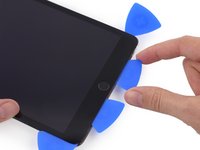
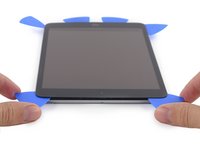
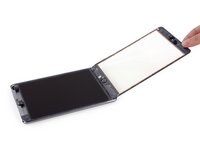
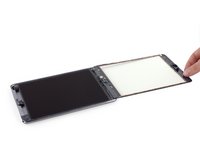
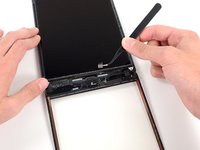
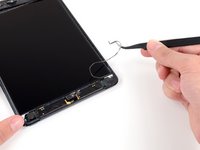
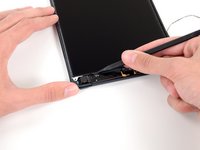
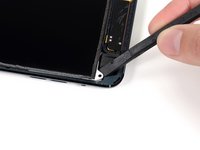
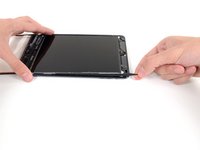
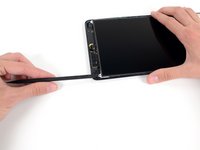
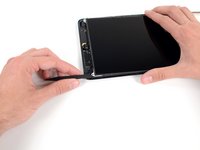
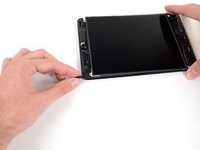
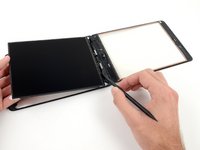
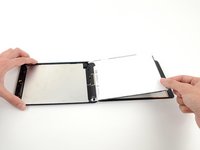
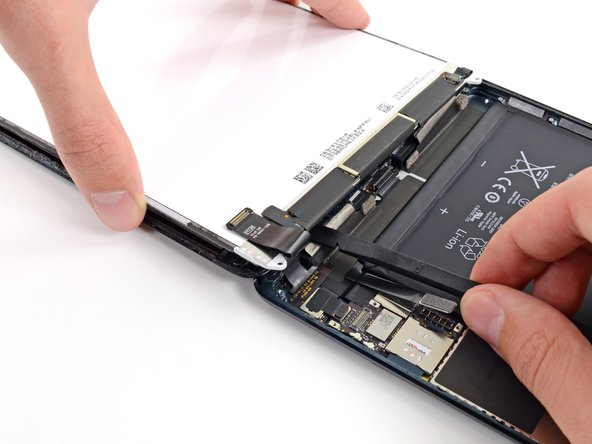
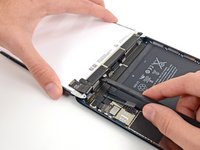
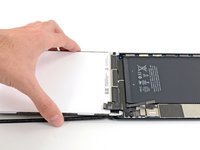
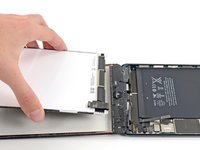
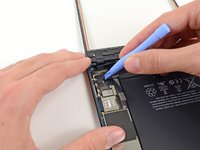
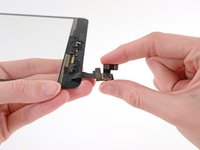
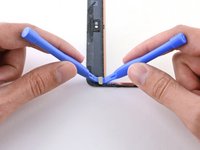
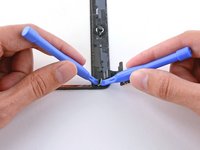
プラスチック開封ツールをフロントパネルアセンブリ上部の左側端付近にあるマグネット両側にあてます。
-
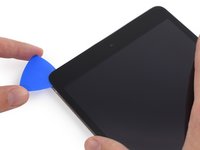
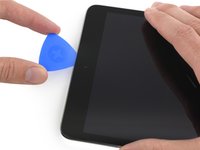
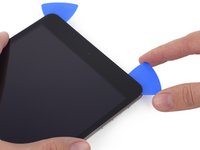
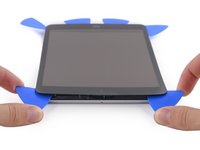
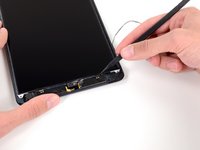
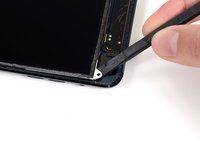
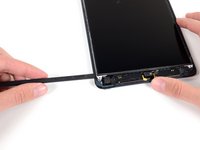
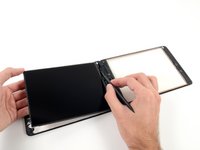
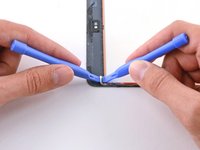
丁寧に右側のプラスチック開封ツールをマグネットの下のエッジにあてます。
-
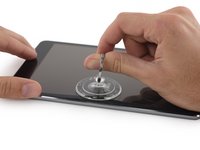
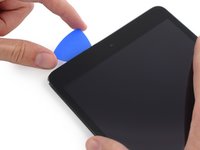
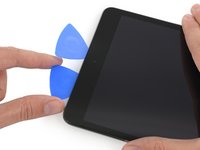
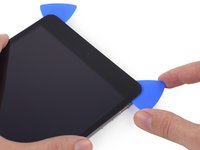
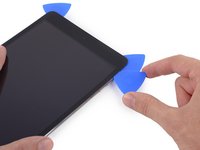
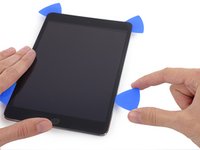
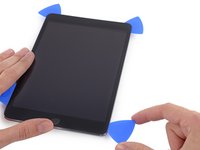
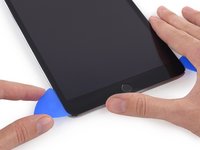
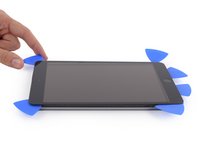
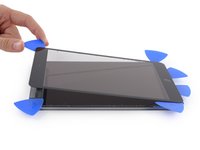
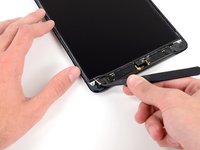
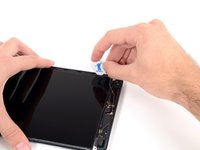
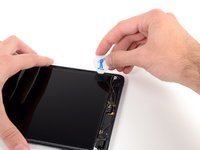
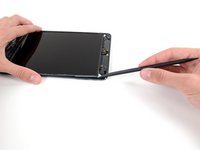
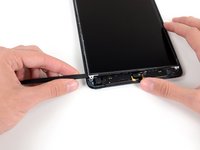
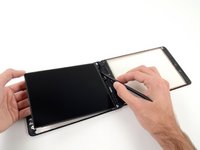
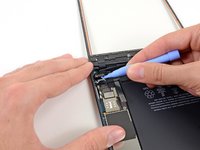
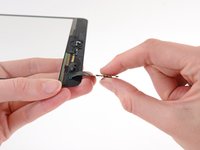
左側のプラスチック開封ツールをマグネットの下に差し込み、同時に押し上げながら右側のプラスチック製開封ツール側に向かって押します。
-


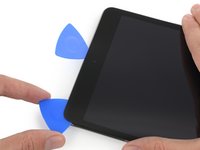


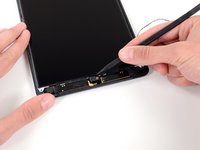


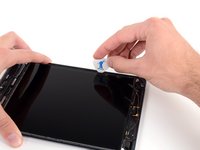


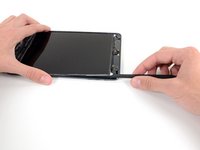


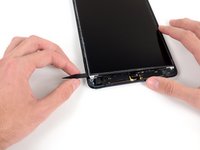


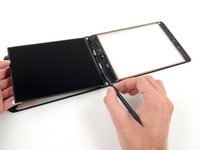


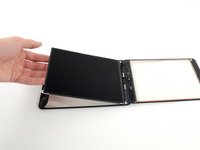


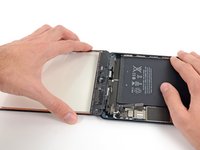


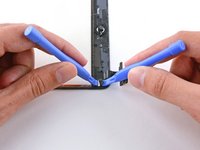


デバイスを再度組み立てるには、この説明書の逆の順番で組み立ててください。
449 の人々がこのガイドを完成させました。


53件のガイドコメント
This really isn't that hard of a repair, I struggle more with iphones than an iPad. Just be careful and diligent when you work. Hardest part for me is the stupid adhesive haha
ifixit is forgetting crucial steps in this repair. First off they need to make note of the small magnets on the back of the digitizer which are needed to use the smart cover feature on the ipad. And second they need to make note of the issues people are having with the touch acting up as soon as the digitizer is laid back down. you need to put tape on the contacts of the digitizer so that it does not directly touch the frame. also the iopener burned my microwave, your better off just using a heatgun and guitar picks/spudger.
Hi, I am having the exact issues where the touch is not responding. Where exactly do I need to put tape on the contacts of the digitizer so that it does not directly touch the frame? Can you explain in detail. Thanks.
yungwun619 - 共有
Again, ifixit leaves out a VERY important part that will BREAK the LCD if you forget to remove them. The sides of the LCD in the ipad mini has tape on it as well(you can even see the tape in the pictures above in the tutorial). If you do not remove this tape before inserting a tool under the sides of the LCD the LCD will BREAK! You must remove the foam ALL THE WAY AROUND THE LCD and peel back the tape from not only the top (as in the tutorial), but the sides of the LCD as well, holding it to the metal shield behind the LCD. The tape can be replaced, or re attached later, but it HAS to be removed before attempting removal of the LCD itself. I wish I would have known this before digging into the ipad mini. Fix the tutorial PLEASE!