メインコンテンツにスキップ

必要な工具と部品

この分解は修理ガイドでは ありません。 お持ちのiPad ClamCaseを修理する際は、iFixitの修理ガイドをご利用ください。

  1. iPad ClamCase, iPad ClamCase: 手順 1、 2の画像 1 iPad ClamCase, iPad ClamCase: 手順 1、 2の画像 2
    • You can skip the first 2 steps if you don't want to detach the upper and keyboard covers from each other.

    • Open the case and unpeel the 2 black stickers in the top corners of the keyboard.

    • This will reveal the 6 screws that attach the upper cover to the keyboard cover.

  2. iPad ClamCase: 手順 2、 2の画像 1 iPad ClamCase: 手順 2、 2の画像 2
    • Use the T9 Torx screwdriver to unscrew the 2 bigger screws in the middle of each side.

    • Use the T6 Torx screwdriver to unscrew the remaining 4 screws.

  3. iPad ClamCase: 手順 3、 2の画像 1 iPad ClamCase: 手順 3、 2の画像 2
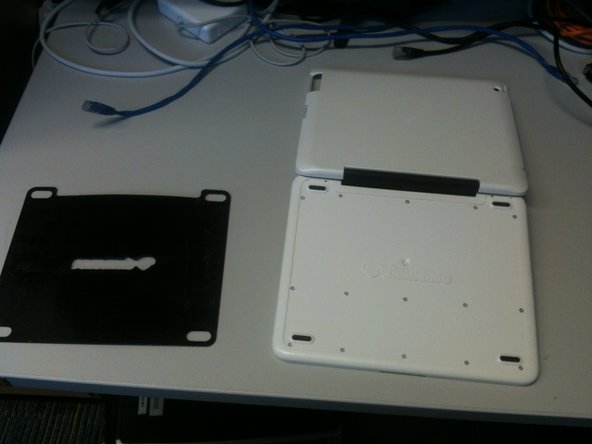
    • Turn the keyboard cover over so the bottom is facing up. Manually remove the thin black covering that is attached to the bottom.

    • Be patient, the thin black covering might be really stuck to the bottom.

  4. iPad ClamCase: 手順 4、 1の画像 1
    • Once the thin black covering is removed, you will see 15 screws.

    • Use the T6 Torx screwdriver to remove the screws.

  5. iPad ClamCase: 手順 5、 1の画像 1
    • Once the screws are removed, lift off the bottom panel to access the keyboard and battery.

  6. iPad ClamCase: 手順 6、 1の画像 1
    • You are done.

作成者

4人の作成者と共同で作成されました。

Izmet Barranco

メンバー登録日: 12/12/12

213 ポイント

1ガイドが承認済み

2 件のコメント

Awesome! I used this guide to disassemble my clam case and repair some nonfunctional keys. Thanks!

justin duff - 返信

Thanks for the dis-assembly guide. Justin, what did you have to do to fix the keys that were not working. I have on with a few keys not working, not even intermittently.

dick haynes - 返信

コメントを追加

統計データ:

過去 24時間: 2

過去 7 日: 3

過去 30 日: 7

今までの合計 7,727